Fudge: the Ultimate Silky-Smooth Classic Chocolate Fudge
- The American Dream of Confectionery: Mastering the Ultimate Chocolate Fudge
- Ingredients You Need for Fudge
- Crafting the Classic: Step-by-Step Method for No-Fail Fudge
- Fudge Failsafe: Troubleshooting and Expert Secrets
- Longevity and Presentation: Storing and Serving Your Homemade Confection
- Recipe FAQs
- 📝 Recipe Card
The American Dream of Confectionery: Mastering the Ultimate Chocolate Fudge
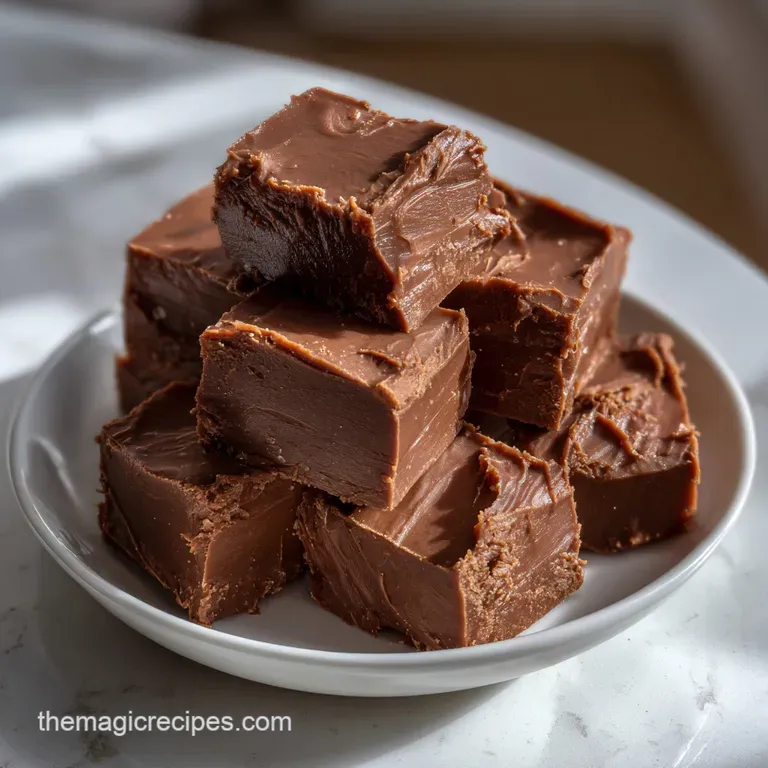
If a flavor could wear velvet, it would be this Fudge . That deep, molasses sweet aroma of melting chocolate and butter instantly transports you. It’s rich, almost impossibly smooth, and has that signature melt-in-your mouth quality that defines authentic, old-fashioned Fudge .
When it comes to homemade candy, nothing beats it.
But let’s be real the traditional method has a reputation for being slightly temperamental. I spent years in the kitchen turning out batches of overly grainy sugar bricks.
That's why this particular Fudge recipe is a lifesaver; it relies on chemistry and a thermometer, taking the guesswork out of achieving that perfect soft ball stage.
We're going classic today. We're chasing the kind of truly exquisite, deeply decadent chocolate Fudge that smells like a dream and cuts like a dream. Trust me, once you master this technique, you’ll never buy the store-bought stuff again.
What is Authentic American Style Fudge, Anyway?
Authentic American Fudge is defined by its texture it's creamy, not chewy like taffy or hard like brittle. This sweet, relatively soft confection is different from European style fondant or ganache because it relies on the controlled crystallization of sugar.
Getting the sugar molecules just right, tiny and smooth, is the key to preventing a gritty texture. It requires the precise soft ball stage temperature, followed by deliberate cooling and thorough beating.
Why This Classic Recipe Earns the Title 'Ultimate'
This recipe works because it respects the process. We use a precise ratio of sugar and milk, which gives the final Fudge the necessary body. Crucially, we use evaporated milk, not water.
Evaporated milk provides a higher concentration of milk solids and a subtly caramelized flavor, contributing significantly to that signature ultra creamy mouthfeel. Skipping that critical long cooling period is where most people fail, but we won't make that mistake here.
A Brief History of the Beloved Sweets Shop Treat
The history of Fudge is surprisingly specific, tracing back to the late 19th century in the US. Legend suggests the very first batch was the result of a candy maker "fudging" a batch of caramel, hence the name.
Quickly becoming a darling of college campuses and seaside resorts, the classic Fudge dessert cemented its place in the American confectionery canon. It’s just so wonderfully nostalgic.
Ingredients You Need for Fudge
Gathering your ingredients first is half the battle, especially when making Fudge because once the boiling starts, things move fast. We are keeping it simple: sugar, milk, butter, chocolate, and vanilla. That’s it.
Main Ingredients Notes
If you want the best result, make sure you splurge slightly on high-quality chocolate. You're making chocolate Fudge , after all!
| Ingredient | Why it Matters | Smart Tip |
|---|---|---|
| Granulated Sugar | Provides structure and sweetness (obviously). | Ensure it's fresh and dry. |
| Evaporated Milk | Essential for depth and creaminess. | Avoid condensed milk unless you like it intensely sweet. |
| Unsalted Butter | Adds rich flavor and prohibits crystallization. | Cut into cubes so it melts efficiently. |
| Semi Sweet Chocolate | Gives the deep cocoa flavor. | Chopping bars ensures better melting than chips. |
Easy Substitutions and Swaps
Sometimes life happens, and you don’t have exactly what the recipe calls for. Don’t panic; we can make this.
If evaporated milk is unavailable, you can substitute with Heavy Cream . This will yield a very rich, slightly firmer batch of Fudge recipe. Alternatively, a good quality whole milk can work, but you risk slightly less creamy results due to fewer milk solids.
For the chocolate, if you only have milk chocolate, it will be significantly sweeter, so perhaps scale back the sugar slightly (though this changes the structure, so proceed with caution!).
Essential Equipment
I know, I know another specialty tool. But a candy thermometer is non-negotiable for traditional Fudge . Seriously, throw away the notion of the cold water test unless you enjoy gambling.
Crucial Chef’s Note: The only non-negotiable item is the candy thermometer. Measuring the temperature of the syrup reliably is the singular difference between perfect smooth fudge and sugar soup. 234° F is the magic number.
Crafting the Classic: step-by-step Method for No-Fail Fudge
Let’s crack on! We are aiming for a beautiful, velvety texture. Remember the key phases: boiling, cooling, and beating. Get these right, and you've nailed this classic Fudge recipe.
Prepping Your Pan: Ensuring a Smooth Release
First, lightly grease your 9x9 inch (23x23 cm) pan. Then line it neatly with parchment paper. Why both? The grease helps the paper stick, and the paper overhang is the eject button once your Fudge is set.
If the paper doesn’t fully cover the sides, you’ll struggle to lift the hard block out, which is frustrating after all this effort. Set it aside and admire your perfect canvas.
The Critical Boil: Reaching the Ideal Candy Temperature
In your heavy bottomed pot, combine the sugar, evaporated milk, cubed butter, and salt. Cook this mixture over medium heat, stirring constantly until every last sugar crystal is dissolved. Feel the mixture between your thumb and forefinger; it should feel liquid silk, not granular.
Once clear, bring it to a rolling boil and insert the thermometer. Now, here is where you stop stirring. Absolutely stop. Let it bubble undisturbed until it hits 234°F (112° C) . This usually takes 15– 20 minutes.
The Cooling and Beating Phase: When the Magic Happens
As soon as the mixture reaches that perfect temperature, snatch the pot off the heat. Immediately toss the chopped chocolate and vanilla extract right into the hot syrup. Do not stir. Let it sit peacefully for 5 minutes.
This allows the residual heat to gently melt the chocolate without disturbing the forming sugar structure. Once slightly cooled, it's time to beat. This is where you rapidly agitate the sugar molecules, forcing them to crystallize into thousands of micro crystals the secret to smooth Fudge .
Start beating vigorously (a stand mixer or hand mixer is honestly a blessing here). The mix will transform before your eyes, losing its glossy sheen and becoming thick and opaque.
Setting and Slicing: Achieving Clean, Professional Squares
The moment the mixture stiffens and starts to lose its shine, you must stop beating. Quickly pour it into your prepped pan. Work fast, smoothing the top with a spatula, because it sets with lightning speed once this crystallizing process starts.
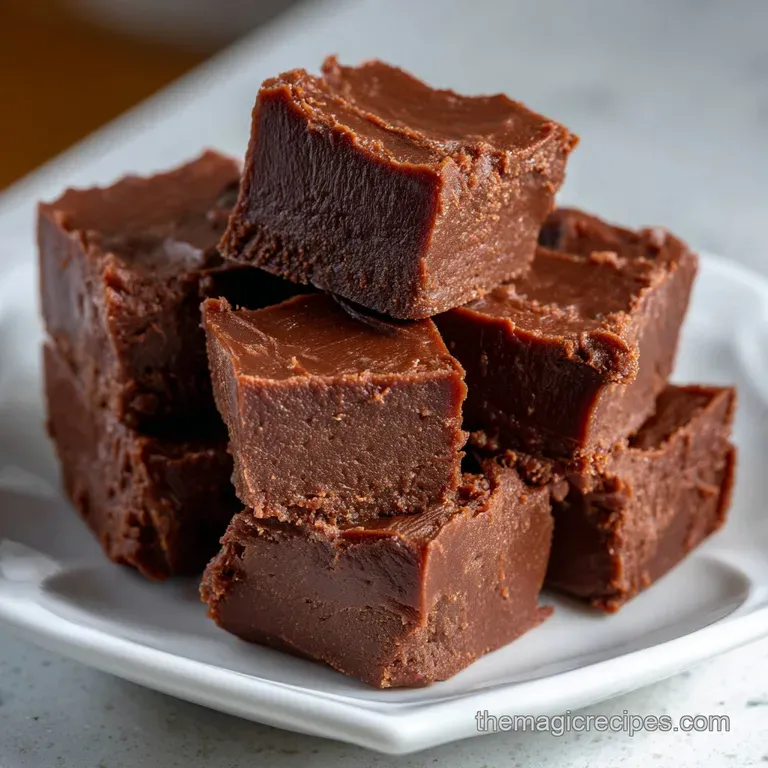
Allow the superb chocolate Fudge to cool completely at room temperature for at least two hours before attempting to slice it. Use a large, sharp chef’s knife, pressing straight down for clean, professional squares.
Fudge Failsafe: Troubleshooting and Expert Secrets
I learned this the hard way, usually scraping grainy messes into the bin. Don't be me!
Avoiding the Grit: Tips for the Smoothest Possible Texture
Grit is the enemy of outstanding Fudge . That sandy texture means your sugar crystallized too quickly, often because of stray sugar granules or jostling the mixture while it was cooling. Remember the wet brush.
Use a pastry brush dipped in water to wipe down the pot sides above the boiling line a couple of times. This whisks away any stray crystals that could drop back in and seed premature crystallization.
Also, and I can't stress this enough, do not stir the mixture once it has reached the rolling boil until after the cooling period!
My Fudge Didn't Set: How to Salvage a Runny Batch
If your Fudge is still gooey and won't hold its shape the next day, you likely didn't cook it long enough. It didn't reach the full 234°F (112°C) softness, or your thermometer is off. Don't throw it out!
Return the mixture to the saucepan, add about 1/4 cup of water, and melt it down slowly. Bring the mixture back to a full boil, ensuring it hits the required 234°F (112°C), then proceed with the cooling and beating steps again. You essentially just get a redo.
Longevity and Presentation: Storing and Serving Your Homemade Confection
You’ve created the perfect batch of chocolate Fudge ; now let’s keep it that way. This is a robust treat, so storage is easy.
Storage Solutions: Keeping Freshness and Flavor Intact
Homemade Fudge keeps beautifully. Store the cut squares in an airtight container at room temperature for up to two weeks, layered between wax paper to prevent sticking.
If you need longer storage, you can refrigerate it for up to a month, though sometimes refrigeration makes the texture slightly firmer. It also freezes well! Simply double wrap the cut squares tightly in plastic wrap, place them in a freezer bag, and freeze for up to three months.
Thaw overnight at room temperature no need to reheat!
Exquisite Pairings: What to Serve Alongside Classic Chocolate Fudge
Since this Fudge is so rich, it pairs wonderfully with ingredients that offer contrast. Think salty or tart flavors. A pinch of flaky sea salt sprinkled over the top before setting is always a winner. You can also incorporate it into other desserts. For an ultimate decadent treat, try crumbling slightly softened Fudge over homemade vanilla ice cream. And if you are feeling exceptionally ambitious, this texture is divine when ground finely and mixed into the base for a truly rich Chocolate Icing Recipe: The Ultimate Glossy Fudge Icing for Cakes .
We took a simple sugar confection and turned it into the best classic chocolate Fudge you’ll ever make. This Fudge recipe fudge recipe is truly a keeper. Enjoy every velvety bite!

Recipe FAQs
Why did my fudge turn out grainy or sugary instead of smooth?
Graininess is usually caused by sugar crystals improperly dissolving or prematurely forming before the mixture reaches the desired temperature. Ensure you thoroughly wash down the sides of the pan with a wet pastry brush during the early heating process to prevent crystals from seeding the mixture.
My fudge didn't set, remaining sticky and soft. What went wrong?
This is typically due to the mixture not reaching a high enough temperature, meaning not enough moisture evaporated to concentrate the sugar. You must ensure the fudge reaches the exact "soft ball stage" (234°F 237°F or 112°C 114°C); relying on visual cues often leads to undercooking.
How long will homemade chocolate fudge last, and how should I store it?
Fudge stored correctly in an airtight container at room temperature generally remains fresh for 1 to 2 weeks. For best results, place parchment paper between layers of fudge in the container to prevent sticking and keep it away from direct sunlight or heat, which can cause 'sweating'.
Can I double this fudge recipe, and do I need to make any adjustments?
While possible, doubling the recipe increases the difficulty and the time needed to reach the target temperature. If you proceed, use a substantially larger pot to account for the volume expansion, and be aware that the mixture will hold its heat longer, which can lead to overcooking if you don't remove it from the heat quickly.
What is the most crucial step when beating the fudge?
The most crucial step is resisting the urge to beat the mixture immediately after reaching the temperature. You must allow the fudge to cool undisturbed to about 110°F (43°C) before beating, as beating it hot causes premature crystallization and results in dry, crumbly squares.
I don't have a reliable candy thermometer. Can I still make this recipe?
Although a thermometer is highly recommended, you can perform the cold water test (dropping a spoonful into iced water). At the soft ball stage, the sugar should form a pliable, easily flattened ball; however, this method is less precise than using accurate temperature readings.
Classic American Chocolate Fudge Recipe

Ingredients:
Instructions:
Nutrition Facts:
| Calories | 1354 kcal |
|---|---|
| Protein | 5.9 g |
| Fat | 63.2 g |
| Carbs | 194.4 g |
