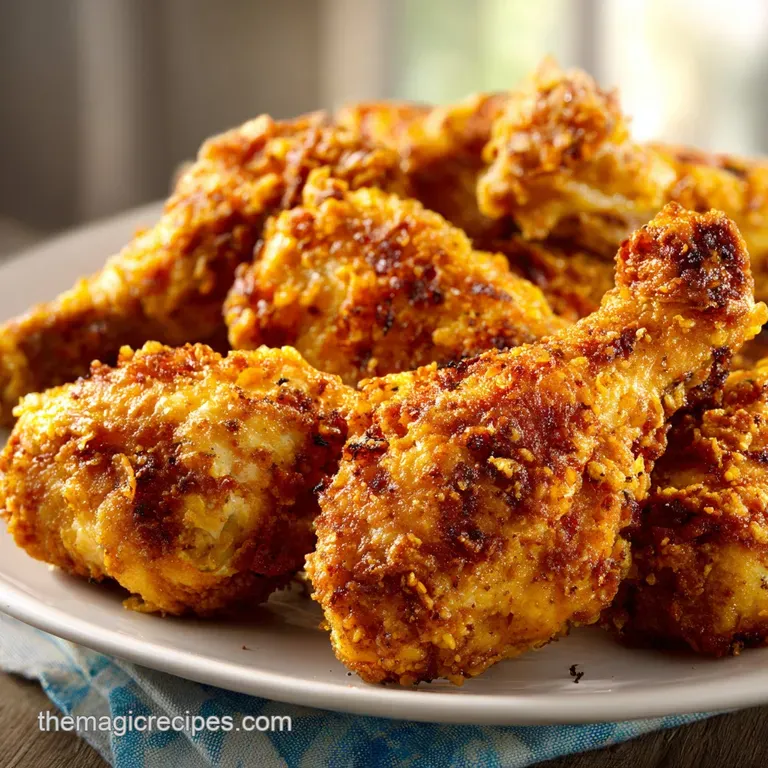
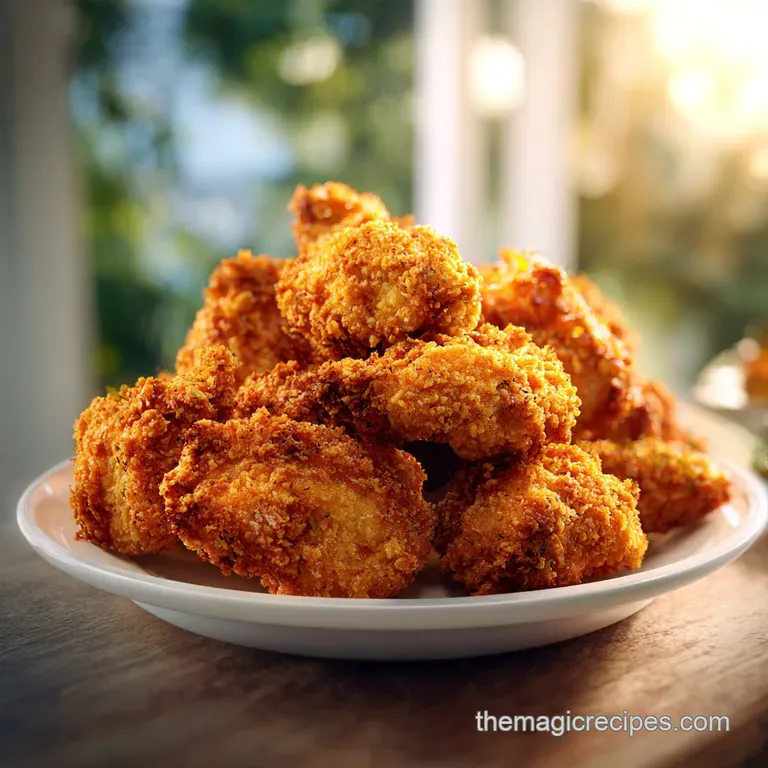
Shattering Crispy Oven Fried Chicken
- Time: Active 15 minutes, Passive 35 minutes, Total 50 minutes
- Flavor/Texture Hook: Shatteringly crispy skin with a smoky, peppery kick and juicy interior
- Perfect for: Busy weeknight dinners or a healthier family Sunday lunch
- How to Make the Crispiest Oven Fried Chicken Ever
- Understanding the Secret to Oven Fried Chicken Success
- The Component Analysis of This Recipe
- Essential Elements and Smart Ingredient Substitutions
- Preparing the Kitchen Tools for High Heat
- The Step by Step Cooking Process
- Troubleshooting Common Issues and Mistakes
- Adjusting the Recipe Size for Crowds
- Debunking Popular Kitchen Wisdom
- Guidelines for Storage and Repurposing
- The Best Side Dishes to Serve
- Very High in Sodium 🚨
- Recipe FAQs
- 📝 Recipe Card
How to Make the Crispiest Oven Fried Chicken Ever
Imagine walking into the kitchen and hearing that rhythmic "crunch crunch crunch" as someone bites into a piece of chicken, but without the lingering smell of a vat of oil. That is exactly what we are doing today.
I used to think that "oven fried" was just a polite way of saying "soggy baked chicken with some crumbs on top," but I was totally wrong. It all clicked for me one Tuesday when I was craving something salty and crispy but didn't have the energy to stand over a bubbling pot of fat.
I tried a few different coatings, and most of them were just... fine. But then I tried the cornstarch trick, and it changed my Tuesday nights forever.
The secret isn't just the coating, it is the heat and the way the fat interacts with the breading. When you pull this out of the oven, the skin should literally shatter when you poke it with a fork. It’s got that beautiful, craggy texture that catches all the salt and spices.
Plus, using chicken thighs keeps things juicy even at high temperatures, which is a huge win if you tend to get distracted like I do.
We are going to skip the heavy deep frying and go for a smart, budget friendly method that uses basics you probably already have in your pantry. If you’ve ever been disappointed by oven chicken before, trust me on this one. We are going for maximum texture with minimum cleanup.
It’s quick, it works every single time, and it actually tastes like the real deal.
Understanding the Secret to Oven Fried Chicken Success
Starch Synergy: Combining all purpose flour with cornstarch creates a coating that is much crispier and lighter than flour alone because cornstarch prevents too much gluten from developing.
Chemical Leavening: Adding baking powder to the dry mix creates tiny carbon dioxide bubbles when it hits the heat, which increases the surface area and makes the crust extra craggy.
Surface Moisture Removal: Drying the chicken skin with paper towels is the most important step because any leftover water will turn into steam, which makes the coating soggy and prevents it from sticking.
over High heat Convection: Cooking at 425°F (218°C) mimics the intense heat of a deep fryer, causing the fats in the chicken skin and the butter on the pan to rapidly brown the crust.
| Cooking Method | Time Required | Texture Result | Cleanup Level |
|---|---|---|---|
| Classic Deep Fry | 15 minutes | Thick, oily, heavy crunch | High (oil disposal) |
| Oven Fried | 35 minutes | Shattering, light, clean | Low (one pan) |
| air-fried | 25 minutes | Very crispy, dry | Medium (basket wash) |
Choosing the right method depends on how much time you have and how much mess you want to deal with after dinner. For a family of four, the oven is the most efficient because you can do it all in one big batch. If you are in the mood for a different kind of crunch, check out these Fried Tacos for a another fun stovetop option.
The Component Analysis of This Recipe
| Ingredient | Science Role | Pro Secret |
|---|---|---|
| Cornstarch | Texture Modifier | Use a 1:2 ratio with flour to get that "glass like" crunch that stays crispy even as it cools. |
| Buttermilk | Protein Tenderizer | The lactic acid breaks down tough fibers in the meat while providing a thick "glue" for the flour. |
| Baking Powder | Aeration Agent | This creates microscopic "peaks and valleys" in the crust, giving it that classic craggy look. |
| Salted Butter | Heat Conductor | Melting this on the pan creates a shallow "fry" environment for the bottom of the chicken. |
Essential Elements and Smart Ingredient Substitutions
To make this Oven Fried Chicken work, you need to be precise with your dry to wet ratios. We are using 2 lbs chicken thighs (bone in, skin on) or breast strips for the base. Thighs are more forgiving, but breast strips cook faster if you are in a rush.
The 1/2 cup buttermilk is the heart of the binder, mixed with 1 large egg, 1 tbsp hot sauce, and 1 tsp Dijon mustard.
For the dry mix, we use 1 cup all purpose flour and 1/2 cup cornstarch. This ratio is non negotiable for the best texture. The seasoning is a powerhouse of 1 tbsp smoked paprika, 1 tbsp garlic powder, 1 tbsp onion powder, 2 tsp kosher salt, 1 tsp black pepper, and 1/4 tsp cayenne pepper for a tiny bit of warmth.
Don't forget the 1 tsp baking powder it's the secret weapon. Finally, 2 tbsp salted butter on the pan makes all the difference for the bottom crust.
- Buttermilk Substitute: Use 1/2 cup plain yogurt or 1/2 cup milk mixed with 1 tsp lemon juice. Why this? Mimics the acidity needed to tenderize the meat.
- Cornstarch Substitute: Arrowroot powder or potato starch works just as well. Why this? Both are high in amylopectin which creates a crisp seal.
- Smoked Paprika Substitute: Standard paprika with a drop of liquid smoke or just extra black pepper. Why this? Adds the color and depth without the smokiness.
- Salted Butter Substitute: Ghee or avocado oil for a higher smoke point. Why this? Provides the fat needed for the bottom "fry" effect.
Preparing the Kitchen Tools for High Heat
You don't need fancy gadgets, but a few specific items make this much easier. A large rimmed baking sheet is essential to catch any drips and to allow the butter to pool slightly without running off. I highly recommend using a stainless steel wire rack that fits inside the pan.
This allows air to circulate under the chicken so the bottom doesn't get soggy. If you don't have a rack, you can go directly on the pan, but you'll need to be more careful with the butter.
A couple of shallow bowls are needed for the "dredging station." I like using glass pie plates because they have wide bottoms that make it easy to coat large pieces of chicken. An instant read thermometer is also a must have.
When you are cooking at 425°F, the window between "perfect" and "dry" can be small, so checking the internal temp is the only way to be 100% sure.
The step-by-step Cooking Process
Preheat your oven to 425°F (218°C). Place a stainless steel wire rack inside a large rimmed baking sheet and lightly spray with non stick spray, or melt 2 tablespoons of salted butter directly on the pan while the oven heats.
Note: Heating the pan or rack prevents the chicken from sticking immediately.
Pat the chicken pieces extremely dry with paper towels to ensure maximum crispiness. Note: This is the most skipped step, but moisture is the enemy of a good crunch.
In a shallow bowl, whisk together the buttermilk, egg, hot sauce, and Dijon mustard to create the flavor binder.
In a second shallow bowl, combine the all purpose flour, cornstarch, baking powder, smoked paprika, garlic powder, onion powder, kosher salt, black pepper, and cayenne pepper.
Dip each piece of chicken into the wet buttermilk mixture, allowing excess to drip off, then dredge thoroughly in the dry flour cornstarch mixture, pressing the coating onto the skin. Note: Use your fingers to really press the flour into every nook and cranny.
Place the chicken on the prepared wire rack or directly onto the hot buttered pan.
Bake for 35 minutes until the crust is golden brown and the internal temperature reaches 165°F (74°C) on an instant read thermometer.
Troubleshooting Common Issues and Mistakes
Why Your Chicken Coating Is Falling Off
If the breading slides right off the meat, it’s usually because the chicken was too damp before it hit the buttermilk. That layer of water creates a steam barrier that prevents the "glue" from sticking.
Another reason is not letting the chicken rest for a minute or two after dredging; letting it sit helps the flour hydrate and bond to the binder.
Why the Crust Looks White and Dusty
If you see white, floury spots after baking, it means those areas didn't get enough fat or moisture to cook the starch. This usually happens if the chicken is too dry or if you didn't use enough butter on the pan. To fix this mid bake, you can lightly spritz those dry spots with a little bit of cooking oil spray.
| Problem | Root Cause | Solution |
|---|---|---|
| Soggy Bottom | Lack of Airflow | Use a wire rack or ensure the pan is pre heated with butter. |
| Burnt Spices | Oven Rack Too High | Move the tray to the middle rack to avoid direct heat from the top element. |
| Tough Meat | Overcooking | Use an instant read thermometer and pull at 165°F exactly. |
- ✓ Pat the chicken bone dry with paper towels before you start.
- ✓ Use cold buttermilk to keep the chicken temperature down while prepping.
- ✓ Don't overcrowd the pan; leave at least an inch between pieces for airflow.
- ✓ Ensure the oven is fully preheated to 425°F before the chicken goes in.
- ✓ Press the dry mix firmly into the chicken to create those craggy bits.
Adjusting the Recipe Size for Crowds
Scaling this recipe is pretty straightforward. If you want to cut it in half for two people, just use one large egg and halve the rest of the ingredients. You might have a little extra buttermilk mixture left over, but that’s better than not having enough to dip.
For the dry spices, you can just use a slightly smaller bowl to keep the "dredging depth" consistent.
If you are doubling the recipe for a party, work in batches. Don't try to cram 4 lbs of chicken on one tray or the oven temperature will drop too much, and the chicken will steam instead of fry. Use two separate baking sheets and rotate them halfway through the 35 minutes. When doubling, you only need to increase the salt and cayenne to 1.5x the original amount so it doesn't become over seasoned. For those busy nights when you need a full meal on one tray, this Sheet Pan Dinner is a winner for scaling up easily.
Debunking Popular Kitchen Wisdom
Many people believe you need to flip the chicken halfway through. In a over high heat oven with a wire rack, flipping is actually counter productive because it can break the delicate crust you are trying to build. The air circulation handles the bottom just fine.
Another common thought is that you need a lot of oil to get a "fried" taste. Actually, the fat rendered from the chicken skin itself does most of the work. The 2 tablespoons of butter we add is mostly for flavor and to help the very bottom of the coating crisp up against the heat of the pan.
Guidelines for Storage and Repurposing
Refrigerating and Freezing
Leftovers will stay good in an airtight container in the fridge for up to 4 days. If you want to freeze it, let the chicken cool completely first, then wrap individual pieces in foil and place them in a freezer bag. It will stay fresh for about 3 months.
To reheat, avoid the microwave at all costs it will turn the crust into a rubbery mess. Use a toaster oven or a regular oven at 375°F for about 10 minutes to bring back the crunch.
Creative Ways to Use Scraps
Don't throw away the bones! If you used bone in thighs, keep the remains in a bag in the freezer to make a quick chicken stock later. Any leftover meat can be shredded and used for a cold chicken salad or tossed into a wrap.
The crispy skin bits that fall off in the pan are basically "chef's treats," but you can also sprinkle them over a salad like croutons for a salty, savory hit.
The Best Side Dishes to Serve
This chicken is the star of the show, but it needs some friends. Since the oven is already at 425°F, I usually throw some potato wedges on a separate tray for the last 20 minutes.
A cold, creamy coleslaw provides the perfect temperature and texture contrast to the hot, salty chicken. If you want something green, a simple steamed broccoli or a bright cucumber salad with vinegar works wonders to cut through the richness of the breading.
If you are feeling like a classic Southern feast, corn on the cob or a quick batch of biscuits is the way to go. The mustard and hot sauce in the binder give the chicken a subtle tang that pairs beautifully with sweeter sides like honey glazed carrots or even a bit of cornbread.
Honestly, it’s so versatile that you can serve it with almost anything you’ve got in the pantry.

Very High in Sodium 🚨
1345 mg of sodium per serving (58% of daily value)
The American Heart Association recommends limiting sodium intake to about 2,300mg per day, with an ideal limit of less than 1,500mg for most adults.
Tips to Reduce Sodium
-
Reduce Added Salt-25%
Significantly cut down on the 2 tsp of kosher salt. Start by halving it (to 1 tsp) and see if the flavor is still sufficient. You can gradually reduce it further in future preparations.
-
Choose Low-Sodium Hot Sauce-20%
The 1 tbsp of hot sauce can be a hidden sodium culprit. Opt for a low-sodium variety or a salt free hot sauce to drastically lower the sodium content.
-
Use Unsalted Butter-5%
The 2 tbsp of salted butter contributes to the overall sodium. Switch to unsalted butter to have more control over the salt added to your recipe.
-
Boost Flavor with Herbs and Spices
Emphasize the use of aromatic herbs and spices like garlic powder, onion powder, smoked paprika, and cayenne pepper. You can also add fresh herbs like parsley or chives for vibrant flavor without added sodium.
Recipe FAQs
How do you fry chicken in the oven?
Preheat your oven to 425°F (218°C) and use a wire rack for air circulation. Dip chicken pieces in a buttermilk egg-mustard mixture, coat in a flour cornstarch dredge, and bake until the crust is golden and reaches 165°F internally.
Can a diabetic eat baked chicken?
Yes, this can fit into a diabetic friendly meal plan. Focus on portion sizes and consider pairing the chicken with fiber rich vegetables instead of high carbohydrate sides to maintain stable glucose levels.
How long does fried chicken go in the oven?
Bake the chicken for exactly 35 minutes at 425°F. Always verify doneness by ensuring the internal temperature reaches 165°F (74°C) using an instant read thermometer.
How to get chicken in the oven crispy?
Pat the chicken bone dry with paper towels before dipping it into the buttermilk binder. The moisture removal, combined with the cornstarch in the coating, is the secret to achieving a crunchy, golden exterior.
Is it true you must deep fry chicken for it to be authentic?
No, this is a common misconception. You can achieve a similar satisfying crunch by using a high heat oven and a wire rack to mimic the convection airflow of deep frying.
How to ensure the coating sticks to the chicken?
Press the flour cornstarch mixture firmly into the skin after dipping. If you enjoyed the way this flour based coating creates a crust, you can apply similar breading techniques to our cheddar baked chicken for extra texture.
How to handle the chicken if I do not have a wire rack?
Place the chicken directly onto a baking sheet preheated with 2 tablespoons of melted salted butter. This hot fat mimics the surface contact of frying and prevents the bottom of the chicken from becoming soggy.
Crispy Oven Fried Chicken
Ingredients:
Instructions:
Nutrition Facts:
| Calories | 612 kcal |
|---|---|
| Protein | 42.3 g |
| Fat | 34.2 g |
| Carbs | 38.5 g |
| Fiber | 1.4 g |
| Sugar | 2.1 g |
| Sodium | 1345 mg |
