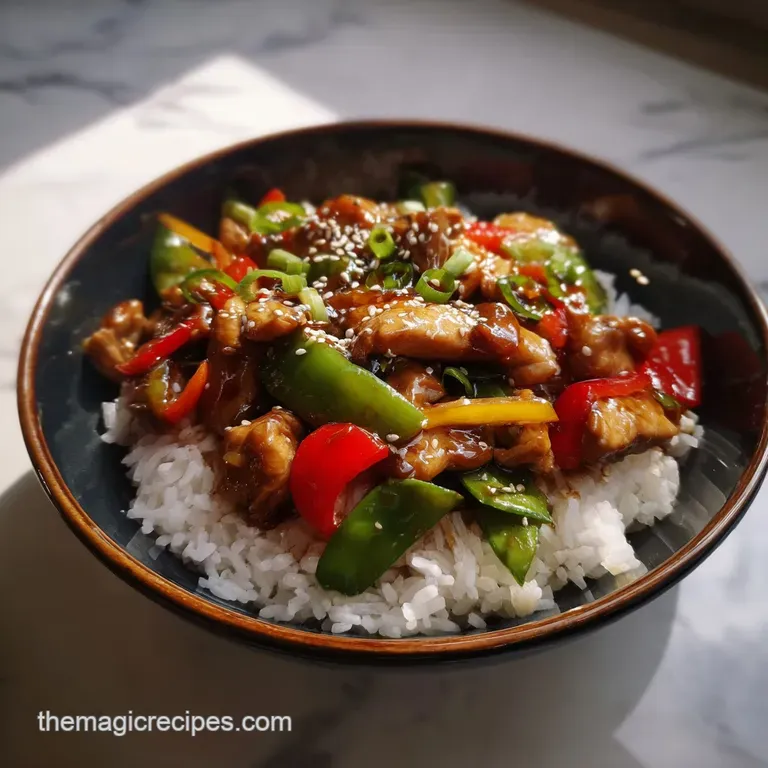
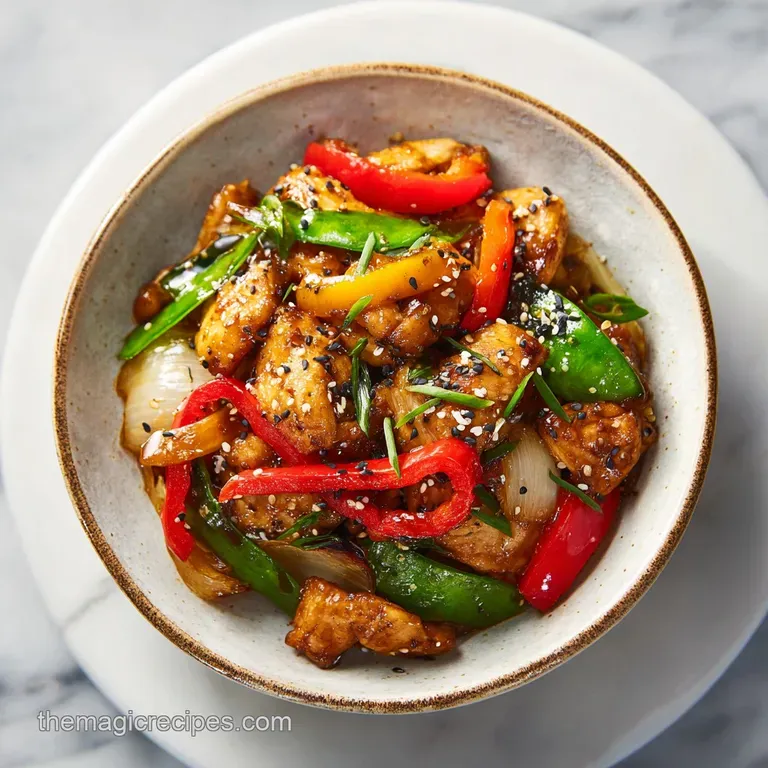
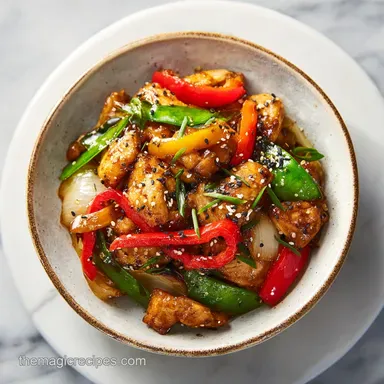
Teriyaki Chicken Stir Fry for 4
- Time: Active 15 minutes, Passive 10 minutes, Total 25 minutes
- Flavor/Texture Hook: Velvety chicken and snappy vegetables
- Perfect for: Budget conscious weeknight family dinners
- Science of the Velvet Glaze
- Technical Details for Best Results
- Sourcing Pantry Staples and Produce
- Minimal Tools for Maximum Heat
- Step-By-Step Culinary Execution
- Fixing Flavor and Texture Mishaps
- Smart Adaptations for Every Budget
- Preserving Freshness and Reducing Waste
- Enhancing the Final Presentation
- Debunking Common Kitchen Beliefs
- Adjusting Yields for Any Crowd
- High in Sodium
- Recipe FAQs
- 📝 Recipe Card
The first time I tried making a teriyaki chicken stir fry at home, it was a watery mess. I remember standing over the stove, watching my expensive chicken breasts essentially boil in a pool of gray liquid while the broccoli turned into mush.
I had crowded the pan, the heat was too low, and I didn't understand the chemistry of a proper glaze. It was a disheartening dinner that sent us straight to the local noodle shop.
But I wasn't ready to give up on making a healthy teriyaki chicken stir fry. I spent months obsessing over the exact thickness of the chicken slices and the ratio of sugar to soy. I realized that the secret isn't in some mysterious bottled sauce but in the technique of velveting the meat and controlling the moisture levels of the vegetables.
Now, my kitchen smells like a high end grill every Tuesday night, and my wallet is much happier for it.
We've all been tempted by that bottled sauce teriyaki chicken stir fry convenience, but trust me, making it from scratch is barely more work and the flavor is exponentially better.
You're going to learn how to get that signature sizzle and a sauce that actually sticks to the food instead of pooling at the bottom of the bowl. Let's get into the details of how to make this work every single time.
Science of the Velvet Glaze
The Velveting Mechanism: Coating thinly sliced chicken in cornstarch creates a protective shield that prevents the protein fibers from tightening and squeezing out moisture during over high heat frying.
Starch Gelatinization: When the cornstarch in the sauce hits the hot pan, the molecules swell and trap liquid, turning a thin juice into a thick, translucent glaze that adheres to surfaces.
Maillard Reaction Control: High heat is necessary for browning, but the sugar in the sauce can burn quickly, so we add the glaze only at the final moment to ensure flavor without bitterness.
| Chicken Cut | Internal Temp | Rest Time | Visual Cue |
|---|---|---|---|
| 1/4 inch strips | 165°F (74°C) | 2 minutes | Opaque and springy |
| 1/2 inch cubes | 165°F (74°C) | 3 minutes | No pink centers |
| Thigh strips | 170°F (77°C) | 3 minutes | Glistening and firm |
The table above helps you decide which cut of meat works best for your schedule. Strips are faster and provide more surface area for the sauce to grab onto, which is why I prefer them for this simple teriyaki chicken stir fry.
Technical Details for Best Results
When you're aiming for that specific texture, precision matters more than fancy ingredients. I've found that three specific checkpoints make the difference between a soggy stir fry and a professional grade meal.
First, your chicken must be sliced to a uniform 1/4 inch thickness; this ensures everything cooks in under three minutes. Second, your oil needs to reach 375°F (190°C) before the first piece of meat touches the pan.
If it doesn't sizzle immediately, you're just steaming your dinner.
Finally, the sauce reduction is the ultimate test. A successful glaze should coat the back of a metal spoon and stay there for at least 3 seconds before slowly dripping off. This indicates the starches have fully hydrated and the sugars have slightly concentrated. Much like the sauce consistency we look for in a Chicken Paprikash recipe, the goal is a velvety coating rather than a thin soup.
Sourcing Pantry Staples and Produce
For this teriyaki chicken stir fry recipe, we are using ingredients that balance cost and quality. Using low sodium soy sauce is a non negotiable tip because it allows you to control the saltiness while getting the full depth of the fermented beans.
Fresh ginger and garlic provide a punch that dried powders simply can't replicate, and they are incredibly cheap when bought in bulk.
| Ingredient | Science Role | Pro Secret |
|---|---|---|
| Soy Sauce | Umami Provider | Use low sodium to control salt |
| Cornstarch | Texture Modifier | Mix with cold liquid only |
| Brown Sugar | Caramelization Agent | Balance with acid like mirin |
| Ginger | Enzymatic Tenderizer | Freeze it to make grating easier |
Ingredients List: 1.5 lb chicken breast, thinly sliced across the grain Why this? Slicing across the grain breaks tough fibers for tenderness. 1 tbsp cornstarch for chicken coating Why this? Creates the "velvet" texture on the meat. 1 tbsp
low sodium soy sauce for marinade 1 tsp toasted sesame oil 0.5 cup low sodium soy sauce for sauce 0.25 cup water 3 tbsp brown sugar Why this? Provides the deep molasses notes and shine. 1 tbsp fresh ginger, grated 3 cloves garlic, minced 1 tbsp mirin 1 tsp cornstarch for sauce thickener
2 cups broccoli florets 1 red bell pepper, thinly sliced 1 cup snap peas 3 green onions, sliced 1 tbsp neutral oil for frying
For the protein, you can substitute chicken thighs for breasts if you prefer a juicier, more forgiving meat. If you don't have mirin, a splash of rice vinegar with a pinch of extra sugar works as a budget friendly swap.
For the vegetables, this is a "clean out the crisper" meal, so feel free to use whatever you have on hand, though the broccoli and peppers offer the best textural contrast.
Minimal Tools for Maximum Heat
You don't need a hand hammered carbon steel wok to make a great easy teriyaki chicken stir fry. A large, heavy bottomed stainless steel or cast iron skillet works brilliantly. The key is surface area.
You want enough room so the chicken pieces aren't overlapping, which causes them to release steam and lose that golden brown crust.
I also recommend a microplane for the ginger and garlic. It turns them into a paste that dissolves into the sauce rather than leaving you with bitter, burnt chunks of garlic. A simple glass jar is also handy for shaking the sauce ingredients together to ensure the cornstarch is perfectly incorporated before it hits the heat.
step-by-step Culinary Execution
Phase 1: The Velvet Prep
- Slice 1.5 lb chicken breast into 1/4 inch strips across the grain.
- Toss chicken with 1 tbsp cornstarch, 1 tbsp soy sauce, and 1 tsp sesame oil in a bowl. Note: This creates the protective barrier for the meat.
- Let the chicken sit for 10 minutes while you prep the vegetables.
- Whisk 0.5 cup soy sauce, 0.25 cup water, 3 tbsp brown sugar, 1 tbsp ginger, 3 cloves garlic, 1 tbsp mirin, and 1 tsp cornstarch in a separate bowl.
Phase 2: The over High heat Sear
- Heat 1 tbsp neutral oil in a large skillet over high heat until the oil shimmers and barely smokes.
- Add chicken in a single layer, working in batches if necessary to avoid crowding.
- Sear for 2 minutes without moving, then flip and cook for another 1 minute until the edges are golden and crispy.
- Remove chicken from the pan and set aside on a plate.
Phase 3: The Vegetable Snap
- In the same pan, add the 2 cups broccoli, sliced red pepper, and 1 cup snap peas.
- Stir fry for 3 minutes until the colors are vibrant and edges are slightly charred. Note: Do not overcook; they should still have a "snap".
Phase 4: The Final Emulsion
- Pour the prepared sauce into the pan with the vegetables.
- Stir constantly for 1 minute until the liquid bubbles and turns into a glossy glaze.
- Return the chicken to the pan and toss everything together for 30 seconds to coat.
- Garnish with sliced green onions and serve immediately over rice or noodles.
Fixing Flavor and Texture Mishaps
One common issue is the sauce becoming too thick, almost like a jelly. This usually happens if the heat is too high for too long or if the cornstarch wasn't measured accurately. Another problem is soggy vegetables, which is the result of putting a lid on the pan or cooking too many at once.
Fixing Soggy Vegetable Texture
If your vegetables have lost their crunch, there isn't a way to make them "un soft," but you can distract from the texture by adding a handful of toasted cashews or sesame seeds at the end.
In the future, ensure your pan is screaming hot before adding the greens and never add water to the pan during the vegetable phase.
Rescuing Thickened Sauce Clumps
If you see white clumps in your sauce, it means the cornstarch wasn't fully whisked into the cold liquid before heating. You can sometimes save this by quickly whisking in a tablespoon of hot water or broth to thin it out, but you have to act fast before the starch sets permanently.
| Problem | Root Cause | Solution |
|---|---|---|
| Gray, rubbery chicken | Pan was overcrowded | Cook in two batches next time |
| Sauce won't thicken | Cornstarch settled at bottom | Stir sauce again before pouring in |
| Bitter aftertaste | Garlic burned in high heat | Add garlic later or as part of the sauce |
Common Mistakes Checklist: ✓ Pat chicken dry before adding the cornstarch coating to ensure it sticks. ✓ Use a high smoke point oil like canola or grapeseed, never extra virgin olive oil. ✓ Cut all vegetables to a similar size so they finish cooking at the same time.
✓ Don't skip the 10 minute marinade; it's vital for the velveting process. ✓ Have all ingredients prepped and within reach before turning on the stove.
Smart Adaptations for Every Budget
If you are looking for a healthy teriyaki chicken stir fry, you can easily swap the brown sugar for honey or a dash of stevia, though the glaze won't be quite as shiny. For those who need a low carb option, serve the mixture over cauliflower rice or inside large lettuce cups for a refreshing crunch.
| Fresh Ingredients | Shortcut Options | Flavor Impact | Savings |
|---|---|---|---|
| Fresh Ginger/Garlic | Jarred paste | Slightly more acidic | Save 5 minutes |
| Fresh Broccoli/Peas | Frozen stir fry mix | Softer texture | Save $3-5 |
| Homemade Sauce | Bottled sauce | Much higher sodium | Save 3 minutes |
If you want a teriyaki chicken stir fry with noodles, simply boil some lo mein or udon noodles separately and toss them into the pan during the final emulsion phase. You might need to double the sauce recipe to ensure the noodles are fully coated.
If you prefer a teriyaki chicken stir fry with rice, fluffy jasmine rice is the traditional choice, but brown rice adds a lovely nutty flavor that complements the ginger.
Decision Shortcut: If you want maximum crunch, use fresh snap peas and peppers. If you want the fastest meal, use a bag of frozen stir fry vegetables. If you want the most authentic taste, use fresh ginger and chicken thighs.
Preserving Freshness and Reducing Waste
This dish keeps surprisingly well in the fridge for up to 4 days. The sauce actually continues to permeate the chicken, making the leftovers arguably more flavorful. To reheat, I suggest using a skillet over medium heat with a tiny splash of water to loosen the glaze, rather than the microwave, which can turn the chicken rubbery.
For zero waste cooking, don't throw away the broccoli stalks! Peel off the woody outer layer, slice the tender inner core into matchsticks, and throw them in with the florets. They have a wonderful sweetness. You can also freeze the chicken and sauce together in a freezer bag for up to 3 months.
Just thaw in the fridge overnight and stir fry the fresh vegetables when you're ready to eat.
Enhancing the Final Presentation
Presentation is what makes a simple meal feel like an event. I always finish my teriyaki chicken stir fry vegetables with a heavy sprinkle of toasted sesame seeds and the bright green tops of the scallions. The contrast between the dark mahogany sauce and the vibrant greens makes the dish pop.
If you're looking for a side, a simple cucumber salad with rice vinegar and a pinch of chili flakes provides a cooling contrast to the savory, warm stir fry. For a more substantial meal, serving this alongside a chicken fried rice recipe is a great way to feed a larger crowd while keeping the theme consistent.
Debunking Common Kitchen Beliefs
One myth is that you must have a wok to achieve "wok hei" or the breath of the wok. While a wok helps, you can achieve similar charred, smoky notes in a standard skillet by letting the ingredients sit undisturbed for 60 seconds against the hot metal.
Another misconception is that you need to marinate the chicken for hours. With the velveting technique, 10 minutes is all it takes for the cornstarch and soy to do their work.
Finally, many people think that more sauce is always better. In reality, too much sauce will drown the ingredients and turn your crispy sear into a soggy mess. The goal is a light, glossy coating that enhances the ingredients rather than hiding them.
Adjusting Yields for Any Crowd
If you need to feed a larger group, don't just double everything and throw it in the pan at once. You must work in batches. If you overcrowd the pan with 3 lbs of chicken, the temperature will drop, and you'll end up with steamed meat.
Cook the chicken in three or four batches, then do the same for the vegetables, and combine everything at the very end with the sauce.
When scaling down for one or two people, you can easily halve the ingredients. However, be careful with the sauce reduction time; a smaller amount of liquid will thicken much faster than a full batch, so stay vigilant to prevent burning. If you're looking for another easy meal to add to your rotation, our Chicken Breast Recipes offer great techniques for keeping meat juicy with different flavor profiles.

High in Sodium
980 mg mg of sodium per serving (43% % of daily value)
The American Heart Association recommends limiting sodium intake to about 2,300mg per day for overall cardiovascular health.
Tips to Reduce Sodium in this Recipe
-
Reduce Soy Sauce-25%
The recipe uses a significant amount of low sodium soy sauce, but even low sodium versions contribute a lot of sodium. Try reducing the total amount of soy sauce used for both the marinade and sauce by at least half and adjust to taste.
-
Dilute the Sauce-15%
Increase the water content in the sauce by doubling the amount of water (from 0.25 cup to 0.5 cup). This will help dilute the sodium concentration without significantly impacting the flavor.
-
Balance with Sweetness-5%
Increase the brown sugar by 1-2 tablespoons. This can help balance the reduction in soy sauce flavor and perceived saltiness.
-
Add More Vegetables-10%
Increasing the portion size of the low-sodium vegetables like broccoli, red bell pepper, and snap peas will help dilute the sodium content per serving. Increase each vegetable by 50%
-
Boost Flavor with Spices
Enhance the flavor profile with sodium free herbs and spices like black pepper, red pepper flakes (if you like heat), garlic powder (in addition to fresh garlic), or onion powder to compensate for the reduced soy sauce. Experiment with different combinations to find your favorite flavor.
Recipe FAQs
Can you use teriyaki sauce in a stir fry?
Yes, absolutely. Teriyaki sauce provides the foundational salty sweet flavor profile essential for this dish.
For best results, always thin commercial sauce with water or broth and thicken it slightly with cornstarch just before adding it to the pan.
Do you put teriyaki sauce on chicken before or after cooking?
After, primarily. Marinate the chicken briefly (10 minutes) with a small amount of soy sauce and cornstarch for velveting.
The main teriyaki glaze should be added at the very end to prevent the sugars from burning during the high heat searing process.
What's the secret to a flavorful stir fry?
Control the heat and manage moisture. The real flavor comes from achieving a hard sear on the chicken and developing a glossy, reduced glaze.
If you enjoyed mastering the sensory doneness cues here for searing, apply that same temperature precision to our Crockpot BBQ Chicken recipe for perfect, not overcooked, meat.
What are common mistakes to avoid in teriyaki stir fry?
The most common mistake is overcrowding the pan. This drops the temperature, causing ingredients to steam instead of sear, resulting in gray meat and soggy vegetables.
Always cook the chicken in batches, ensuring there is space between each piece for proper browning.
How do I thicken the teriyaki glaze properly so it coats the food?
Whisk the sauce thickener (cornstarch) into a cold liquid thoroughly before heating. The cornstarch needs to be fully suspended in the liquid.
Pour the mixture into the hot pan with the vegetables and stir continuously until it bubbles and coats the back of a spoon; this shows the starch has gelatinized.
Can I make this recipe ahead of time for meal prep?
Yes, the leftovers are excellent, but reheat carefully. Store the chicken, vegetables, and sauce separately if you plan to eat it days later.
Reheat the components in a skillet with a tiny splash of water over medium heat to re-emulsify the glaze without microwaving, which can toughen the chicken.
Is it true that fresh ginger and garlic must be added before the sauce?
No, this is a common misconception. Adding raw, chopped ginger and garlic directly to a hot pan often leads to burning before they release their flavor.
Mince or grate them finely and incorporate them into the sauce mixture; this infuses the entire glaze evenly, similar to how we bloom spices for the sauce in our Pollo Teriyaki Receta recipe.
Easy Teriyaki Chicken Stir Fry
Ingredients:
Instructions:
Nutrition Facts:
| Calories | 428 kcal |
|---|---|
| Protein | 55.6 g |
| Fat | 10.8 g |
| Carbs | 23.4 g |
| Fiber | 2.8 g |
| Sugar | 13.2 g |
| Sodium | 980 mg |
