One Bowl Banana Bread: Velvety and Caramelized
- Time: Active 10 minutes, Passive 55 minutes, Total 65 minutes
- Flavor/Texture Hook: A shatter crisp cinnamon crust with a velvety, chocolate studded center
- Perfect for: Weekend indulgence, gifting to neighbors, or rescuing forgotten fruit
- Bake the Ultimate One Bowl Banana Bread
- Why the Batter Stays Velvety
- Essential Performance Metrics for Success
- Sourcing Every Decadent Element Carefully
- The Best Tools for the Job
- Executing the Step by Step Process
- Solving Common Baking Roadblocks Quickly
- Creative Twists to Personalize Every Slice
- Kitchen Myths about Ripeness and Moisture
- Keeping Your Loaf Fresh Longer
- What to Serve This With
- Recipe FAQs
- 📝 Recipe Card
Bake the Ultimate One Bowl Banana Bread
There is nothing quite like the scent of warm cinnamon and melting butter wafting through the house on a lazy Sunday morning. I remember the first time I really understood the contrast between a mediocre bake and an indulgent one.
I had pulled a loaf out of the oven that looked beautiful, but the moment I sliced into it, the center was gummy and the edges were like rubber. It was a total failure, and honestly, it was because I treated the ingredients like an afterthought.
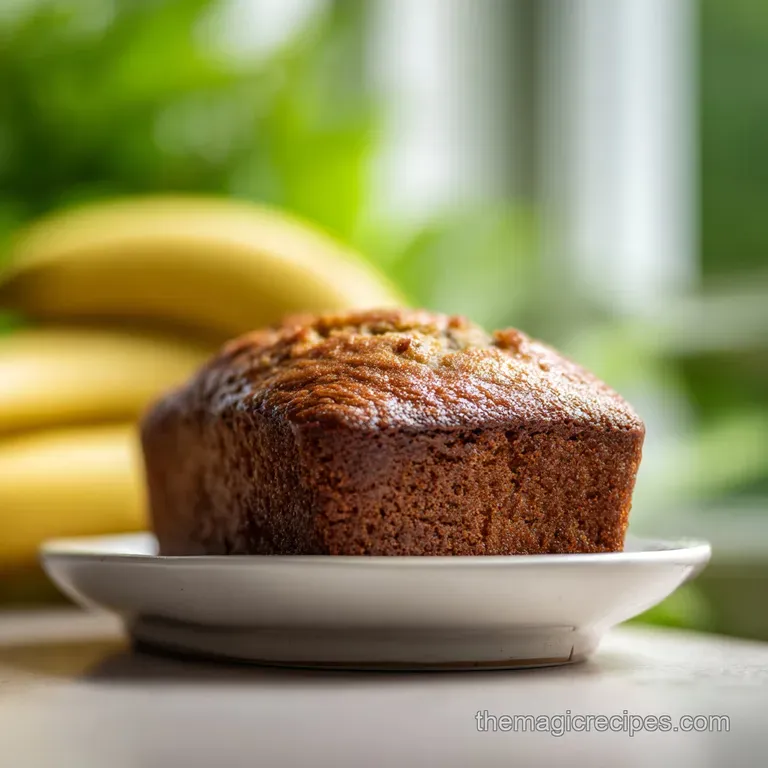
That rubbery texture usually happens because we overwork the batter or use bananas that aren't quite ready for their starring role. We want a loaf that offers a soft, tender interior against a slightly crisp, mahogany colored exterior.
This specific version solves that "dense brick" problem by leaning into the decadence of melted butter and the tangy moisture of sour cream. It’s the kind of slice that doesn't even need extra butter, though a little smear never hurts anyone.
You are looking for that specific sensory experience: the sound of the crust crackling as the serrated knife breaks through, followed by the sight of steam rising from a moist, pale gold crumb. This recipe isn't about being "healthy" or "quick" in a way that sacrifices quality.
It’s about the pure indulgence of a perfect bake that happens to be incredibly simple to put together. Let’s get into why this method actually works every single time.
Why the Batter Stays Velvety
Acid Reaction: The sour cream provides the necessary acidity to activate the baking soda, creating tiny air bubbles for a lighter lift.
Fat Saturation: Melted butter coats the flour proteins more effectively than softened butter, which helps prevent excessive gluten development for a tender bite.
Sugar Caramelization: Using packed brown sugar instead of white sugar adds molasses, which draws in moisture and creates that iconic dark, sticky crust.
Starch Gelatinization: High moisture bananas release their natural sugars during the bake, binding with the flour to create a dense but soft structure.
| Method | Cook Time | Texture | Best For |
|---|---|---|---|
| Hand Mashed | 55 minutes | Rustic with fruit pockets | Classic home feel |
| Stand Mixer | 50 minutes | Uniform and cake like | Perfectly even slices |
| Muffin Tin | 22 minutes | High crust to crumb ratio | On the-go snacking |
Selecting the right method depends entirely on what you want from your morning slice. If you love those little hits of intense banana flavor, mashing by hand with a fork is the way to go. The small lumps of fruit caramelize into sweet jewels inside the bread.
If you prefer something that looks like it came from a high end cafe, using a mixer will give you a much more uniform, velvety crumb. I usually stick to the bowl and fork because there is something deeply satisfying about the process.
Essential Performance Metrics for Success
| Ingredient | Science Role | Pro Secret |
|---|---|---|
| Overripe Bananas | Primary hydration and natural sweetener | Use skins that are almost entirely black for maximum sugar |
| Sour Cream | Tenderizing agent and leavening catalyst | Full fat is non negotiable for the right mouthfeel |
| Baking Soda | Chemical leavener for rise and browning | Sift it over the wet ingredients to avoid bitter clumps |
| Brown Sugar | Humectant (moisture retainer) | Pack it tight in the cup to ensure the ratio is perfect |
Getting the balance right between these four elements is what prevents the loaf from becoming dry or falling flat. The bananas aren't just for flavor; they provide the bulk of the liquid in this recipe.
When they are truly overripe, their starches have converted almost entirely to sugar, which is why your kitchen will smell like a candy shop while this bakes.
Sourcing Every Decadent Element Carefully
- 3 large ripe bananas (375g):Why this? They provide the foundation for both moisture and natural sweetness.
- 1/2 cup (113g) unsalted butter, melted:Why this? Melted fat ensures a fudgy, indulgent texture throughout the loaf.
- 3/4 cup (150g) brown sugar, packed:Why this? The molasses content helps create a deep, caramelized exterior.
- 1 large egg, room temperature:Why this? An easy emulsifier that binds the fats and liquids together.
- 1 tsp pure vanilla extract:Why this? It rounds out the sweetness and highlights the banana notes.
- 2 tbsp (30g) sour cream:Why this? The secret to a velvety crumb that never turns rubbery.
- 1 tsp baking soda:Why this? The lifting agent that reacts with the acidic sour cream.
- 1/2 tsp fine sea salt:Why this? Essential for balancing the sugar and intensifying the chocolate.
- 1 tsp ground cinnamon:Why this? Adds a warm, aromatic layer to every single bite.
- 1.5 cups (190g) all purpose flour:Why this? Provides the structural framework without being too heavy.
- 1/2 cup (90g) semi sweet chocolate chips:Why this? Little pockets of melted indulgence in every slice.
| Original Ingredient | Substitute | Why It Works |
|---|---|---|
| Sour Cream | Greek Yogurt (Full Fat) | Similar acidity level. Note: Result is slightly tangier |
| Brown Sugar | Coconut Sugar | Similar moisture profile. Note: Adds a subtle toasted nut flavor |
| Unsalted Butter | Melted Coconut Oil | 1:1 ratio. Note: Makes the loaf even more moist but less buttery |
When swapping ingredients, keep in mind that the fat content is the most important part of this equation. If you use a low-fat yogurt instead of sour cream, the bread will still bake, but it might lose that luxurious, heavy on-the tongue feel we are aiming for. I always recommend sticking to the full fat versions for the best possible experience. If you're feeling adventurous with your bakes, you might also enjoy the texture of this Banana and Chocolate Chip Loaf for a slightly different take on the classic.
The Best Tools for the Job
You don't need a kitchen full of gadgets for this one bowl banana bread. A sturdy glass or ceramic mixing bowl is ideal because it gives you enough room to mash and stir without splashing batter everywhere.
I prefer a heavy duty fork for mashing the bananas; a potato masher works too, but a fork allows for more precision in keeping those tiny "flavor lumps" intact.
For the baking vessel, an 8.5 x 4.5 inch loaf pan is the gold standard. Using a metal pan will give you sharper edges and a better crust, while glass tends to bake a bit slower and can sometimes result in over browned sides before the middle is set. Always use parchment paper.
It’s the easiest way to lift the loaf out without it sticking, and it makes cleanup a breeze.
Executing the step-by-step Process
- Preheat your oven to 350°F (175°C). Line an 8.5 x 4.5 inch loaf pan with parchment paper, leaving an overhang on the sides. Note: This creates a "sling" for easy removal later.
- In a large mixing bowl, mash the peeled bananas with a fork or potato masher until mostly smooth but with visible texture.
- Stir the melted butter into the mashed bananas until fully combined. Incorporate the brown sugar, egg, vanilla, and sour cream. Whisk vigorously with your fork until the mixture looks glossy and uniform.
- Sprinkle the baking soda, salt, and cinnamon directly over the wet mixture and stir well. Note: Mixing the leavener into the wet ingredients ensures it doesn't leave streaks in the flour.
- Add the all purpose flour. Use a spatula to fold the flour in gently, stopping the moment you see no more white streaks.
- Fold in the chocolate chips. Pour the batter into the prepared pan and bake for 55 minutes, until the top is dark gold and a tester comes out clean.
- Allow the loaf to cool in the pan for 10 minutes. Note: This "carryover" time allows the structure to set so it doesn't crumble.
- Lift the bread out using the parchment sling and transfer to a wire rack. Wait at least 20 minutes before slicing to ensure the crumb is velvety.
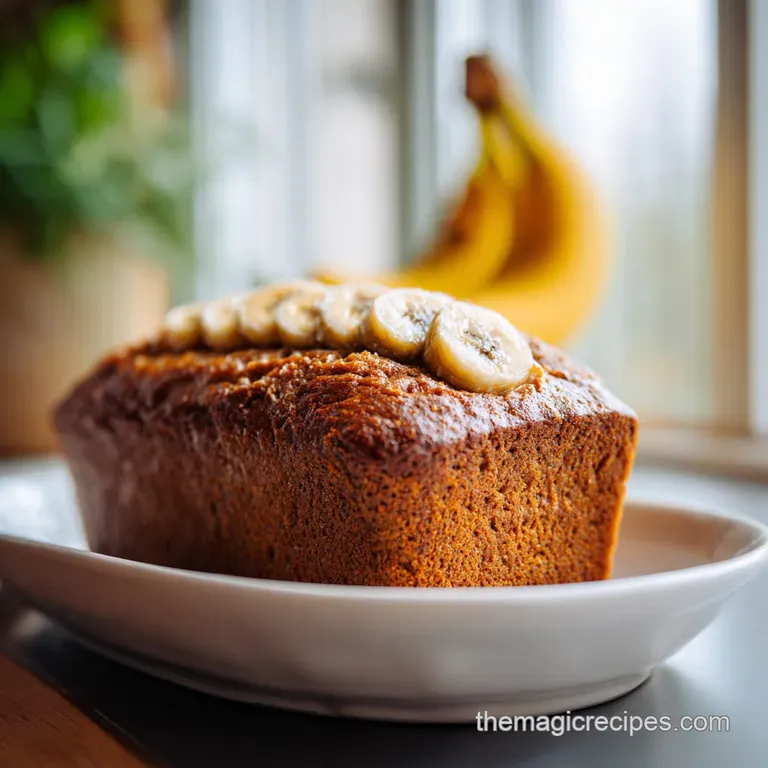
- Slice into thick slabs using a serrated bread knife. Notice how the chocolate chips stay suspended rather than sinking to the bottom.
- Serve warm or at room temperature. The flavors actually deepen by the second day as the moisture redistributes.
Solving Common Baking Roadblocks Quickly
Why Your Loaf Is Gummy
A gummy or "rubbery" texture is the most common heartbreak in banana bread history. Usually, this is caused by over mixing the batter once the flour is added. When you stir too much, you develop gluten, which is great for chewy sourdough but terrible for tender quick breads.
Another culprit is using bananas that aren't ripe enough; if they are firm and yellow, they won't break down properly, leaving you with a dense, starchy mess instead of a velvety crumb.
Avoiding the Burnt Crust
Since we are using a decent amount of sugar and baking for 55 minutes, the exterior can sometimes brown faster than the interior cooks. If you notice the top getting a bit too dark around the 40 minute mark, simply tent a piece of aluminum foil over the pan.
This reflects the direct heat and allows the middle to finish baking without turning the crust into a charcoal briquette.
Fixing the Sunken Middle
If your bread looks beautiful in the oven but collapses as soon as you pull it out, it likely wasn't fully cooked. Banana bread is deceptive because the sugar creates a dark crust quickly, making it look done when the center is still liquid. Always use a wooden skewer or a thin knife to test the very center.
If it comes out with wet batter, give it another 5 minutes.
| Problem | Root Cause | Solution |
|---|---|---|
| Dry and Crumbly | Too much flour or over baked | Measure flour by weight; check doneness 5 mins early |
| Sunken Center | Under baked or expired baking soda | Use a thermometer (200°F internal); check soda freshness |
| Greasy Bottom | Butter not fully emulsified | Whisk the egg and butter thoroughly before adding flour |
Common Mistakes Checklist
- ✓ Never use green or perfectly yellow bananas (they lack the necessary sugar and moisture)
- ✓ Stop mixing the second the flour disappears (over mixing creates a tough, rubbery loaf)
- ✓ Don't skip the sour cream (the acidity is vital for the chemical reaction with the soda)
- ✓ Ensure your egg is at room temperature so it incorporates smoothly into the melted butter
- ✓ Let the bread cool for at least 10 minutes in the pan to prevent it from falling apart
Creative Twists to Personalize Every Slice
One of the best things about this one bowl banana bread is how well it takes to variations. While the chocolate chips add a beautiful decadence, you can easily swap them for toasted walnuts or pecans if you prefer a bit of crunch.
If you want a more "grown up" flavor profile, try adding a pinch of freshly grated nutmeg or even a tablespoon of espresso powder to the batter. This deepens the cocoa notes and makes the bread feel like something from a boutique bakery.
For those who need to avoid gluten, this recipe is surprisingly sturdy. You can swap the all purpose flour for a high-quality 1:1 gluten-free baking blend. Because the bananas and sour cream provide so much moisture, you won't end up with that gritty texture that sometimes plagues gluten-free bakes. If you're looking for other fruit forward treats, you might also enjoy this Moist Lemon Pound Cake which uses a similar high fat logic for a tender finish.
If you want to go the "extra" route, try a swirl. Take half the batter, mix it with a tablespoon of cocoa powder, and alternate dollops in the pan. Run a knife through the batter to create a marbled effect. It looks stunning and adds another layer of flavor contrast that makes the banana pop.
Kitchen Myths about Ripeness and Moisture
A common misconception is that more bananas always lead to a moister bread. In reality, adding too much fruit throws off the ratio of liquid to starch, which often results in a loaf that never quite sets in the middle. Stick to the 3 banana limit for the best structural integrity.
Another myth is that you can't use bananas that have turned completely black. As long as there is no mold and they don't smell fermented, those "ugly" bananas are actually the gold standard for baking.
Some people believe you must cream softened butter and sugar to get a good rise. While that works for sponge cakes, melted butter is actually superior for one bowl banana bread. It creates a denser, more moist crumb that feels much more indulgent on the palate.
You aren't looking for an airy, fluffy cake; you want something substantial and rich.
Keeping Your Loaf Fresh Longer
Storage is key to maintaining that velvety texture. Once the loaf has cooled completely, wrap it tightly in plastic wrap or store it in an airtight container at room temperature. It will stay fresh for about 3 to 4 days.
In fact, many people (including myself) think it tastes even better on day two because the moisture from the bananas has time to settle into the crumb, making it even more fudgy.
If you find yourself with leftover slices that are starting to get a bit dry, don't throw them away. This bread makes the most incredible French toast you will ever eat. The high sugar content means it caramelizes beautifully in a pan with a little extra butter.
You can also cube up any dry pieces and use them as a base for a decadent bread pudding.
For long term storage, this bread freezes beautifully. Slice the loaf first, then wrap individual slices in parchment paper before placing them in a freezer bag. This way, you can grab a single slice and pop it in the toaster or microwave whenever the craving hits. It will stay good in the freezer for up to 3 months.
What to Serve This With
While a thick slice of this bread is a meal in itself, it also plays well with others. For a full on brunch spread, serve it alongside some salted butter and a jar of high-quality orange marmalade. The bitterness of the citrus cuts through the sweetness of the chocolate and banana perfectly.
If you're serving this as a dessert, a dollop of lightly sweetened whipped cream or a scoop of vanilla bean ice cream turns it into a restaurant worthy treat.
Since we've leaned into the "one bowl" simplicity, keep the pairings simple too. A strong cup of black coffee or a spicy chai latte is the perfect companion to the cinnamon and brown sugar notes in the bread.
If you're looking for a more savory contrast, a side of crispy thick cut bacon or some sharp cheddar cheese offers a fantastic counterpoint to the sweetness. Whatever you choose, just make sure you have enough for seconds, because this loaf tends to disappear much faster than you’d expect.

Recipe FAQs
Is it true I must use fresh bananas for the best loaf?
No, this is a common misconception. You actually need overripe, spotted bananas because they provide the essential sugar and moisture required for a tender crumb; fresh, yellow bananas lack these characteristics.
How to ensure the texture stays light and moist?
Stop mixing the moment the flour disappears. Over mixing develops excess gluten, which turns your loaf rubbery instead of soft. If you enjoyed learning to handle delicate batters here, apply those same gentle folding skills when making our strawberry kiss cookies.
Is it okay to skip the sour cream?
No, do not omit it. The sour cream provides necessary acidity that reacts with the baking soda to help the bread rise effectively.
How to tell when the bread is finished baking?
Insert a tester into the center of the loaf. The bread is ready when the tester comes out clean, usually after 55 minutes at 350°F.
Do I really need to let it cool in the pan?
Yes, wait at least 10 minutes. Giving the bread time to set in the pan prevents the loaf from crumbling or falling apart when you lift it out.
Should I use cold eggs directly from the fridge?
No, use room temperature eggs. A cold egg can cause the melted butter to seize and turn lumpy, preventing a smooth, uniform batter.
How to properly mix the leavening agents?
Sprinkle the baking soda, salt, and cinnamon directly over the wet mixture. Stirring them into the wet base before adding the flour ensures they are evenly distributed so the bread rises consistently.
One Bowl Banana Bread

Ingredients:
Instructions:
Nutrition Facts:
| Calories | 299 kcal |
|---|---|
| Protein | 3.5 g |
| Fat | 13.1 g |
| Carbs | 43.9 g |
| Fiber | 1.8 g |
| Sugar | 25.2 g |
| Sodium | 232 mg |
