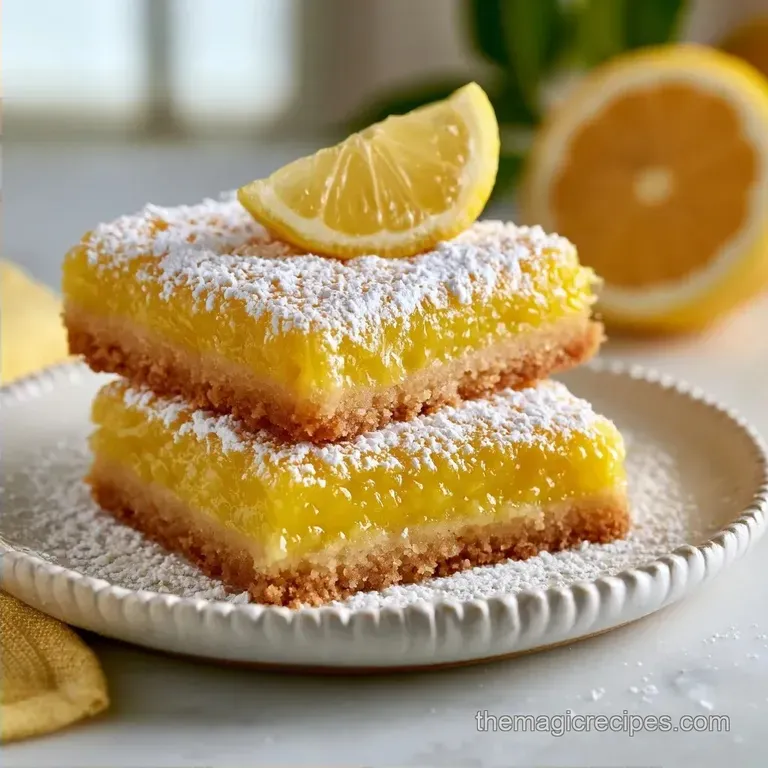
Big Batch Lemon Bars for a Crowd
- Time: 15 min active + 2 hrs chilling
- Flavor/Texture Hook: Tangy, buttery, and zesty
- Perfect for: Bake sales, spring brunches, or a decadent afternoon treat
That scent of zesty lemon peel hitting melted butter is something I can smell just thinking about it. It fills the whole house, making everything feel like a bright spring morning even if it's raining outside. There is something about the sharp contrast of citrus and sugar that just works.
I remember my first time making these. I completely forgot the parchment paper and tried to lift the bars out of the pan with a knife. It was a disaster. I spent twenty minutes chipping away at the edges, and the bars looked like they'd been through a war. Now, the overhang is non negotiable.
You can expect a treat that tastes like a professional bakery item but comes from your own oven. These Lemon Bars have a thick, custardy center and a crust that doesn't crumble into dust the second you touch it. Let's get into it.
Classic Lemon Bars
The trick to the texture is all in the timing. If you pull them out too early, you get a lemon soup. If you leave them too long, the filling cracks. You want a slight jiggle in the middle, like a set panna cotta.
Cornstarch: It binds the lemon juice and eggs, ensuring the filling stays stable. Creaming Butter: Beating the powdered sugar into the butter keeps the shortbread tender.
| Method | Time | Texture | Best For |
|---|---|---|---|
| Oven Baked | 35 mins | Custard like | Classic dessert |
| Stovetop Curd | 20 mins | Dense/Smooth | Tart filling |
How Ingredients Interact
I've spent a lot of time figuring out why some bakes feel too heavy. For a base that isn't too dense, the ratio of flour to butter has to be spot on. According to King Arthur Baking, the temperature of your butter affects how the flour hydrates, which is why softened butter is key here.
| Ingredient | What It Does | Best Swap |
|---|---|---|
| Unsalted Butter | Provides richness and structure | Salted butter (omit added salt) |
| Cornstarch | Thickens the citrus curd | Arrowroot powder (1:1 ratio) |
| Lemon Juice | Adds the essential tartness | Lime juice (for a different zing) |
Essential Kitchen Gear
You don't need a fancy setup, but a 9x13 inch pan is the standard for an Easy Lemon Bars 9x13 Pan setup. I suggest using a metal pan rather than glass, as metal conducts heat more evenly and prevents the edges from overcooking before the center sets.
A whisk is mandatory for the filling. You need to get the air in there and make sure no lumps of cornstarch remain. I also use a measuring cup to press the dough into the corners. It's much faster than using your fingers and ensures an even thickness.
Making the Bars
Preheat your oven to 175°C (350°F). Line your 9x13 pan with parchment paper, leaving an overhang on the sides for easy removal.
Cream the 225g of softened butter and 60g of powdered sugar until smooth. Stir in 250g of all purpose flour and 1.5g of salt until a soft dough forms.
Press the dough evenly into the bottom of the pan. Use the bottom of a measuring cup to ensure the corners are packed tightly.
Bake the crust for 20 minutes until the edges are lightly golden and the center looks set. It should smell like toasted butter at this point.
While the crust bakes, whisk together 400g of granulated sugar, 24g of all purpose flour, and 12g of cornstarch in a medium bowl.
Add 4 large eggs one at a time, whisking vigorously until no lumps remain.
Stir in 120ml of fresh lemon juice and 6g of lemon zest until the mixture is smooth and aromatic. The smell should be sharp and bright.
Pour the lemon filling directly over the hot crust.
Bake for another 15-20 minutes. The filling should be set around the edges but still jiggle slightly in the center.
Remove from the oven and allow to cool completely on a wire rack.
Refrigerate for at least 2 hours before lifting the parchment paper out and slicing into 24 squares. This wait is the hardest part, but it's the only way to get those clean edges.
Chef's Note: To get an even more intense citrus hit, rub the lemon zest into the granulated sugar with your fingertips before whisking. This releases the essential oils.
Solving Texture Issues
The most common struggle with Lemon Bars is the "soggy bottom." This usually happens if the crust isn't baked long enough or if the filling is too watery. Make sure you use fresh lemons, as bottled juice often has a different consistency.
Troubleshooting Common Issues

| Issue | Solution |
|---|---|
| Why Your Filling Cracked | This usually means the bars stayed in the oven too long. The eggs overcook and the structure breaks. Pull them out while there's still a slight wobble. |
| Why Your Crust is Soggy | Either the crust was underbaked, or the bars weren't chilled long enough. The refrigeration step is what locks the moisture in place. |
| Why Your Filling is Lumpy | Lumps usually come from cornstarch that wasn't whisked well with the sugar. Sifting your dry ingredients first can help. |
Customizing the Flavor
If you're making Batch Lemon Bars for a party, you might want to switch things up. For a berry twist, you can drop a few fresh raspberries onto the filling before the final bake. The tartness of the berries pairs beautifully with the lemon.
For a creamier texture, some people like to fold in a bit of mascarpone to the filling. This turns them into something closer to a cheesecake bar. If you want another fruit based treat for your dessert table, my Classic Rhubarb Pie is a great companion for these.
If you need a gluten-free option, you can swap the all purpose flour for a 1:1 GF blend. The crust will be slightly more crumbly, but the lemon filling remains naturally gluten-free. For those who want a more citrus heavy version, I recommend a Large Batch Lemon Bars approach with extra zest.
Sizing Your Batch
If you want to make a smaller version, you can use an 8 inch square pan. Halve the ingredients, but remember to beat one egg and use only half of it. Reduce the baking time for the crust by about 20%, and keep a close eye on the filling.
For those making Big Batch Lemon Bars, don't just double the salt and spices. Increase salt to 1.5x and reduce the liquids by about 10% to prevent the filling from becoming too runny. It's better to work in batches rather than trying to fit too much into one pan, as the center will struggle to set.
When doubling a bake, I often lower the temperature to 160°C (325°F) and extend the time. This prevents the edges from burning while the middle is still raw.
Baking Myths Debunked
You might hear that you have to use only organic lemons to get the best flavor. This is a myth. Any fresh, juicy lemon works, as long as you zest it yourself.
Another one is that you should never pour filling onto a hot crust. Actually, pouring the lemon mixture onto the hot base helps them bond together, which prevents the filling from sliding off the crust when you slice it.
Storage and Scraps
Keep these in the fridge in an airtight container for up to 5 days. If you want to freeze them, slice the bars first and freeze them on a tray for an hour before moving them to a bag. They'll last about 3 months in the freezer. Thaw them in the fridge overnight for the best texture.
Don't toss your lemon peels. You can simmer the leftover rinds with sugar and water to make a simple syrup for cocktails or desserts. If you have a few bars left over and they've gotten a bit soft, you can crumble them over a bowl of fresh blueberries and cream.
Best Serving Combos
These Old Fashioned Lemon Squares are quite rich, so they pair well with something light. A dollop of unsweetened whipped cream or a few fresh blackberries on top balances the sugar.
If you're serving these at a dinner party, consider them alongside a different creamy dessert. A Classic Tiramisu provides a coffee based contrast to the zingy citrus.
For a simple afternoon, just a cup of Earl Grey tea is the way to go. The bergamot in the tea echoes the citrus in the Lemon Bars, making the whole experience feel more cohesive. If you're using a sheet pan lemon bars method, you can cut them into smaller, bite sized pieces for a cocktail party.
Ultimately, the best way to serve them is chilled. The cold temperature makes the filling feel silky and the crust feel more like a crisp shortbread. Trust me on this, the 2 hour wait is worth every second.
Recipe FAQs
Are lemon bars a good choice for a summer dessert?
Yes, they are ideal for warm weather. The tart citrus profile is incredibly refreshing, and since they are served chilled, they provide a cool contrast to summer heat.
Why did my lemon bar filling crack during baking?
You likely left them in the oven too long. Overcooking causes the egg structure to break; pull the pan out while the center still has a slight jiggle.
Is it true that a soggy crust is caused by too much lemon juice?
No, this is a common misconception. Soggy crusts are typically caused by underbaking the base or failing to refrigerate the bars for the full two hours.
How to store lemon bars to keep them fresh?
Place them in an airtight container in the fridge. They stay fresh for 5 days, or you can freeze sliced bars for up to 3 months after freezing them on a tray first.
Why is my lemon filling lumpy?
The cornstarch probably wasn't whisked well into the sugar. To prevent this, sift your dry ingredients together before adding the eggs.
What is the secret to getting clean, sharp slices?
Refrigerate the bars for at least 2 hours. This cooling period firms up the filling and locks in moisture, allowing the knife to glide through without smearing.
What is a good drink pairing for these bars?
Pair them with a chilled, fruit forward beverage. If you love the tart sweet balance in this recipe, you will enjoy the same flavor logic used in a classic red sangria.
Big Batch Lemon Bars