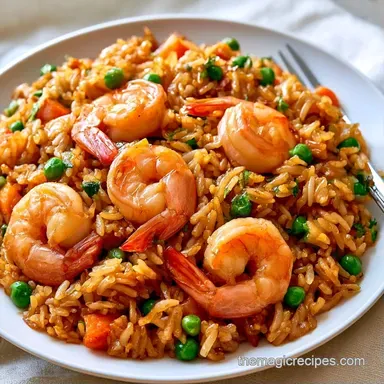
Blackstone Shrimp Fried Rice in 25 Minutes
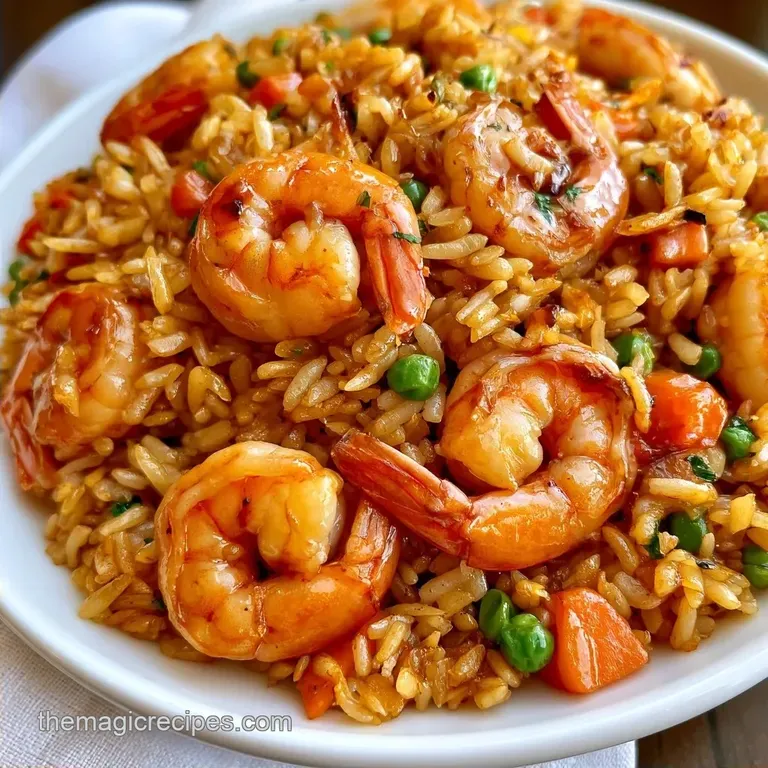
- Time: 10 min prep + 15 min cook
- Flavor/Texture Hook: Toasted, mahogany grains with snap fresh shrimp
- Perfect for: Outdoor gatherings or a fast, high protein dinner
There is something musical about the sound of a pound of shrimp hitting a scorching griddle. That violent sizzle is the signal that a proper sear is underway. I used to believe that achieving that characteristic toasted flavor required a commercial grade wok and a burner powerful enough to warp the floor.
For months, I struggled with a small non-stick skillet that couldn't handle the demand, which usually left me with clumpy, soggy rice.
However, the secret isn't actually the gear it's the available surface area. Overcrowding a pan traps moisture from the shrimp and vegetables, turning your meal into a steam bath. This is precisely why takeout often tastes superior.
Everything finally fell into place once I switched this process to the Blackstone.
You can achieve a stellar Shrimp Fried Rice without a commercial setup. All it takes is a bit of patience with your grains and a cooking surface capable of high heat tossing. Once you witness the rice transform into a deep golden brown, you'll abandon the "mushy pan" approach forever.
Quick Look at Shrimp Fried Rice
This dish is a balance of salty, sweet, and savory. By using a griddle, we spread the ingredients thin, allowing the moisture to evaporate almost instantly. This means the rice actually fries instead of boiling in its own juices.
Most people make the mistake of using fresh rice, which is too moist. I've learned that the dry, slightly hardened grains of day old rice are the only way to go. They absorb the sauce without breaking down, keeping each grain distinct.
The flavor profile here is focused on the aromatics. Garlic and ginger hit the heat first, creating a fragrant base that perfumes every single piece of shrimp and rice. It's a fast process, but the order of operations is what keeps the shrimp juicy and the vegetables crisp.
The Shopping List
Success starts with the components you choose. I opt for avocado oil due to its high smoke point, ensuring it doesn't burn or turn bitter at high griddle temperatures. While Jasmine rice is the gold standard, remember that the age of the grain is more important than the specific type.
Before we dive into the list, here is a quick comparison between fresh ingredients and the convenient shortcut versions available at the store.
| Component | Fresh/Traditional | Shortcut Version | Impact on Dish |
|---|---|---|---|
| Rice | Day old chilled Jasmine | Pre cooked pouch rice | Pouch rice works but can be too soft |
| Veggies | Freshly diced onion/carrot | Frozen pea and carrot mix | Frozen is faster and stays crispier |
| Shrimp | Raw, peeled and deveined | Pre cooked frozen shrimp | Pre cooked often turns rubbery |
What Each Ingredient Does
| Ingredient | What It Does | Best Swap |
|---|---|---|
| Day old Jasmine Rice | Ensures a firm, non sticky base | Long grain white rice |
| Low sodium Soy Sauce | Delivers salt and rich umami color | Tamari (for gluten-free) |
| Sesame Oil | Adds a toasted, nutty scent | Toasted sesame seeds |
| Avocado Oil | Allows high heat searing without smoking | Grapeseed oil |
The Full List
- 1 lb raw shrimp, peeled and deveined Why this? Raw shrimp sear better and stay juicier
- 3 cloves garlic, minced
- 1 tbsp fresh ginger, grated
- 2 tbsp avocado oil
- 1 cup frozen peas and carrots, thawed Why this? Preserves a vivid color and a nice snap
- 1 small yellow onion, finely diced
- 3 large eggs, lightly beaten
- 2 stalks green onion, sliced
- 3 tbsp low sodium soy sauce Why this? Keeps the final dish from becoming too salty
- 1 tbsp toasted sesame oil
- 1 tsp honey
- 1/2 tsp white pepper
- 4 cups chilled, day old Jasmine rice Why this? Dried out grains prevent clumping or mushiness
Gear You Will Need
A Blackstone griddle is the gold standard for this, but you can use any large flat top or even two large cast iron skillets if you're feeling ambitious. The goal is to avoid crowding.
- Blackstone Griddle: Provides the surface area needed for a proper sear.
- Metal Spatulas (2): Essential for tossing and flipping the rice rapidly.
- Small Mixing Bowl: To prep the sauce so you aren't fumbling with bottles while the rice is frying.
- Fork or Hands: To break up the cold rice clumps before they hit the heat.
Chef Note: If you're using a stove, don't be afraid to cook the shrimp and veggies in batches. If you dump everything in at once, the temperature drops and you lose the fry.
Cooking the Meal
Let's get started. This process moves quickly, so keep your prepped ingredients in bowls right next to the griddle.
Phase 1: The Cold Prep
Break apart any clumps in the cold Jasmine rice using a fork or your fingers. You want separate grains rather than chunks. In a small bowl, whisk together the low sodium soy sauce, sesame oil, honey, and white pepper. This ensures the flavors are evenly distributed without creating salty patches.
Phase 2: Searing the Protein
Heat the Blackstone griddle to medium high and apply a light coating of avocado oil. Arrange the shrimp in a single layer and sear for 2 minutes per side until they are pink and opaque. Move them immediately to the cool zone of the griddle to prevent overcooking.
Per USDA guidelines, shrimp are safe once they reach an internal temperature of 145°F.
Phase 3: The Veggie & Egg Scramble
On the hot center section, sauté the diced yellow onions until they look translucent. Stir in the grated ginger and minced garlic for 30 seconds. Push the vegetables to the side and pour in the beaten eggs.
Scramble them quickly with a spatula until just set, then mix in the thawed carrots and peas.
Phase 4: The over High heat Fry
Turn the heat up to high. Spread the chilled rice across the griddle in a thin layer. Let it sit for 60 seconds until you hear a crackle and see a crispy crust forming.
Toss the rice with the eggs and vegetables, then move the shrimp back to the center. Pour the prepared sauce over the mixture. Toss rapidly for 2-3 minutes until the rice is mahogany colored and steaming. Remove from the heat and garnish with sliced green onions.
Why This Method Works
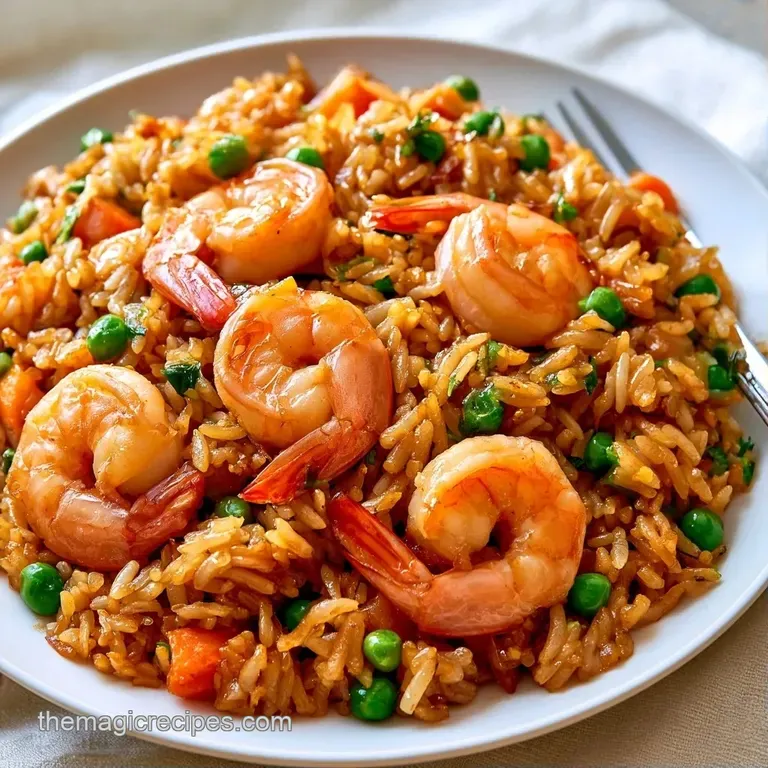
The key to success is managing the moisture. Using cold rice ensures the starch has crystallized, which keeps the grains from clumping together.
Surface Area: A wide griddle allows the rice to spread out, enabling water to evaporate so the grains can toast properly. Temperature Zones: Shifting the shrimp to a cooler spot prevents them from getting rubbery while the rice finishes cooking.
Now you have a meal with an authentic hibachi style flavor. If you're looking for a few specific adjustments for different results, here is a quick guide.
- For a crispier crust: use rice chilled for 24 hours instead of 12.
- For a spicier kick: add 1 tbsp sriracha to the sauce mixture.
- For more veg: double the peas and carrots, but sauté them longer to remove moisture.
Fixing Common Issues
Even with a griddle, things can go wrong. Here is a guide to fixing the usual glitches.
Rice Sticking to the Griddle
This usually occurs if the surface isn't hot enough or you didn't use enough oil. The rice needs to sear immediately to form a non-stick crust. If it sticks, add a small squirt of oil directly to that area and let it sizzle for 10 seconds before moving the rice.
Rubbery Shrimp
This is caused by overcooking. Shrimp cook extremely fast. As soon as they turn opaque and form a "C" shape, remove them from the heat. If they curl into a tight ",", they've gone too far. Shifting them to the cool zone of the griddle is the best way to stop them from cooking further.
Clumping Grains
If your Shrimp Fried Rice looks like a giant ball of dough, your rice was likely too fresh or too wet. If this happens while cooking, increase the heat and stop stirring for a minute. Let the bottom layer crisp up and release from the rest.
In the future, spreading the rice on a baking sheet in the fridge for an hour can help dry it out.
Storage and Zero Waste
Keep any remaining portions in a glass container in the refrigerator, where this Shrimp Fried Rice will stay fresh for about 3 days.
When it's time to reheat, try to skip the microwave to prevent the rice from becoming gummy. Instead, stir fry a portion in a hot pan with a teaspoon of oil for 3 minutes to restore that toasted texture.
To minimize waste, save the ends of your green onions. I place mine in a small jar of water on the windowsill, and they usually regrow within a week. You can also peel and freeze any extra ginger root; grating it while frozen is actually simpler than grating it fresh.
Flavor Twists and Swaps
This dish works perfectly as a base for additional flavors. To add some kick, try serving it with a side of Bang Bang Sauce for a spicy, creamy balance.
For a more classic Japanese inspired touch, topping the meal with a drizzle of Yum Yum Sauce provides a delightful tang.
Protein Additions
Transform this into a "surf and turf" feast by incorporating cubed steak. Simply sear the beef over the high heat zone first, then transfer it to the cool zone with the shrimp, mixing everything together at the end.
Tropical Vibes
If you have canned pineapple chunks on hand, sear them on the griddle for 2 minutes until caramelized. Stir them into the rice just before serving. The pineapple's sweetness complements the salty notes of the soy sauce beautifully.
Plating and Serving
How you present this depends on who you're feeding. For a casual family dinner, a big heap in a bowl is fine. But if you're trying to impress someone, a few small tweaks make it look restaurant quality.
| Level | Presentation Style | Key Tweaks |
|---|---|---|
| Simple | Family Style | Serve in a large bowl with green onions on top |
| Polished | Individual Plates | Use a ring mold for a neat cylinder; sprinkle sesame seeds |
| Restaurant | The Showstopper | Spread on a flat platter with sliced avocado and a lime wedge |
For the restaurant look, I like to place a lime wedge on the side. A squeeze of fresh lime right before eating cuts through the richness of the sesame oil and brightens the whole dish. It's a small touch, but it makes the Shrimp Fried Rice feel a lot more professional.
Right then, that's how you do it. No fancy woks, no expensive burners, just high heat and the right prep. Let me know how yours turns out!
Recipe FAQs
How to make the best fried rice on a Blackstone?
Preheat the griddle to medium high heat and sear chilled rice on high for 60 seconds to develop a crispy crust.
Tip: toss the mixture rapidly for 2-3 minutes to achieve a mahogany color.
What sauce goes in shrimp fried rice?
Combine the low-sodium soy sauce, toasted sesame oil, honey, and white pepper using a whisk. For another example of these balanced savory flavors, check out our traditional recipe.
Tip: Mix everything in a small bowl beforehand to ensure the honey is completely incorporated.
Is it true that fresh rice works as well as day-old?
That's a myth. Fresh rice contains too much moisture and will clump rather than fry.
Tip: spread chilled rice on a baking tray in the fridge to dry it out faster.
Do you cook the rice before putting it on the griddle?
Yes, use chilled, day-old Jasmine rice that has already been steamed or boiled.
Tip: break up any remaining clumps with your hands before adding it to the heat.
Which oil is best for high heat searing?
Avocado oil is the best choice because it has a very high smoke point.
Tip: apply a thin layer across the surface to prevent the shrimp from sticking.
Why move the shrimp to the cool zone?
This prevents the shrimp from becoming rubbery while you sauté the vegetables and scramble the eggs.
Tip: return the shrimp to the center only during the final few minutes of tossing.
Can the remaining ginger be frozen?
Yes, peel the ginger root and store it in the freezer.
Tip: grate the root while it is still frozen for easier preparation.
Blackstone Shrimp Fried Rice