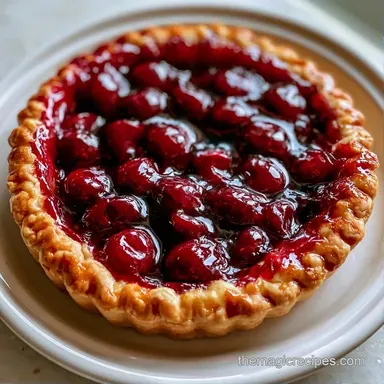
Classic Summer Cherry Pie with a Buttery Crust
- Time: 30 min active + 1 hour chilling
- Flavor/Texture Hook: Buttery, shattering crust with a tart, glossy filling
- Perfect for: Family reunions, Fourth of July, or a lazy Sunday dessert
The sound of a pie crust cracking under a fork is honestly the best part of the whole process. I remember the first time I tried this in my old apartment, and the smell of bubbling cherries and cinnamon filled the entire hallway. My neighbors actually knocked on my door asking what was happening.
It's not just about the fruit. It's about that contrast between the salty, buttery pastry and the bright, acidic pop of the cherries. This is a treat that demands you take your time with the dough.
You can expect a pie that holds its shape when sliced, rather than collapsing into a puddle on the plate. We're making a Classic Summer Cherry Pie that tastes like it came from a high end bakery, but it's all done in your own kitchen.
Classic Summer Cherry Pie
The goal here is a pastry that shatters when you bite into it. Most people rush the butter, but the coldness is what creates those layers. When the cold fat hits the oven, it evaporates and pushes the dough up, leaving behind those flaky pockets we love.
I've found that letting the cherries sit with the sugar for a few minutes is a non negotiable step. It draws out the juices and lets the cornstarch dissolve, which prevents those weird white lumps in your filling.
For more tips on working with stone fruits, you might enjoy my Homemade Peach Pie approach, which uses a similar logic for the crust.
Common Pitfalls with Cherry Pies
Many recipes fail because they don't account for the sheer amount of juice cherries release. If you just toss them in, you end up with a "soup pie" where the bottom crust is basically raw dough. We fix this by using a blend of cornstarch and flour to stabilize the syrup.
Another issue is the shrinking crust. This happens when the gluten in the flour gets too tight from overworking or when the dough is too warm. Resting the dough in the fridge lets the gluten relax, so the crust stays where you put it.
According to King Arthur Baking, keeping your fats cold is the single most important factor for a tender crust. If the butter melts before it hits the oven, you lose the flake.
Method Comparison
| Feature | Fast/store-bought | This Classic Method | Result Difference |
|---|---|---|---|
| Crust Prep | 5 mins | 30 min + chill | store-bought is denser; this is flaky |
| Filling | Canned filling | Fresh cherries | Canned is overly sweet; fresh is tart |
| Texture | Soft/Soggy | Crisp/Structured | Classic method prevents the "soggy bottom" |
What Each Ingredient Does
The flour provides the structure, but the ratio of fat to flour is what makes it decadent. Using chilled, cubed butter ensures that small pieces of fat remain intact, which is the key to that bakery quality texture.
The cornstarch does the heavy lifting for the thickness. While flour can thicken, cornstarch gives the filling a clear, glossy look and a cleaner flavor. The almond extract is a quiet powerhouse here, as it enhances the natural nuttiness of the cherries.
Ingredient Deep Dive
| Ingredient | What It Does | Best Swap |
|---|---|---|
| Unsalted Butter | Creates flaky layers | Cold lard (more savory flavor) |
| Cornstarch | Thickens the fruit juices | Tapioca starch (more glossy) |
| Almond Extract | Deepens cherry flavor | Extra vanilla (milder taste) |
| Lemon Juice | Brightens the sugar | Apple cider vinegar (more tang) |
Tools for the Job
You don't need a professional kitchen, but a food processor makes the crust a breeze. If you don't have one, a pastry cutter or two forks will work, though your arms will get a workout.
A 9 inch pie plate is the standard. I prefer glass or ceramic because they hold heat more evenly, which helps the bottom crust cook through. A rolling pin and a bit of extra flour for your surface are the only other must haves.
Bringing the Pie Together
Let's get into the process of making this Classic Summer Cherry Pie. Be mindful of your kitchen temperature; if it's a hot day, pop your flour in the fridge for 20 minutes first.
Phase 1: The Rapid Chill Crust
- Combine 2 ½ cups (315g) all purpose flour, 1 tsp (6g) granulated sugar, and 1 tsp (6g) salt in a food processor. Note: This ensures the seasoning is even.
- Pulse in 1 cup (225g) chilled and cubed unsalted butter until the mixture looks like coarse crumbs with some pea sized pieces still visible.
- Drizzle in 6-8 tbsp (90-120ml) ice cold water, one tablespoon at a time. Pulse only until the dough just begins to clump.
- Divide the dough into two equal discs and wrap them tightly in plastic.
- Refrigerate for 1 hour. Note: This prevents the crust from shrinking in the oven.
Phase 2: The High Efficiency Filling
- In a large bowl, stir together 6 cups (900g) pitted fresh sweet cherries, ¾ cup (150g) granulated sugar, ¼ cup (32g) cornstarch, 2 tbsp (16g) all purpose flour, 1 tbsp (15ml) lemon juice, 1 tsp (5ml) vanilla extract, ¼ tsp (1g) almond extract, and ¼ tsp (1.5g) ground cinnamon.
- Let the filling sit for 15 minutes until the cherries are coated in a thick, glossy syrup. Note: This allows the starch to hydrate.
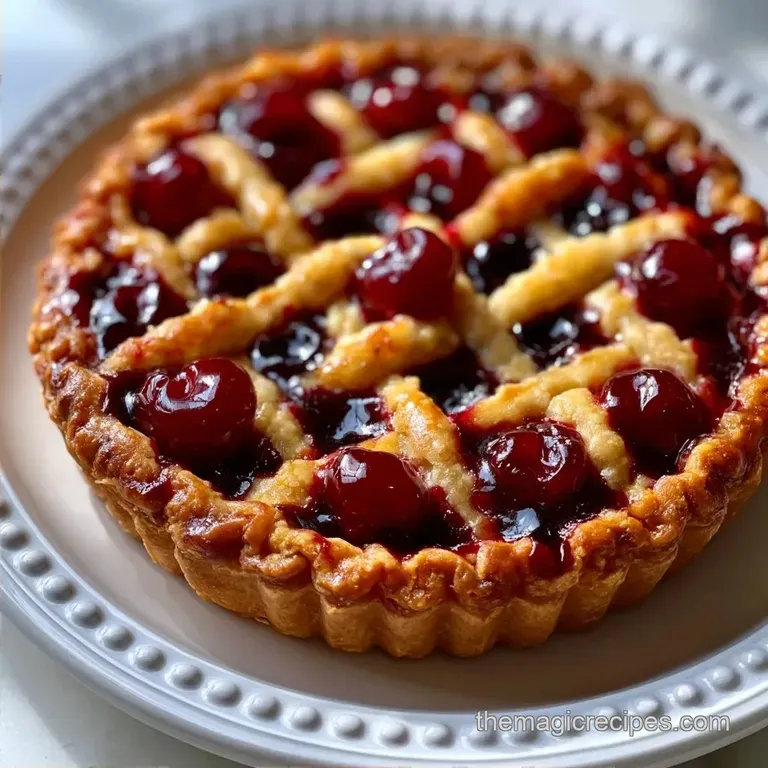
Phase 3: Assembly & Lattice Work
- Roll out the first dough disc into a 12 inch circle on a floured surface. Press it gently into the pie plate.
- Pour the cherry mixture into the crust, smoothing it with a spoon.
- Roll out the second disc and cut it into strips for a lattice top, or roll it whole and cut vents in the center.
- Brush the top with a beaten egg mixed with 1 tbsp water.
- Sprinkle 1 tbsp (12g) coarse sparkling sugar over the top for a crunch.
Phase 4: The Golden Bake
- Bake at 400°F (200°C) for 50 minutes until the crust is deep golden brown and the filling is bubbling.
- Remove from the oven and let it cool for at least 2 hours. Note: Cutting it too early will lead to a runny filling.
Fixing Typical Pie Problems

If your Classic Summer Cherry Pie didn't come out exactly as planned, don't panic. Most pie issues are related to temperature or timing.
Troubleshooting Common Issues
| Issue | Solution |
|---|---|
| Why Your Crust Shrank | This usually happens because the dough was too warm when it hit the oven, or you stretched the dough too thin while pressing it into the pan. Always roll the dough and let it drape naturally. |
| Why Your Filling Is Runny | The most common cause is not letting the pie cool completely. The cornstarch needs to set as the temperature drops. If it's still runny after 3 hours, you likely didn't use enough thickener. |
| Why Your Bottom Crust Is Soggy | This happens when the juices soak into the dough before the heat can sear the bottom. Using a higher initial oven temp or a slightly thicker bottom crust can help. Quick Fix Table |
Swaps and Flavor Twists
You can easily adapt this Classic Summer Cherry Pie based on what you have in the pantry. While fresh cherries are the goal, other options work well.
If you're using frozen cherries, don't thaw them first. Just toss them in the sugar and starch as is, but add an extra 5-10 minutes to the bake time since the fruit starts much colder. For those using canned cherries, drain the syrup first and reduce the added sugar by half.
For a different vibe, try adding a handful of blueberries to the mix for a mixed berry twist. If you want something more refined, you can serve this alongside a Fruit Tart recipe for a diverse dessert spread.
Substitution Options
| Original Ingredient | Substitute | Why It Works |
|---|---|---|
| Fresh Cherries | Frozen Cherries | Same tartness. Note: Increases bake time slightly |
| Unsalted Butter | Vegetable Shortening | More stable. Note: Less flavor than butter |
| Sparkling Sugar | Granulated Sugar | Provides sweetness. Note: Lacks the crystalline crunch |
| Almond Extract | Apricot Extract | Similar stone fruit profile. Note: Slightly sweeter |
Adjusting the Scale
Scaling a Classic Summer Cherry Pie is straightforward, but you have to be careful with the crust.
Scaling Down (½ Recipe) Use a 6 inch pie pan. Reduce the bake time by about 20% and start checking for doneness at 35 minutes. For the egg wash, beat one egg and use only half of it.
Scaling Up (2x Recipe) Work in batches for the dough. I don't recommend doubling the dough in one food processor as it will crowd the blades and melt the butter. For the filling, you can double everything in one large pot.
Keep the oven temperature the same, but ensure there is plenty of space between pies for air to circulate.
Storage and Zero Waste
Keep your Classic Summer Cherry Pie at room temperature for up to 2 days, covered loosely with foil. For longer storage, the fridge is your best bet for about 5 days.
To reheat, put a slice in the oven at 350°F (175°C) for 10 minutes. Avoid the microwave, as it will make the crust chewy and soft. You can also freeze slices wrapped in parchment and foil for up to 3 months.
Don't throw away the cherry stems or pits if you're pitting them by hand. While you can't eat them, some people use dried stems for herbal infusions. More importantly, any leftover dough scraps can be rolled out, sprinkled with cinnamon sugar, and baked as "pie fries" for a quick snack.
What to Serve With
This pie is rich and tart, so it needs a creamy or cool partner. A scoop of high-quality vanilla bean ice cream is the gold standard here, as the cold cream cuts through the heat of the cherries.
For a lighter option, try a dollop of unsweetened whipped cream with a hint of lemon zest. If you're serving this at a party, a glass of chilled Prosecco or a tart lemonade complements the fruit perfectly.
Making a Classic Summer Cherry Pie is all about the process. From the chill of the butter to the bubble of the filling, it's a rewarding project. Just remember to let it cool, trust your timer, and enjoy the first crack of that crust.
Recipe FAQs
Why did my pie crust shrink during baking?
The dough was likely too warm or stretched too thin. Always refrigerate the dough discs for 1 hour and let the pastry drape naturally into the pan instead of pulling it.
How to prevent a soggy bottom crust?
Roll the dough evenly and allow the pie to cool completely. This gives the cornstarch time to set the filling, preventing excess juices from soaking into the base.
Why is my cherry filling still runny?
The pie hasn't cooled sufficiently. The filling must drop in temperature to thicken; if it remains runny after 3 hours, the thickener ratio may have been too low.
How to store and reheat leftover pie slices?
Keep slices in the fridge for up to 5 days. Reheat in the oven at 350°F for 10 minutes to keep the crust crisp.
Is it true that reheating in the microwave is the best way to warm a slice?
No, this is a common misconception. Microwaving makes the crust chewy and soft, whereas the oven preserves the flaky texture.
How to prepare the cherry filling?
Combine pitted cherries, sugar, cornstarch, flour, lemon juice, cinnamon, and extracts. Let the mixture sit for 15 minutes to allow the sugar to draw out juices and the starches to dissolve.
Can I add a sweet topping to this pie?
Yes, a rich sauce complements the tart cherries perfectly. If you loved balancing the tart fruit here, see how we use similar flavor layering in our homemade caramel sauce.
Classic Summer Cherry Pie