Rich and Fudgy Brownies: Dark Chocolate
- Time:15 minutes active + 30 minutes baking + 2 hours chilling = Total 2 hours 45 mins
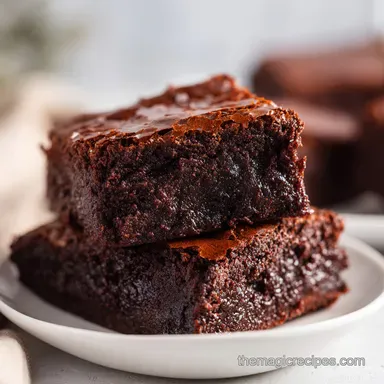
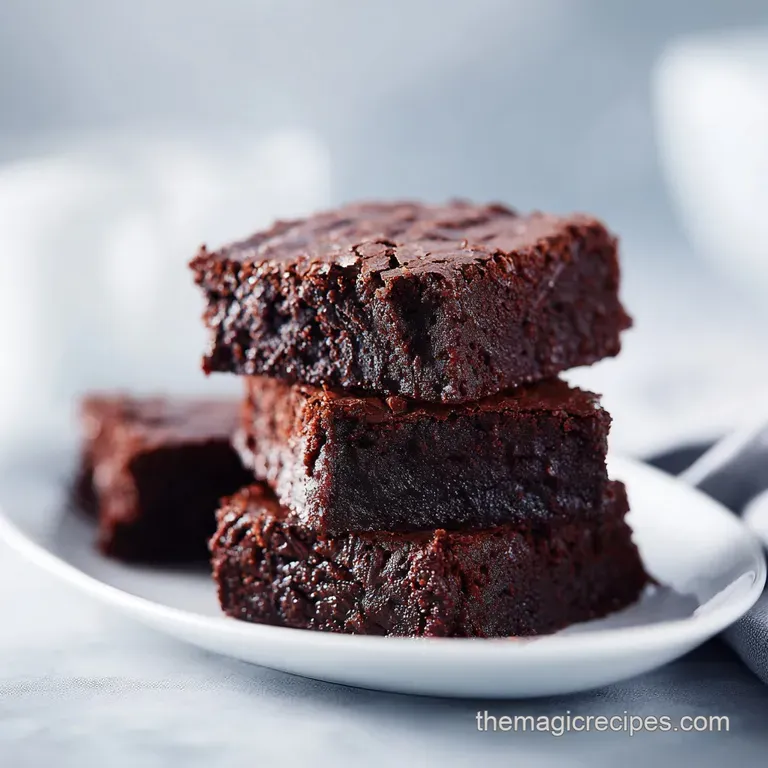
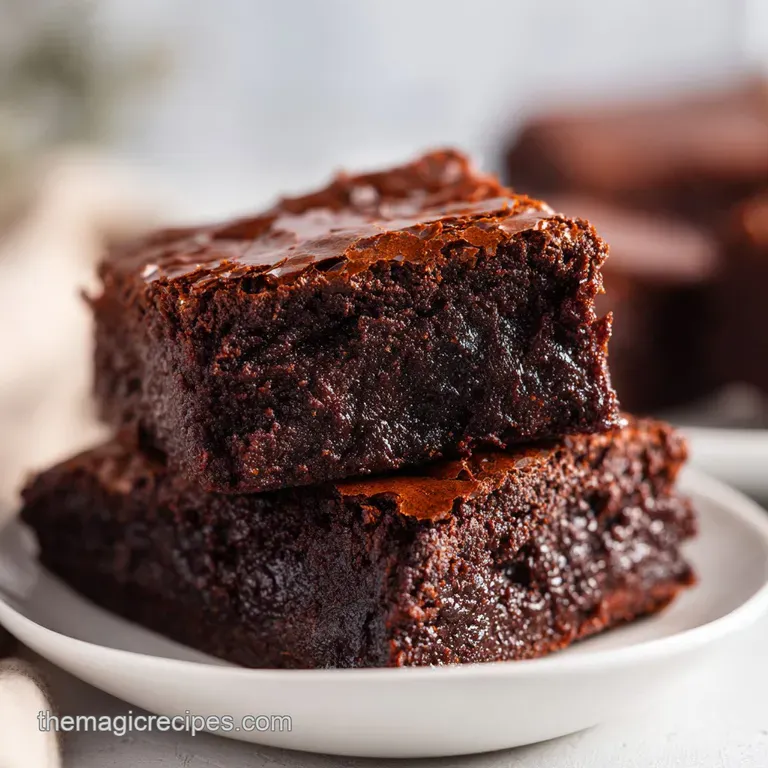
- Flavor/Texture Hook: Velvety, dense interior with a thin, shatter crisp top
- Perfect for: Intense chocolate cravings, holiday dessert platters, or a cozy night in
- Rich and Fudgy Brownie Recipe with Dark Chocolate
- Techniques for the Best Texture
- Component Analysis
- Essential Tool Kit
- Step-by-Step Baking Guide
- Solving Common Baking Issues
- Smart Swaps and Twists
- Truths About Brownie Baking
- Freshness and Storage Tips
- Perfect Flavor Pairings
- Recipe FAQs
- 📝 Recipe Card
The smell of dark chocolate melting into salted butter is a literal hug for the brain. It's that heavy, warm aroma that fills the kitchen and tells you that something seriously decadent is happening. I remember the first time I tried to make these using basic semi sweet chips from a bag, and the result was just...
Fine. It was sweet, sure, but it lacked that sophisticated, slightly bitter edge that makes a brownie feel like a real indulgence rather than just a sugar bomb.
That's why the star here is the 60-70% dark chocolate. It provides a structural richness that cocoa powder alone can't touch. This is the only Rich and Fudgy Brownie Recipe with Dark Chocolate you'll ever need because it balances that deep cocoa bitterness with just enough brown sugar to keep it chewy.
You can expect a brownie that doesn't behave like a cake. There are no air pockets here, just a dense, velvety fudge that almost melts on your tongue. We're going for a texture that is heavy, rich, and completely unapologetic.
Rich and Fudgy Brownie Recipe with Dark Chocolate
The Secret to the Texture The magic happens when we manipulate the fats and the sugars. Most people just stir everything together, but there's a specific reason we beat the eggs and sugar for a full few minutes.
This creates a stable foam that traps just enough air to give us that shiny, paper thin crinkle top without making the middle cakey.
The Importance of the Chill If you cut these brownies the second they come out of the oven, you're essentially eating chocolate lava. While that sounds great, you lose the "fudge" factor.
Chilling the pan for 2 hours allows the cocoa butter to recrystallize, turning a soft bake into a dense, bakery quality slice.
Why the Heat Matters We use a lower oven temperature (325°F) to ensure the edges don't burn before the center sets. High heat creates a crust that's too thick, but a gentle bake keeps the interior velvety and moist.
Techniques for the Best Texture
Fat Saturation: Melting the chocolate and butter together creates a stable emulsion that carries the cocoa flavor more evenly throughout the batter.
Sugar Dissolution: Beating the eggs and sugar vigorously dissolves the crystals, which is exactly what creates that signature shatter crisp top.
Gluten Control: Folding the flour in gently prevents gluten development, ensuring the brownies stay dense and fudgy rather than bread like.
The Cold Set: Refrigerating the brownies firms up the fats, transforming the texture from "underbaked" to "densely fudgy."
| Feature | Fresh Chopped Dark Chocolate | Standard Chocolate Chips | Texture Impact | Flavor Impact |
|---|---|---|---|---|
| Fat Content | Higher cocoa butter | Stabilizers/Lecithin | More velvety | Intense cocoa |
| Melt Point | Lower, smooth melt | Higher, holds shape | Fudgier base | Less sugary |
| Finish | Glossy, rich | Matte, sweet | Denser crumb | Complex bitterness |
Component Analysis
| Ingredient | Science Role | Pro Secret |
|---|---|---|
| Dark Chocolate | Primary structure & fat | Use 70% cocoa for a more adult, less sweet profile |
| Dutch Cocoa | Deepens color & flavor | Bloom it in the hot butter to "wake up" the flavor |
| Brown Sugar | Moisture & chewiness | Adds a molasses note that complements dark chocolate |
| Eggs | Emulsification & lift | Beat until the batter lightens to get that shiny crust |
Essential Tool Kit
You don't need a professional kitchen for this, but a few specific tools make the process a lot smoother. First, an 8x8 inch baking pan is non negotiable. If you use a 9x9, your brownies will be thinner and will likely overbake, losing that fudgy center.
Parchment paper is your best friend here. Don't just grease the pan, line it with parchment and leave an overhang on two sides. This allows you to lift the entire block of brownies out of the pan once chilled, making it way easier to get those clean, sharp edges when slicing.
For the chocolate, a double boiler is the safest bet to avoid scorching. If you're using a microwave, go in 30 second bursts. Chocolate is temperamental and can seize or burn in a heartbeat if it gets too hot too fast.
Step-by-step Baking Guide
Preparing the Foundation
Preheat your oven to 325°F (165°C). Line your 8x8 inch pan with parchment paper, leaving an overhang. This ensures you can lift the brownies out without fighting the pan.
Melting and Blooming
Melt the 8 oz of chopped dark chocolate and 3/4 cup of unsalted butter together. You can use a double boiler or a microwave in 30 second bursts until the mixture is smooth and glossy. Whisk in the 1/2 cup of Dutch processed cocoa powder while the mixture is hot.
Note: This "blooms" the cocoa, intensifying the chocolate flavor.
Emulsifying the Batter
Whisk in the 3 large eggs, 1 cup of granulated sugar, and 1/2 cup of packed brown sugar. Beat the mixture vigorously for 2-3 minutes. You're looking for the batter to lighten in color and become smooth. If you stop whipping and lift the beaters or whisk attachment up out of the bowl, the mixture should fall in a continuous ribbon, which is known as the ribbon stage according to King Arthur Baking.
Folding the Dry Ingredients
Stir in the 2 tsp of pure vanilla extract. Sift in the 3/4 cup of all purpose flour and 1/2 tsp of sea salt. Using a spatula, gently fold the flour into the batter until just combined. Stop the moment you see no more white streaks.
Baking and Setting
Fold in the 1/2 cup of dark chocolate chips for extra pockets of melted gold. Pour the batter into the pan and smooth the top. Bake for 25-30 minutes until the edges are set but the center still has a slight wobble.
The Final Chill
Remove the pan from the oven. Resist the urge to cut them! Let them cool to room temperature, then place the pan in the refrigerator for 2 hours. This is the most critical step for this Rich and Fudgy Brownie Recipe with Dark Chocolate.
Chef's Note: If you can't wait, you can freeze them for 30 minutes, but the 2 hour fridge chill provides the most consistent, velvety texture.
Solving Common Baking Issues
Why Your Brownies Are Cakey
This usually happens when too much air is incorporated during the flour folding stage or if you've used too much flour. When you overmix the flour, you develop gluten, which creates a bread like structure instead of a fudge like one.
Why the Middle Sinks
A sunken center often means the brownies were underbaked or there was too much sugar, which weakened the structure. Ensure your oven is calibrated and you're looking for that specific "slight wobble" rather than a liquid center.
Avoiding Burnt Edges
If the edges are hard and charred while the middle is raw, your oven might be running too hot. Lowering the temp to 325°F is key, but you can also shield the edges with foil if you notice them darkening too quickly.
| Problem | Root Cause | Solution |
|---|---|---|
| Dry/Crumbly | Overbaked or too much flour | Bake for 2 mins less; use a scale for flour |
| No Shiny Crust | Didn't beat eggs/sugar long enough | Beat for a full 3 mins until lightened |
| Greasy Top | Butter separated or too hot oven | Ensure emulsion is smooth before baking |
Common Mistakes Checklist
- ✓ Using a pan larger than 8x8 inches (results in thin brownies)
- ✓ Skipping the 2 hour refrigeration period (results in messy cuts)
- ✓ Stirring the flour in with a whisk instead of folding with a spatula
- ✓ Using semi sweet chips instead of high percentage dark chocolate
Smart Swaps and Twists
If you want to tweak this recipe, be careful with the ratios. Because this is such a dense bake, changing the flour or fat content can easily turn it into a cake. If you're looking for something slightly different, my fudgy crinkle top brownies offer a different balance of cocoa and chocolate.
For those who want an even more intense profile, try adding a teaspoon of instant espresso powder to the melted butter. It doesn't make them taste like coffee, but it makes the dark chocolate taste "darker."
| Original Ingredient | Substitute | Why It Works |
|---|---|---|
| Unsalted Butter | Coconut Oil | Similar fat content. Note: Adds a slight coconut scent; use refined for neutral taste |
| Granulated Sugar | Coconut Sugar | Similar sweetness. Note: Will result in a darker, more caramel like flavor |
| All Purpose Flour | Almond Flour | gluten-free. Note: Denser, moister crumb but lacks the same structure |
| Dark Chocolate (60%) | 85% Cocoa | More intense. Note: Significantly less sweet; increase brown sugar by 2 tbsp |
If you're doubling the recipe, don't just double the baking time. I recommend splitting the batter into two 8x8 pans. If you must use a larger pan (like a 9x13), lower the oven temp by 25°F and extend the bake time by about 10-15 minutes to prevent the edges from drying out.
Truths About Brownie Baking
Myth: You should use "baking chocolate" for the best results. The truth is that any high-quality dark chocolate bar works. "Baking chocolate" is often just chocolate with the vanilla and sugar removed. Using a premium 70% dark chocolate bar actually adds more complexity and a better melt.
Myth: Over mixing the batter always ruins brownies. This is only true for the flour. You actually want to over mix the eggs and sugar. The goal is to create that stable, aerated foam that leads to the shiny crust. Just switch to a spatula once the flour hits the bowl.
Myth: A toothpick coming out clean means they're done. Actually, if the toothpick is clean, you've overbaked them. For a fudgy result, the toothpick should have a few moist, sticky crumbs clinging to it.
Freshness and Storage Tips
These brownies are actually better the next day. The flavors meld, and the texture becomes even more stable. Store them in an airtight container in the fridge for up to 5 days. Because of the high fat content from the dark chocolate, they stay moist much longer than cake style brownies.
For long term storage, you can freeze them for up to 3 months. I recommend freezing them in individual squares wrapped in parchment paper and then placed in a freezer bag. This way, you can grab a single square and thaw it for 20 minutes or pop it in the microwave for 10 seconds for a quick indulgence.
To keep things zero waste, don't throw away the leftover chocolate bits stuck to the parchment paper. Scrape them into a saucepan with a splash of cream to make a quick chocolate ganache for dipping fruit.
Perfect Flavor Pairings
Since this Rich and Fudgy Brownie Recipe with Dark Chocolate is so intense, you need something to cut through the richness. A tart raspberry coulis or a dollop of cold crème fraîche works brilliantly. The acidity balances the heavy cocoa butter.
If you want to go full decadence, drizzle them with some homemade caramel sauce and add a pinch of flaky sea salt on top. The salt creates a contrast that makes the dark chocolate pop.
For a drink pairing, a glass of cold oat milk or a sharp espresso is the way to go. The bitterness of the coffee mirrors the dark chocolate, while the creaminess of the milk cleanses the palate between bites.
Recipe FAQs
Can I use milk chocolate instead of dark chocolate?
No, it will alter the fudgy texture. Milk chocolate contains more sugar and milk solids, which makes the brownies sweeter and softer. If you enjoyed the dense fat ratio here, see how we use similar principles in our peanut butter cookies.
How to tell when the brownies are perfectly done?
Bake for 25-30 minutes until the edges are set. The center should still have a slight wobble to ensure they remain fudgy after cooling.
Is it true I should bake them until a toothpick comes out completely clean?
No, this is a common misconception. A clean toothpick indicates overbaking; look for moist crumbs clinging to the pick to achieve a rich, fudgy center.
Why did my brownies turn out cakey instead of fudgy?
Overmixing the flour is the primary cause. Beating the batter too much after adding flour develops gluten, which creates a light, cake like structure rather than a dense fudge.
How to store these brownies to keep them fudgy?
Store in an airtight container in the refrigerator. This preserves the dense texture and prevents the dark chocolate from softening too much at room temperature.
Can I skip the 2-hour refrigeration period?
No, the chill is essential for the set. Without refrigeration, the brownies will be too soft to slice cleanly and will lack the characteristic fudge like consistency.
How to melt the chocolate and butter without burning them?
Use a double boiler or microwave in 30-second bursts. Stir frequently between each interval to distribute heat evenly and prevent the chocolate from seizing.
Rich Dark Chocolate Brownies