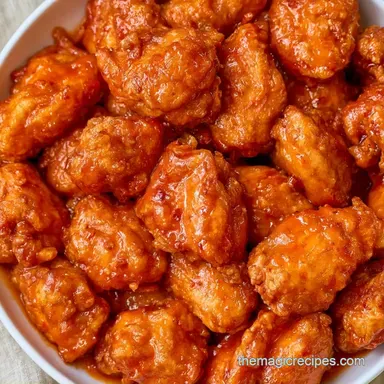
Sweet and Sour Chicken Bowls: Glossy and Tangy
- Time: 10 min active + 20 min cook
- Flavor/Texture Hook: Glossy, tangy glaze with a slight crunch
- Perfect for: Global inspired family dinners
Sweet and Sour Chicken Bowls
The first thing that hits you when you make this is the smell. It's that sharp, vinegary tang that immediately cuts through the air, followed by the warm, caramel scent of brown sugar hitting a hot pan. It’s a smell that reminds most people of childhood takeout, but doing it at home changes the whole experience.
Sweet and sour flavors have a long history in Cantonese cuisine, though the version we often see in the West has evolved into something quite different. Traditionally, the balance was more about the natural sweetness of fruit and the sharpness of vinegar. These Sweet and Sour Chicken Bowls bring back that focus on fresh ingredients while keeping the convenience of a one pan meal.
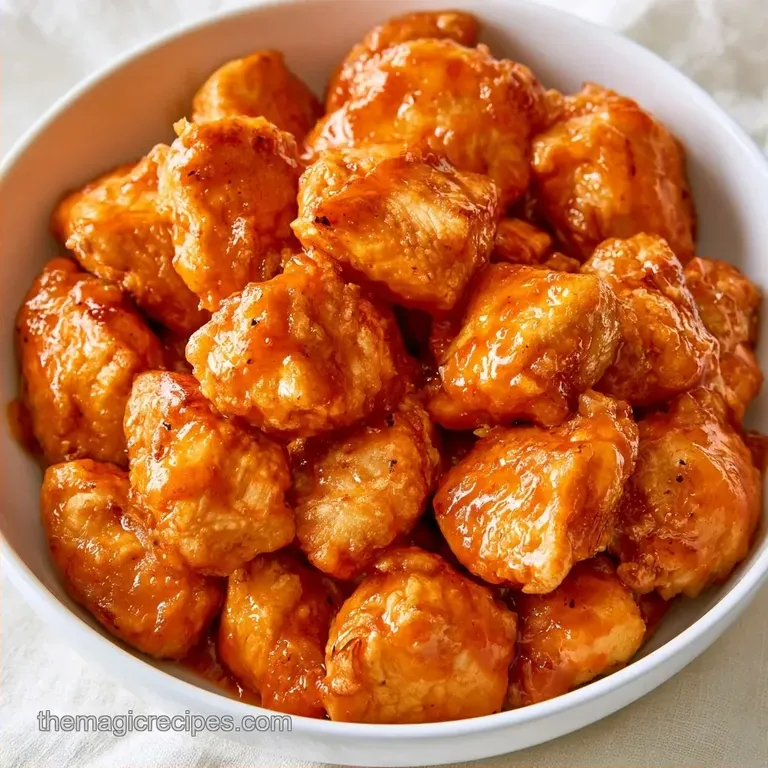
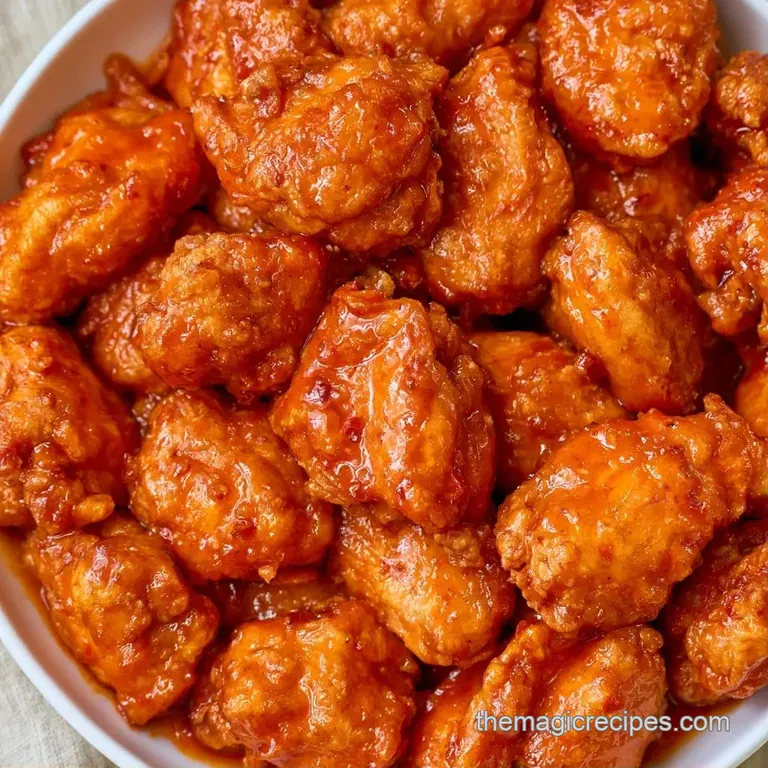
You can expect chicken that isn't swimming in a thick, gloopy syrup, but rather coated in a bright, translucent glaze. The peppers stay crisp, and the pineapple adds a burst of juicy acidity. It's a dish that feels authentic to the spirit of the flavors without requiring a commercial wok.
Recipe Specs
This meal is designed to be efficient. You're looking at 10 minutes to get everything chopped and the sauce whisked, and another 20 minutes at the stove. In total, you've got a complete dinner in 30 minutes.
The yield is exactly 4 bowls. Each portion provides a solid hit of protein and a variety of colors from the bell peppers. Because we use a cornstarch dusting instead of a heavy batter, the chicken stays light and doesn't soak up excess oil.
The balance here is key. We aren't using pre made bottled sauces that are mostly corn syrup. Instead, we're building the flavor from rice vinegar and soy sauce, which gives the dish a more sophisticated, homemade taste.
The Ingredient List
I’ve found that using fresh pineapple makes a massive difference over canned, though both work. If you're in a rush, canned is fine, but the fresh chunks hold their shape better during the final toss.
| Ingredient | Role | If You Don't Have It |
|---|---|---|
| Chicken Breast (450g) | Main protein and structure | Chicken thighs (juicier, more fat) |
| Cornstarch (45ml) | Creates a protective, crisp shell | Potato starch or arrowroot |
| Rice Vinegar (60ml) | Provides the essential "sour" punch | Apple cider vinegar |
| Brown Sugar (45ml) | Adds depth and a mahogany color | Honey or maple syrup |
| Pineapple Juice (120ml) | Natural sweetness and acidity | Extra pineapple chunks + water |
What's in the Chicken Coating?
The coating is just cornstarch, salt, and pepper. This creates a thin barrier. When the chicken hits the oil, this starch gelatinizes, creating a surface that is perfect for the sauce to cling to without making the meat soggy.
What goes in the Sauce?
The sauce is a mix of pineapple juice, rice vinegar, soy sauce, brown sugar, and ketchup. The ketchup isn't just for flavor, it actually provides the base thickness and that iconic red tint.
Which Vegetables to Use?
We use red and green bell peppers for color and a bit of sweetness, along with white onion for a savory backbone. Garlic is added at the end of the sauté to keep it from burning.
What about the Base?
Jasmine rice is the standard here. Its floral aroma and slightly sticky texture make it the ideal bed for the sauce.
| Original Ingredient | Substitute | Why It Works |
|---|---|---|
| Brown Sugar | Honey | Similar sweetness. Note: Makes the sauce slightly thicker. |
| Rice Vinegar | Apple Cider Vinegar | Similar acidity. Note: A bit more fruity/sharp. |
| Chicken Breast | Firm Tofu | Great plant based swap. Note: Press tofu first to ensure crispness. |
You'll need a bit of space between your prep and your cooking. I usually whisk the sauce and make the slurry before even touching the chicken. It prevents that frantic feeling when the chicken is already browned and you're still searching for the vinegar.
Tools for the Job
Anyone can achieve great results with basic equipment. A standard 12 inch stainless steel or non stick skillet is ideal for this. Use a wide pan if you have one, as overcrowding the chicken will cause it to steam instead of searing.
A few bowls and a small whisk are necessary for the sauce and slurry. I also suggest using a sturdy spatula to toss the chicken and vegetables. For the rice, a small pot with a tight lid or a standard rice cooker works great.
A sharp chef's knife is key to cutting the chicken into uniform 1 inch cubes. If the pieces vary in size, the smaller ones will overcook and turn rubbery while the larger ones stay raw in the center.
Step by step Cooking
Let's jump right in. Since the chicken tastes best when served fresh, ensure your rice is already simmering or cooked before you begin preparing the meat.
- Combine the pineapple juice, rice vinegar, soy sauce, brown sugar, and ketchup in a small bowl and set it aside.
- Mix 1 tsp cornstarch and 1 tbsp water in a small ramekin to create a smooth slurry. Note: This is what creates the sauce's glossy appearance.
- Coat the diced chicken breast with 3 tbsp cornstarch, salt, and pepper, ensuring every piece is evenly covered.
- Warm 2 tbsp neutral oil in a pan over medium high heat. Arrange the chicken in a single layer.
- Sear for 3-5 minutes without stirring until a mahogany crust develops, then flip and cook until fully opaque. Remove the chicken and set aside.
- Using the same pan, sauté the onions, red bell pepper, green bell pepper, and garlic for 3-4 minutes until tender crisp.
- Stir in the prepared sauce and pineapple chunks, then bring the mixture to a simmer.
- Whisk in the cornstarch slurry. Note: Stir constantly to avoid lumps.
- Once the sauce becomes thick and shiny, fold the cooked chicken back into the pan.
- Toss for 60 seconds until the chicken is fully glazed and the sauce clings to every piece.
- Spoon the finished mixture over 3 cups of cooked jasmine rice.
Pro Tip: To achieve a more complex flavor profile, try incorporating a tiny pinch of ground ginger into the chicken coating. This adds a subtle warmth that complements the pineapple perfectly.
Fixing Common Texture Issues
Even with a good plan, things happen. I've had plenty of nights where the sauce didn't behave or the chicken didn't crisp.
Fixing Thin Sauce
If the sauce hasn't thickened after 2 minutes of simmering, your cornstarch slurry likely settled in the ramekin. Give it a quick whisk and add another half teaspoon of cornstarch mixed with a splash of water. Let it simmer for another minute. For a different style of crispy chicken, my Baked Chicken Tenders are a great alternative if you're skipping the sauce entirely.
Preventing Soggy Chicken
The most common mistake is adding the chicken back into the pan too early or cooking it in a crowded pan. If the chicken is crowded, it releases moisture and boils in its own juices. Always cook in a single layer. If you have a lot of chicken, work in two batches.
Keeping Veggies Crisp
Don't overcook the peppers. They should still have a slight "snap" when you bite into them. If you sauté them for too long, they lose their vibrant color and turn mushy, which ruins the contrast of the Sweet and Sour Chicken Bowls.
Adjusting Portions and Swaps
Whether you are preparing a meal for one or a large group, this recipe is easy to adjust. If you're a fan of bowl meals, you might like this Sweet Potato Buddha Bowl for a different flavor profile.
Scaling Down (1-2 people): Halve all ingredients and use a smaller 8 inch skillet. Since there is less mass in the pan, reduce the vegetable sauté time by about 30 seconds.
Scaling Up (6-8 people): Double the chicken and vegetables, but only multiply the sauce by 1.5x to prevent the dish from becoming overly sweet. Brown the chicken in batches to ensure a proper sear.
Decision Shortcuts:
- More tang? → add 1 tsp rice vinegar.
- Sweeter glaze? → add 1 tbsp brown sugar.
- Thicker sauce? → add 1/2 tsp cornstarch to slurry.
| Fresh Component | Shortcut Option | Trade off |
|---|---|---|
| Fresh Pineapple | Canned Tidbits | Faster, but less structural integrity. |
| Fresh Garlic | Garlic Powder | Convenient, but lacks the pungent aroma. |
| Homemade Sauce | Bottled Sweet & Sour | Much higher sugar content and less zing. |
Storage and Waste Tips
These bowls stay fresh in the refrigerator. To prevent the rice from soaking up all the sauce, store it and the chicken mixture in separate containers.
Fridge: Keep in airtight containers for up to 3 days. Freezer: I suggest avoiding freezing the fully assembled bowls since the peppers will become mushy. However, the cooked chicken and sauce will keep in the freezer for up to 2 months.
Zero Waste: If using canned pineapple, save the juice instead of tossing it. It works well as a base for meat marinades or whisked into a vinaigrette for a side salad. You can also place bell pepper stems in a scrap bag for homemade vegetable stock.
Plating and Side Pairings
Depending on who you're serving, you can change the presentation. This is a dish that looks just as good in a plastic tub as it does on a ceramic plate.
| Level | Plating Style | Key Tweak |
|---|---|---|
| Simple | Casual Bowl | Scoop rice, top with chicken. |
| Polished | Home Bistro | Sprinkle with toasted sesame seeds and sliced scallions. |
| Restaurant | Professional | Use a ring mold for the rice, arrange peppers by color. |
For side dishes, something green and simple works best. Steamed bok choy or a quick cucumber salad with sesame oil provides a refreshing contrast to the rich, sweet glaze of the Sweet and Sour Chicken Bowls.
The Truth About Technique
Several subtle elements work behind the scenes to make this dish truly shine.
The Cornstarch Shell: Applying a thin layer of starch creates a porous exterior that grips the sauce. This keeps the chicken succulent inside while the outside transforms into a velvety vessel for the glaze.
The Sugar Acid Pivot: We incorporate rice vinegar to offset the brown sugar. This prevents the sauce from tasting like a dessert, giving it a balanced, chef quality finish.
Common Myths: - "Browning meat traps the juices." This is a misconception. Searing improves the flavor and appearance, but it doesn't stop liquid loss. The goal is a delicious crust, not a moisture seal. - "A wok is required for the best results." False.
Although woks distribute heat well, a heavy skillet offers the same surface contact needed to brown the chicken perfectly.
Critical Sodium Level
1280 mg 1280 mg of sodium per serving (56% 56% of daily value)
The American Heart Association recommends a daily sodium limit of no more than 2,300 mg, with an ideal limit of 1,500 mg for most adults to reduce the risk of cardiovascular disease.
Tips to Reduce Sodium
-
Eliminate Added Salt-25%
Completely remove the 1/2 tsp of salt from the chicken seasoning; the soy sauce already provides significant saltiness.
-
Swap Soy Sauce-20%
Replace regular soy sauce with low-sodium soy sauce or coconut aminos to drastically lower the sodium content.
-
Low-Sodium Ketchup-15%
Use a low-sodium ketchup alternative or substitute with a blend of tomato paste and a touch of honey.
-
Enhance with Aromatics
Add freshly grated ginger or a squeeze of lime juice to boost the flavor profile without adding any extra sodium.
Recipe FAQs
Can I make this dish spicier?
Stir in a small amount of hot sauce during the final glaze step. If you enjoyed balancing the sweet and spicy notes here, see how the same flavor logic works in our cayenne garlic recipe.
Why is my sauce too thin?
Check that the sauce reached a simmer before you added the cornstarch slurry. The starch needs heat to activate and create that thick, glossy texture.
Is it true that cornstarch is only for the sauce?
No, and here's why. You also need to toss the chicken cubes in cornstarch to ensure they brown properly in the oil.
How to store these bowls for meal prep?
Place the cooked jasmine rice and the chicken mixture in separate sealed containers. This prevents the rice from absorbing the sauce and becoming soggy.
Sweet And Sour Chicken Bowls