Bag Ice Cream: Velvety and Rich
- Time: 5 min active + 10 min shaking = Total 15 minutes
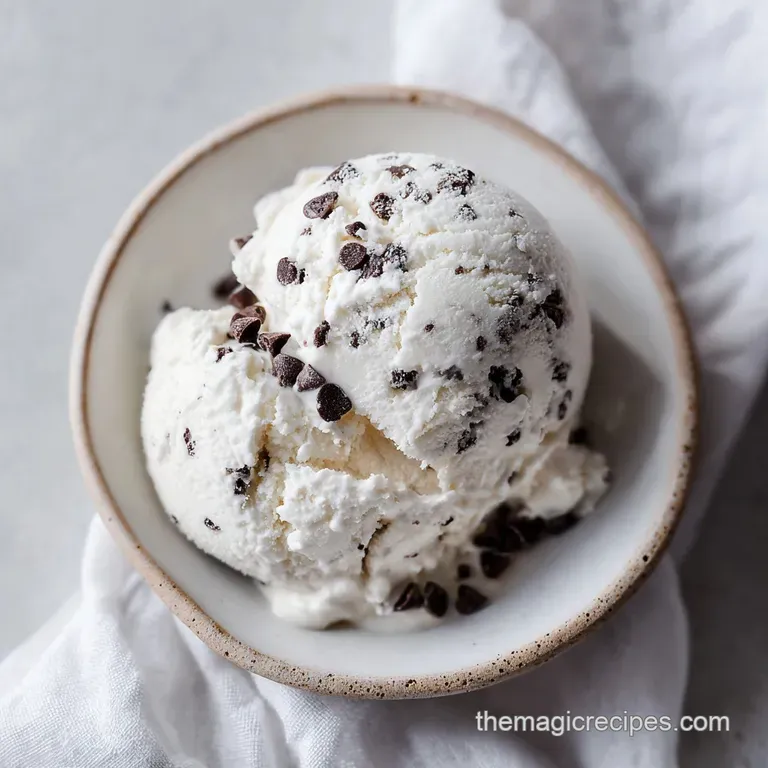
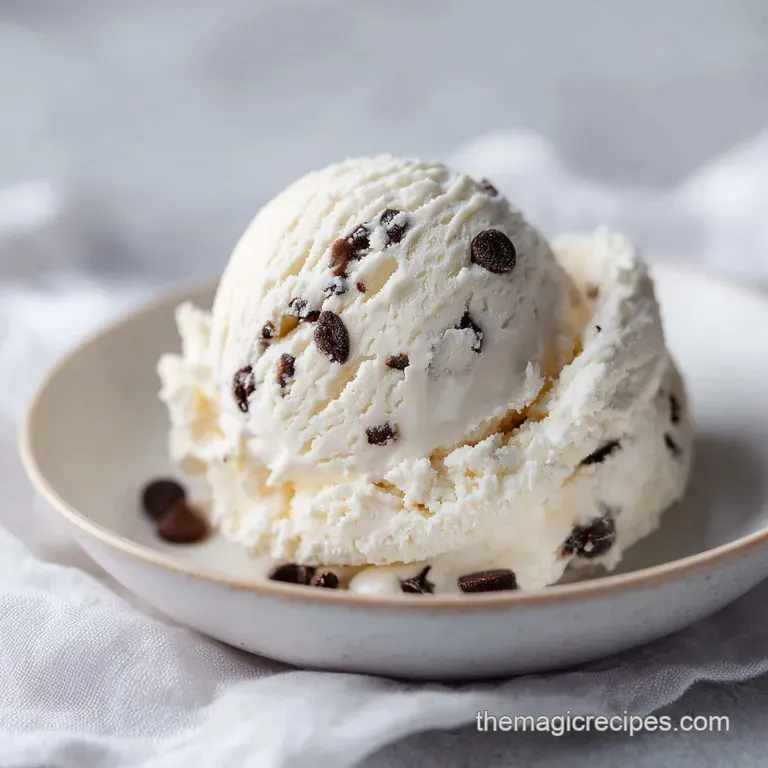
- Flavor/Texture Hook: Velvety, rich, and decadent with a soft serve finish
- Perfect for: Last minute cravings, kid friendly activities, or a quick date night treat
- The Secret to Decadent Bag Ice Cream
- The Real Reason It Works
- Your Pantry Essentials
- Essential Gear List
- The Step-By-Step Method
- Fixing Common Texture Issues
- Troubleshooting Common Issues
- Creative Flavor Twists
- Adjusting Your Batch Size
- Debunking Frozen Treat Myths
- Storing Your Frozen Treats
- The Best Side Pairings
- Recipe FAQs
- 📝 Recipe Card
The sharp, cold sting of ice against your palms is the first thing you notice, but then the smell hits you. That heavy, floral scent of pure vanilla extract wafting up as you seal the bag, promising something decadent. I remember the first time I tried this, thinking it was just a science fair gimmick.
I assumed you needed a heavy duty churner or a 24 hour freeze to get anything other than a block of frozen milk.
Forget the idea that "homemade" requires expensive gear or hours of patience. You don't need a compressor or a fancy bowl to achieve a bakery quality consistency. All you need is a bit of muscle and some basic pantry staples to turn a few liquids into a rich, velvety indulgence.
This Bag Ice Cream is basically a cheat code for dessert.
Right then, let's get into how this actually happens. It's a bit of a rush, and honestly, the shaking part is half the fun. Trust me, once you feel the liquid inside the bag suddenly thicken into a heavy, slow moving cream, you'll never go back to waiting for a machine to finish its cycle.
The Secret to Decadent Bag Ice Cream
If you've ever wondered why we bother with the salt and the shaking, it's all about controlling the temperature and the crystals. We aren't just cooling the cream, we're forcing it to freeze almost instantly.
The Brine Effect: Salt lowers the freezing point of ice, creating a super cooled liquid that sucks heat out of the cream much faster than ice alone. This is a classic trick explained well by Serious Eats, which helps the mixture freeze while you're moving it.
Air Incorporation: Shaking the bag constantly breaks up large ice crystals before they can form. This keeps the texture velvety rather than grainy or icy.
Fat Insulation: Using a high fat base prevents the mixture from becoming a solid brick. The fat globules get in the way of the ice crystals, ensuring a smooth, scoopable finish.
| Method | Time | Texture | Best For |
|---|---|---|---|
| Bag Method | 15 minutes | Soft serve, airy | Immediate cravings |
| Churner | 4-6 hours | Dense, creamy | Large batches |
| No Churn | 6+ hours | Fudgy, heavy | make-ahead parties |
The Real Reason It Works
Let's look at what each part of this recipe is actually doing. It's not just a list of ingredients, it's a system for creating a rich, frozen treat.
| Ingredient | Science Role | Pro Secret |
|---|---|---|
| Half and Half | Provides fat and structure | Don't use skim; you need the fat for that velvety feel |
| Coarse Salt | Lowers the ice temperature | Use rock salt if you can, it lasts longer than table salt |
| Granulated Sugar | Lowers the freezing point | Dissolve it fully in the cream to avoid a gritty texture |
| Vanilla Extract | Primary aromatic profile | Use pure extract for that bakery quality scent |
Your Pantry Essentials
To get this right, you need the specific ratios of fat and sugar. If you skimp on the fat, you'll end up with an icy slush instead of a decadent treat.
- 1 cup half and half Why this? Perfect balance of cream and milk for texture
- 2 tbsp granulated sugar Why this? Adds sweetness and prevents hard freezing
- 1/2 tsp pure vanilla extract Why this? Essential for a rich, professional aroma
- 1 tbsp mini chocolate chips Why this? Small size ensures they distribute evenly
- 6 cups ice cubes Why this? Sufficient mass to absorb the heat
- 1/2 cup coarse salt Why this? Forces the ice to melt and drop in temperature
If you're out of half and half, you can use a mix of equal parts heavy cream and whole milk. It works because the total fat content stays similar.
| Original Ingredient | Substitute | Why It Works |
|---|---|---|
| Half and Half (1 cup) | Heavy Cream (1/2 cup) + Whole Milk (1/2 cup) | Matches the fat ratio. Note: Result is identical to half and half |
| Coarse Salt (1/2 cup) | Table Salt (1/3 cup) | Same chemical property. Note: Melts faster, so work quickly |
| Granulated Sugar (2 tbsp) | Maple Syrup (1.5 tbsp) | Provides sweetness. Note: Adds a distinct woody flavor |
I once tried using low-fat milk just to be "healthy," and it was a disaster. It turned into a flavored ice cube. Honestly, don't even bother with low-fat options here, the fat is what makes this a decadent indulgence.
Essential Gear List
You don't need a kitchen full of gadgets, but the bags must be the right kind. If you use thin sandwich bags, they'll split under the pressure, and you'll end up with salt flavored cream.
- 1 quart sized freezer bag (must be heavy duty)
- 1 gallon sized freezer bag (must be heavy duty)
- Kitchen towel or winter gloves (the bags get painfully cold)
- Measuring cups and spoons
The step-by-step Method
Right then, let's crack on with the process. The key here is the vigor of the shake and ensuring the small bag is completely submerged.
- Pour the half and half, sugar, and vanilla extract into the quart sized freezer bag. Note: This creates the aromatic base.
- Add the mini chocolate chips. until they are evenly distributed in the liquid.
- Squeeze out every bit of excess air and seal the bag tightly. Note: Air pockets can cause the bag to pop during shaking.
- Fill the gallon sized freezer bag halfway with ice cubes. until the bag is half full.
- Pour the coarse salt over the ice. Note: This creates the brine that freezes the cream.
- Place the sealed quart sized bag into the gallon sized bag, centering it so it's submerged in ice.
- Seal the outer bag securely. until the seal is airtight.
- Put on your gloves or wrap the bag in a towel. Shake, roll, and toss the bag vigorously for 7 to 10 minutes. until the mixture feels thick and resists movement.
- Remove the small bag from the ice. until the bag is out of the brine.
- Rinse the exterior of the small bag thoroughly with cold water. Note: This prevents salt from leaking into your dessert.
Chef's Tip: If you want a more intense flavor, add a tiny pinch of salt to the cream base. It doesn't make it salty, but it makes the vanilla and chocolate "pop" more.
Fixing Common Texture Issues
The most common problems with Bag Ice Cream usually come down to temperature or contamination. If it's not thickening, you're likely not shaking hard enough or your ice has melted too much.
Troubleshooting Common Issues
| Issue | Solution |
|---|---|
| Why Your Dessert Tastes Salty | This usually happens because the outer bag leaked or you didn't rinse the inner bag properly. The salt brine is aggressive and will seep through any tiny puncture in the plastic. |
| Why Your Mixture Is Still Liquid | If it's been 10 minutes and it's still a liquid, your ice might not be cold enough or you didn't use enough salt. The salt is what triggers the extreme temperature drop. |
| Why The Texture Is Grainy | Graininess comes from large ice crystals. This happens if you shake too slowly or stop and start too often, allowing the cream to freeze in uneven patches. |
Success Checklist:
- ✓ Used heavy duty freezer bags to prevent leaks
- ✓ Rinsed the inner bag thoroughly after shaking
- ✓ Used coarse salt, not just plain ice
- ✓ Shook the bag without stopping for at least 7 minutes
- ✓ Centered the inner bag to ensure full contact with ice
Creative Flavor Twists
Once you've got the basic cream in a bag down, you can start playing with the flavors. Since this is a decadent treat, don't be afraid to add rich mix ins.
For a sophisticated twist, you could try adding a spoonful of mascarpone and a drizzle of espresso to the base. It's very similar to the flavor profile of a Classic Tiramisu, and it turns this simple project into a real dessert.
If you want a chocolate version, swap 1 tablespoon of the sugar for 1 tablespoon of high-quality cocoa powder. Sift the cocoa first so you don't get lumps in your ice cream in a bag recipe. For fruit flavors, mash fresh raspberries or strawberries into a paste before adding them to the bag.
Quick Decision Guide:
- If you want a fudgy texture → Add 1 tbsp of melted chocolate
- If you want a fresh vibe → Add a squeeze of lime and lime zest
- If you want more crunch → Add crushed toasted hazelnuts
Adjusting Your Batch Size
Making a single serving is easy, but if you're doing this for a group, you can't just put everything in one giant bag. It won't freeze evenly.
Scaling Down (1 serving): Use 1/2 cup of half and half and 1 tbsp sugar. Use a smaller Ziploc bag and reduce the shaking time by about 2 minutes.
Scaling Up (4+ servings): Work in batches. I recommend making two separate sets of bags. If you try to put 4 cups of cream in one gallon bag, the center of the cream won't freeze, and you'll have a liquid core. Keep the liquids to a maximum of 2 cups per bag.
Debunking Frozen Treat Myths
There are a few things people get wrong about making ice cream in a bag. Let's clear those up so you don't make the same mistakes I did.
Myth: You can use any salt. Actually, coarse salt or rock salt is far superior. Table salt dissolves too quickly into the ice, whereas coarse salt keeps the brine active longer, keeping the temperature lower for the duration of the shake.
Myth: The salt goes inside the cream. Absolutely not. The salt is only for the ice bath. Putting salt in the cream would make it inedible. The salt's only job is to make the ice colder than 32°F (0°C).
Storing Your Frozen Treats
Since this is a soft serve style dessert, it's best eaten immediately. However, if you have leftovers, you can save them.
Fridge & Freezer Guidelines: Store the dessert in an airtight container in the freezer for up to 2 weeks. Because there are no stabilizers, it will harden significantly. To get that velvety texture back, let it sit on the counter for 10-15 minutes before scooping.
Zero Waste Tips: If you have leftover salt brine in the gallon bag, don't just pour it down the sink if you have a delicate septic system. You can use it to help melt ice on your walkway or driveway during winter.
If you have leftover half and half, use it for a rich coffee creamer or a quick homemade béchamel sauce.
The Best Side Pairings
This treat is incredibly rich, so you want something to cut through that decadence. I love pairing it with something a bit tart or effervescent.
A glass of Red Sangria is a fantastic companion here. The acidity of the wine and the brightness of the citrus fruits balance the heavy cream and sugar of the Bag Ice Cream beautifully.
If you're serving this for a party, try placing a scoop of the ice cream on top of a warm, toasted brownie or a slice of warm apple cake. The contrast between the freezing, velvety cream and the hot cake is an absolute winner.
You can also serve it with fresh berries to add a bit of natural tartness and a pop of color to the plate.
Recipe FAQs
How to make bag ice cream?
Combine half and-half, sugar, and vanilla in a quart bag, then shake it inside a gallon bag filled with ice and coarse salt for 7 to 10 minutes. Ensure the inner bag is sealed tightly and fully submerged in the ice mixture.
Why does my ice cream taste salty?
You likely didn't rinse the inner bag. Salt brine is aggressive and can seep through tiny punctures or enter the mixture if the exterior isn't washed thoroughly before opening.
Why is my mixture still liquid after 10 minutes?
Your ice isn't cold enough or you didn't use enough salt. The coarse salt is the critical agent that triggers the extreme temperature drop needed to freeze the cream.
Can I store leftovers in the freezer?
Yes, for up to 2 weeks. Use an airtight container, but let it sit on the counter for 10-15 minutes before scooping to restore the velvety soft serve texture.
How to prevent the ice cream from becoming grainy?
Shake, roll, and toss the bag vigorously for the entire duration. Constant movement prevents large ice crystals from forming, which is the primary cause of graininess.
Is it true that table salt is a suitable replacement for coarse salt?
No, this is a common misconception. Coarse salt is more effective at lowering the freezing point of the ice, allowing the mixture to set much faster.
Can I use other creamy liquids instead of half and-half?
No, the specific fat ratio in half and-half is required for this texture. If you enjoyed mastering this creamy consistency, see how the same principle works in our Alfredo Sauce.
Bag Ice Cream Recipe