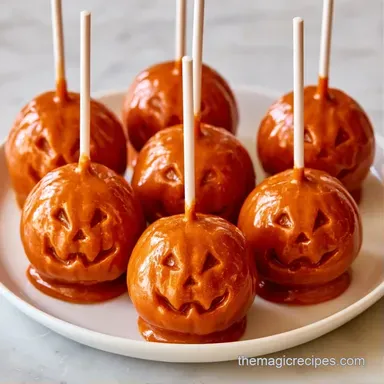
Spooky-Cute Halloween Cake Pops
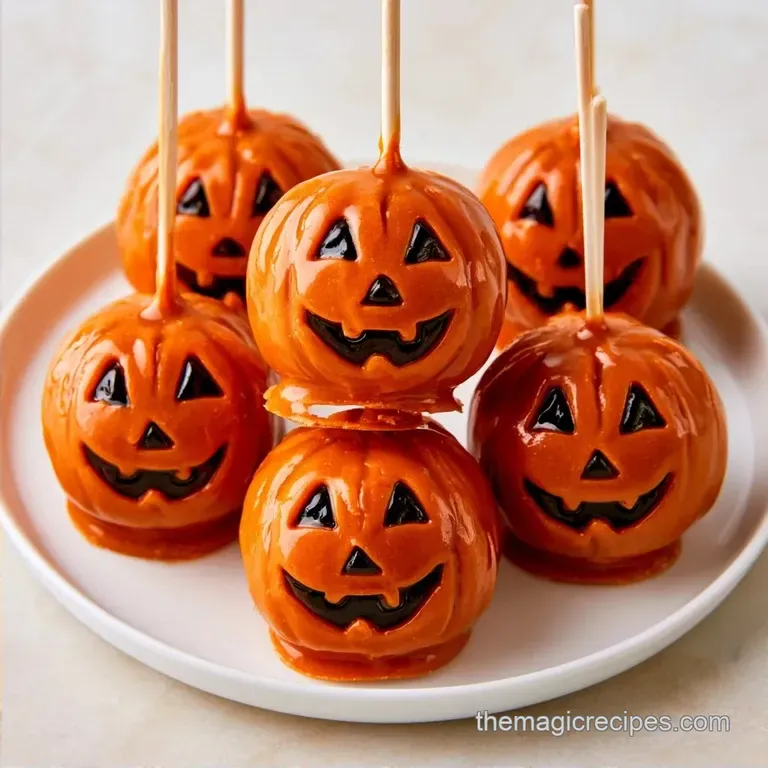
- Time: 30 min active + 1 hour 30 mins chilling/baking
- Flavor/Texture Hook: Snappy chocolate shell with a dense, fudgy center
- Perfect for: School parties or spooky dessert platters
The smell of warm vanilla and melted sugar usually fills my kitchen around October, but my first try at this was a disaster. I made these "eyeball" pops, but I used way too much frosting. As soon as I dipped them, the cake balls slid off the sticks like wet soap.
I ended up with a tray of chocolate covered blobs and a lot of frustration.
But I figured it out. The trick is all about the texture of the dough and a very cold cake ball. Once you get the consistency right, these Halloween Cake Pops become a total breeze. They look like they came from a boutique bakery, but they're actually just a clever use of a box mix.
You can expect a treat that has a satisfying snap when you bite into it, followed by a rich, moist cake center. We're going to make these Halloween Cake Pops in a way that ensures they stay put and look cute, whether you're making ghosts, pumpkins, or monsters.
Quick Halloween Cake Pops Specs
Aim for uniform 1-inch spheres that maintain their roundness. Ensure your cake has cooled entirely before applying the frosting; if it's even slightly warm, the buttercream will liquefy, resulting in a runny mixture that fails to hold its shape.
Using candy melts ensures the colors remain bold. This prevents the orange or purple from fading into a muddy brown. Trust me, the coconut oil is the secret to achieving a glossy coat that won't crack right away.
| Goal | What to change |
|---|---|
| More "Truffle" Feel | Use less frosting and more cake crumbs |
| Brighter Colors | Use high-quality candy melts, not dyed chocolate |
| Extra Stability | Freeze balls for 30 mins instead of 15 |
Now, let's look at the equipment and ingredients required to get started.
The Pantry List
To keep these Halloween Cake Pops easy, we're using a boxed cake mix as the foundation. You can opt for yellow for a timeless flavor or chocolate for a richer treat. I personally prefer chocolate, as it creates a striking contrast against the vibrant orange and purple coatings.
| Ingredient | What It Does | Best Swap |
|---|---|---|
| Cake Mix | Provides the base structure | Scratch-made vanilla cake |
| Buttercream | Binds the crumbs into a dough | Cream cheese frosting (tangier) |
| Candy Melts | Creates the hard, colorful shell | Tempered colored chocolate |
| Coconut Oil | Thins the chocolate for a smooth dip | Vegetable shortening |
The Full List:
- 1 box (15.25 oz / 431 g) yellow or chocolate cake mixWhy this? Standard size for the right dough volume
- 1 cup (240 ml) water
- 3 large eggs
- 1/3 cup (75 g) vegetable oil
- 1/2 cup (115 g) buttercream frosting, softenedWhy this? Provides the necessary sugar fat bind
- 12 oz (340 g) orange candy melts
- 12 oz (340 g) purple candy melts
- 12 oz (340 g) white candy melts
- 1 tsp (5 ml) coconut oilWhy this? Prevents the coating from being too thick
- 1 pack (approx. 45) cake pop sticks
- Candy eyeballs
- Orange sprinkles
- Mini chocolate chips
For a creative twist, try substituting the yellow cake with a red velvet mix. This results in a bold look that pairs perfectly with white candy melts when making ghosts.
Gear You'll Need
While a basic setup works, a few specific items will simplify the process. A 9x13 inch pan is a must for the base. I also suggest using a styrofoam block or a thick piece of cardboard with holes poked through; this allows the pops to dry without touching any surface, keeping the bottoms flat and neat.
A microwave-safe bowl is essential for the candy melts. Avoid using a pot on the stove unless you are very experienced with double boilers, as candy melts can burn in a matter of seconds.
You can use a simple handheld mixer or a sturdy fork to crumble the cake. Honestly, using your clean hands is the fastest way to achieve those fine, sandy crumbs.
Putting It Together
Step 1: Bake the Base
Heat your oven to 350°F (175°C). Combine the cake mix, water, eggs, and oil in a bowl, stirring until the batter is smooth. Pour it into a greased 9x13 inch pan. Bake for 25-30 minutes until a toothpick comes out clean.
Transfer the cake to a wire rack and let it cool entirely; if you skip this, the frosting will simply slide off.
Step 2: Create the Bind
Crumble the cooled cake into a large bowl. Use a fork or your hands until you have fine, sandy crumbs. Mix in the softened buttercream frosting one tablespoon at a time. Stir gently until the mixture reaches a play-dough-like consistency. It should maintain its shape when squeezed and not stick to your fingers.
Step 3: Roll and Set
Scoop about 1 tablespoon of dough and roll it into a tight, 1-inch sphere using your palms. Place the balls on a tray lined with parchment. Freeze them for 15 minutes or refrigerate them for 1 hour. This ensures the cake won't slide off the stick later.
Step 4: The Perfect Dip
Melt your candy melts in the microwave using 30-second intervals. After each burst, stir in the coconut oil to keep the texture smooth. Dip the end of a cake pop stick into the chocolate, then push it halfway into a chilled cake ball to act as a glue.
Step 5: The Final Coat
Dip the whole ball into the melted chocolate. Lift it straight up, shaking gently to remove any extra drips. Position the pop in your styrofoam block. Quickly add sprinkles, candy eyeballs, or chocolate chips before the shell hardens.
Chef's Note: If the chocolate starts to thicken, just pop it back in the microwave for 5-10 seconds. Avoid over-stirring, or you'll get air bubbles in your coating.
Method Comparison: Bake vs. store-bought
Sometimes you're in a rush. While baking from scratch or mix is traditional, some people use store-bought pound cake. Here is how they compare for Halloween Cake Pops.
| Method | Prep Time | Texture | Best For |
|---|---|---|---|
| Baked Mix | 60 mins | Moist and dense | Traditional flavor |
| store-bought | 10 mins | Heavier/Tighter | Maximum speed |
Wait a few minutes between batches to ensure your coating is at the right temperature. If the chocolate is too hot, it will melt the cake ball and cause it to slide.
Fixing Common Glitches
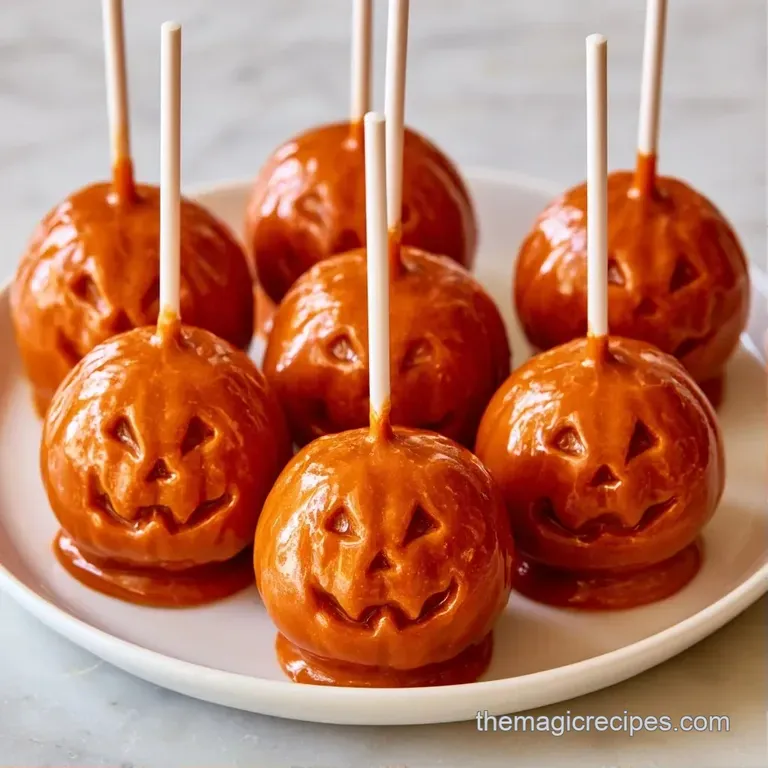
It is incredibly annoying when cake pops slide off their sticks. Typically, this is caused by temperature; if the ball is too warm, the chocolate cannot grip the surface properly. This often happens when the chilling process is rushed.
Another frequent problem is the "flat bottom." This occurs when a pop is rested on a plate instead of being placed in a holder, allowing the cake's weight to push the chocolate out into a small puddle.
If you notice streaks or a chalky appearance in the coating, the coconut oil may not have been fully incorporated into the candy melts. The oil is essential for a glossy, flowing finish.
Fixing the Slide
This occurs when there is too much frosting or the ball wasn't chilled enough. Ensure the ball feels firm to the touch.
Preventing Coating Cracks
Cracks usually result from moving the pops during the setting process or from an overly cold room. Leave them still until they are completely hard.
Stopping the Flat Bottom
Always use a cardboard holder or styrofoam base. Do not lay them on flat surfaces until the chocolate has fully set.
| Problem | Root Cause | Solution |
|---|---|---|
| Pops slide off stick | Ball too warm or too much frosting | Chill for 1 hour; use less frosting |
| Coating is too thick | Not enough coconut oil | Add 1/4 tsp coconut oil and stir |
| Air bubbles in dip | Stirring too aggressively | Stir gently; dip in one smooth motion |
Tweaking the Flavors
Instead of sticking with classic vanilla or chocolate, feel free to get inventive with your cake mix. To capture a "Halloween Cake Pops Starbucks" essence, try pumpkin spice cake mix paired with maple buttercream. This combination delivers that warm, autumnal flavor people crave in October.
Experimenting with the center is another great option. Placing a small chocolate truffle or a bit of jam inside the cake ball before rolling creates a delightful surprise. Just avoid adding too much, as it could compromise the ball's stability.
For a bolder flavor, try using the crumbs from black cocoa cupcakes as your base. The rich black hue looks striking when paired with neon orange candy melts.
Other cake mix variations like red velvet or lemon also work well for these Halloween Cake Pops. A lemon cake paired with purple frosting creates a "monster" themed treat that is both zesty and bright.
Keeping Them Fresh
These treats keep surprisingly well because the chocolate shell acts as a seal. Store your Halloween Cake Pops in an airtight container in the fridge for up to 5 days. If you're keeping them in the fridge, make sure the container is sealed tight so they don't absorb smells from other foods.
For longer storage, you can freeze them for up to 2 months. Wrap them individually in parchment paper and place them in a freezer bag. When you're ready to eat them, let them thaw at room temperature for about 30 minutes.
To avoid waste, if you have leftover cake crumbs that didn't make it into a ball, don't toss them. Mix them with a little extra frosting and some chocolate chips to make "cake truffles" without the sticks.
Scaling the Batch
If you need to double the recipe for a big party, don't just double the frosting. Start with 1.5x the frosting and add more only if the dough feels too dry. Too much binder will make the Halloween Cake Pops heavy and prone to sliding.
For a smaller batch, you can use half a box of cake mix. Just remember to beat one egg and use half of it (about 2 tablespoons) to keep the moisture ratio correct.
When baking a double batch in two pans, lower the oven temp by 25°F and extend the bake time by 5-10 minutes. This prevents the edges from burning while the center is still gooey.
| Goal | What to change |
|---|---|
| Double Batch | Use 1.5x frosting initially |
| Half Batch | Use 1.5 eggs (beaten) |
| Extra Firm | Increase freeze time to 30 mins |
Debunking Cake Pop Myths
One common myth is that you have to use a professional cake pop maker. You don't. Hand rolling them is actually better because you can feel the consistency of the dough and ensure there are no air pockets.
Another misconception is that you can use regular chocolate chips instead of candy melts. While you can, regular chocolate often requires tempering to get that snappy, glossy shell. Candy melts are designed to be melted and set quickly without the hassle.
Some people think you need to soak the sticks in chocolate. While I recommend a small dip for stability, the actual "glue" is the frozen cake ball and the hardened shell.
Plate and Present
When serving these, a tiered platter works best to show off the different colors. I like to group the orange ones as pumpkins and the white ones as ghosts. You can even use a bit of melted chocolate to draw little faces on the ghosts after the first layer has dried.
These pair great with a warm cider or a hot cocoa. If you're putting together a larger spread, these make a great companion to a Halloween snack mix for a mix of sweet and salty.
For a professional look, wrap the base of the sticks in orange or purple ribbons. It takes an extra five minutes but makes the treats look much more polished for a party.
Why Others Fail
Most people struggle with Halloween Cake Pops because they ignore the temperature gap. The contrast between a frozen cake ball and warm (but not hot) chocolate is what creates the bond.
Serious Eats' testing on cake textures shows that over mixing the cake crumbs with frosting leads to a gummy, unstable interior. The dough should feel like play dough, not mashed potatoes. If it's too soft, the pop will simply succumb to gravity and slide down the stick.
Right then, that's it. Now you can make Halloween Cake Pops that actually stay together and look fantastic. Just remember: chill the balls, don't over frost, and use the styrofoam block. Enjoy the spooky treats!
Recipe FAQs
What is the secret to the perfect cake pop texture?
Stir buttercream frosting into the cake crumbs one tablespoon at a time until the mixture feels like play-dough. This specific consistency ensures the spheres hold their shape and do not flatten during the chilling process.
How do you make Halloween cake pops?
Bake and crumble the cake, mix in frosting, and roll the dough into one-inch spheres. Chill the balls before dipping them into melted candy melts and adding spooky decorations like eyeballs or sprinkles.
Is it true you must use a double boiler for the candy melts?
This one's false: A microwave using 30-second bursts with a touch of coconut oil is much faster. Stir frequently between intervals to ensure the chocolate stays smooth and doesn't scorch.
What other spooky treats pair well with these pops?
Serve them alongside something savory like mummy hot dogs for a balanced party spread. This variety provides a great contrast to the sweetness of the cake pops.
Halloween Cake Pops with Cake Mix