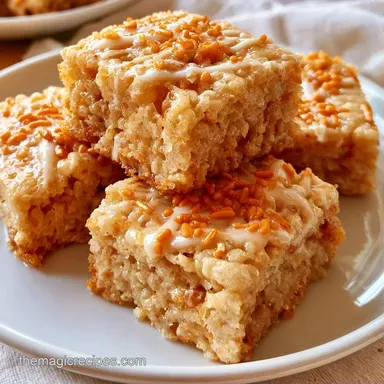
Halloween Rice Crispy Treats in 25 Minutes
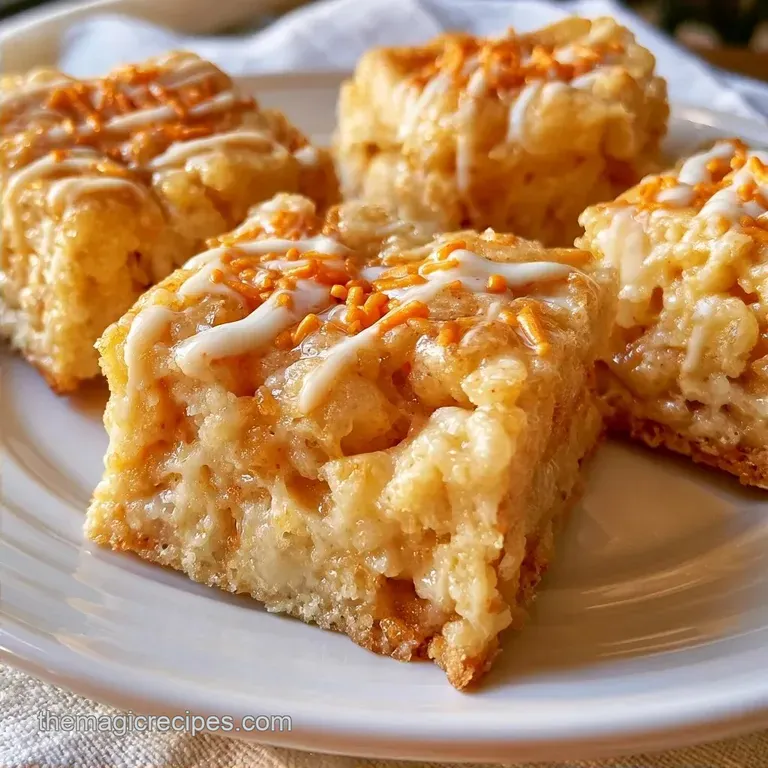
- Time: 15 min active + 20 min setting
- Flavor/Texture Hook: Shattering crunch with a gooey, decadent center
- Perfect for: School parties or October movie nights
Rice Crispy Treats for Halloween
The smell of toasted sugar and melted butter fills the room, and then comes that satisfying crackle as the cereal hits the marshmallow. Forget the idea that you need to press these into the pan with all your might to make them hold together. In fact, that's the fastest way to turn a dessert into a brick.
Here is the ultimate recipe for Halloween Rice Crispy Treats.
I once tried to make a massive batch for a block party and spent ten minutes packing them down with a heavy spatula. I thought I was helping them stay together, but I actually crushed the air out of the cereal. The result was a tray of cereal bars that required a steak knife to cut.
Since then, I've learned that a light touch is everything. You want a treat that feels like a cloud of sugar and crunch, not something you could use as a doorstop. We're going for bakery quality results right in your own kitchen.
Why These Turn Out Great
- Low Heat Control: Keeping the marshmallows over medium low heat stops the sugar from crystallizing. This ensures the texture stays chewy rather than turning into hard candy.
- The Butter Buffer: Butter doesn't just add flavor, it creates a fat barrier between sugar molecules. This prevents the treats from becoming too sticky or overly dense.
If you're planning a full spread, you might want something savory to balance the sugar. My Asian Chicken Wraps are a great way to provide a salty contrast to these sweets.
The Essential Recipe Specs
| Method | Time | Texture | Best For |
|---|---|---|---|
| Stovetop (Classic) | 25 mins | Chewy & Airy | Crowd-pleasing batches |
| Microwave (Fast) | 15 mins | Slightly Firmer | Quick cravings |
While the microwave is faster, the stovetop gives you more control over the marshmallow melt, preventing those annoying burnt clumps.
The Ingredient Deep Dive
| Ingredient | What It Does | Best Swap |
|---|---|---|
| Unsalted Butter | Adds richness and prevents hardening | Coconut oil (for dairy-free) |
| Mini Marshmallows | Binds the cereal in a gooey matrix | Vegan marshmallows |
| Crispy Rice Cereal | Provides the signature crunch | Brown rice cereal |
| Vanilla Extract | Rounds out the sugar with warmth | Almond extract (for a nutty vibe) |
The Full Shopping List
- 6 cups (150g) crispy rice cereal
- 10 oz (285g) mini marshmallows Why this? Minis melt faster and more evenly than large ones
- 3 tbsp (42g) unsalted butter
- 1 tsp (5ml) vanilla extract
- 1 pinch (1g) salt Why this? Cuts through the heavy sweetness
- 1/2 cup (115g) white chocolate melts
- 1/2 cup (115g) orange food coloring or gel
- 1/4 cup (35g) green food coloring or gel
- 1 pack (20g) assorted candy eyes
- 1/2 cup (60g) orange and yellow sprinkles
- 2 oz (56g) dark chocolate melting wafers
Tools You'll Need
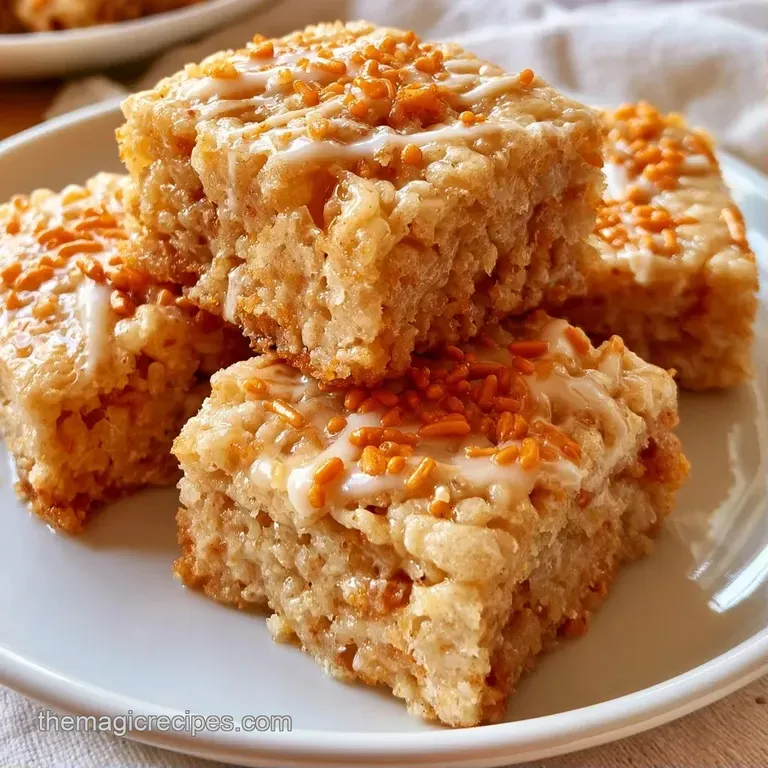
You won't need a lot of fancy gear, but a few specific items make the process smoother. I strongly suggest using a large non-stick pot. If you opt for a stainless steel pot without a coating, the marshmallows will stick firmly to the sides, and you'll spend more time scrubbing the pot than enjoying your treat.
A silicone spatula is also essential. It provides the flexibility needed to fold in the cereal without crushing the pieces. Finally, get a 9x9 inch baking pan and some parchment paper. Skipping the parchment means you'll be wrestling with the pan for an hour just to get a single square out.
Step by step Guide
Melting the Base
- Place the butter in a large non stick pot over medium low heat.
- Wait until the butter is melted and bubbling slightly, then add the mini marshmallows.
- Stir constantly until the marshmallows are velvety and smooth. Note: Remove from heat immediately so they don't toughen.
- Stir in the vanilla extract and salt while the mixture is still hot.
Mixing and Pressing
- Pour the crispy rice cereal into the pot.
- Gently fold with a silicone spatula until every piece is evenly coated.
- Transfer the mixture to your lined 9x9 inch pan.
- Use a lightly buttered hand to gently press the mixture into the corners. Note: Do not pack it down tightly, or they'll be too hard.
Creating the Halloween Designs
- Let the base set for 20 minutes.
- Cut the treats into shapes using a knife. Try circles for pumpkins or rectangles for Frankenstein.
- Decorate your shapes:
- Ghosts: Dip treats in melted white chocolate and add candy eyes.
- Spiders: Use dark chocolate discs for the body and pipe legs on the sides.
- Pumpkins & Frankenstein: Use orange and green coloring with sprinkles.
Fixing Common Problems
If your treats come out feeling like rubber, you likely overcooked the marshmallows. Once that sugar hits a certain temperature, it's no longer a goo, it's a candy. The same happens if you over stir; you knock out the air bubbles that make them light.
If you find the treats are too sticky to handle, you might have pulled them off the heat too early. The marshmallows need to be fully integrated into a single, smooth mass before the cereal goes in.
Quick Fixes
| Problem | Root Cause | Solution |
|---|---|---|
| Hard as a brick | Overheated marshmallows | Use lower heat next time |
| Too sticky/gooey | Undercooked marshmallows | Heat until completely smooth |
| Crushed cereal | Pressed too firmly | Use buttered fingers and a light touch |
| Separation of butter | Heat too high/fast | Melt butter slowly on medium low |
Flavor and Style Twists
You can easily turn this into a variety pack of Easy Halloween Rice Krispie Treats. For those who love a bit of autumn flavor, try adding a pinch of cinnamon to the melted butter. This creates a more "Fall Rice Crispy Treats" vibe that pairs well with apple cider.
- Ghost Rice Krispie Treats
- Use the white chocolate dip with a tiny bit of black food coloring for the eyes.
- Spider Rice Krispie Treats
- Use the dark chocolate wafers to make a spindly web pattern on top.
- Pumpkin Rice Krispie Treats
- Use the orange gel and a small piece of green candy for the stem.
- Candy Corn Rice Krispie Treats
- Layer orange, yellow, and white chocolate drips on the top.
- Frankenstein Rice Krispie Treats
- Use the green gel and add a few "bolts" made of silver sprinkles.
For a different kind of party appetizer, the Yum Yum Sauce recipe is a great way to add a tangy kick to a side of fried shrimp or vegetables.
Customization Shortcuts
- Extra saltiness? → fold in 1/2 tsp flaky sea salt
- Nutty flavor? → use browned butter instead of melted butter
- More color? → stir gel coloring into the marshmallows before adding cereal
Storage and Waste Tips
Keep these in a sealed container on the counter for up to 3 days. Refrigerating them may harden the butter, which makes the bars less chewy and more firm. For longer storage, they freeze beautifully; simply wrap each piece in plastic wrap and store in the freezer for up to 2 months.
To warm them up, microwave a bar for 5-10 seconds. This restores their original gooey consistency.
Zero Waste Tips
Don't throw away any extra chocolate melts. If there are a few squares of dark or white chocolate remaining, melt them and drizzle over popcorn or pretzels. Any remaining green or orange food coloring can also be used to color a batch of cupcake frosting.
Serving the Final Treat
A large, themed platter is the best way to showcase these. I recommend using a dark piece of parchment paper or a black tablecloth to help the orange and green colors really stand out.
The Spooky Platter
Cluster your spiders and Ghost Rice Krispie Treats together. Fill any open gaps on the tray with a few mini pumpkins and real candy corn. This creates a professional bakery look with very little effort.
The Warm Pair
Pair these with a chilled glass of milk or some hot apple cider. The cider's warmth and acidity cut through the sugary richness, which helps guests avoid "sugar fatigue" too soon.
Final Precision Checkpoints
- Butter Temp: Should be bubbling slightly but not browned.
- Marshmallow Texture: Must be entirely smooth with no visible lumps.
- Setting Time: Exactly 20 minutes before cutting to ensure clean edges.
Recipe FAQs
What is the secret to the best rice krispie treats?
Avoid overcooking the marshmallows. Remove the pot from heat as soon as the mixture is velvety and smooth to prevent the treats from becoming tough.
Common mistakes to avoid when pressing the cereal?
Pressing too firmly into the pan. This creates a dense, hard texture instead of the light and airy consistency these treats should have.
Is it cheaper to make or buy rice crispy treats?
Making them is usually more affordable. Using basic pantry staples like butter and marshmallows costs significantly less per serving than store-bought versions.
Can extra additives improve the texture?
That's a myth. The combination of butter, vanilla, and a pinch of salt provides all the flavor and texture needed for a perfect result.
How to customize these for Halloween?
Cut the treats into shapes like pumpkins or ghosts. Decorate with melted white chocolate and candy eyes, or pair them with our easy homemade sauce for a full party spread.
Should I store these in the fridge to keep them fresh?
Surprisingly, no. Refrigeration hardens the butter, which makes the treats rigid rather than chewy.
Why do some treats turn out hard?
Overheating the marshmallows is the primary cause. This causes the sugar to crystallize, stripping away the gooey consistency.
Rice Crispy Treats in 25 Minutes