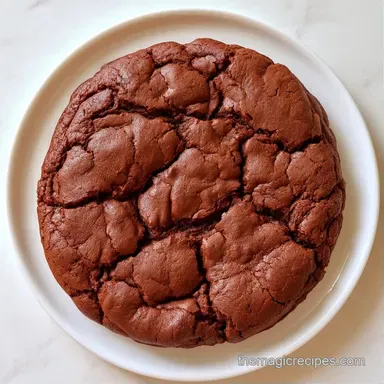
Halloween Chocolate Cookies with Black Cocoa
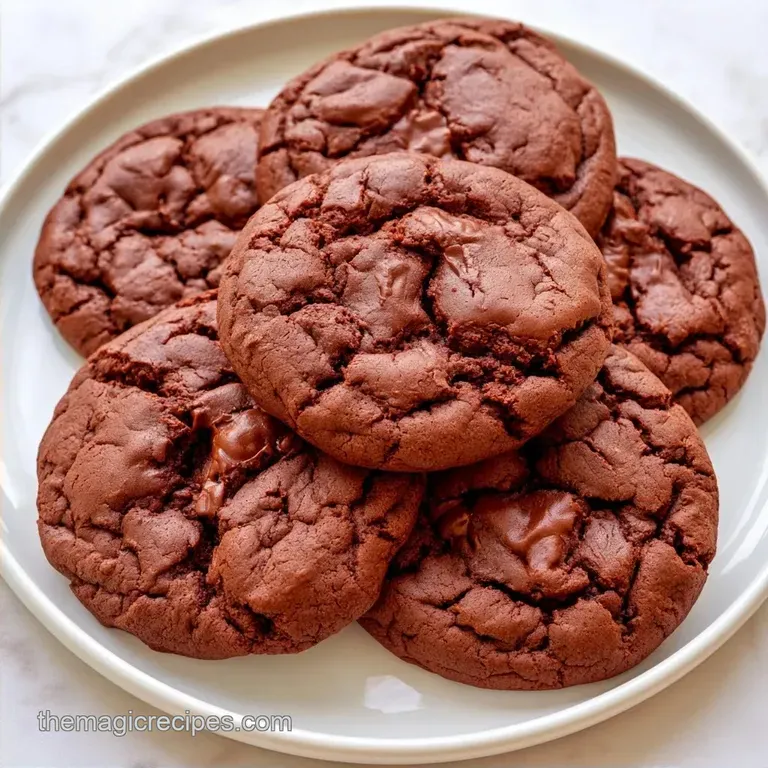
- Time: 10 min active + 10 min bake
- Flavor/Texture Hook: Fudgy centers with a bakery quality snap
- Perfect for: Spooky party platters or a kid friendly baking activity
The smell of dark, toasted cocoa fills the kitchen, and there is a chaotic pile of orange and purple M&Ms scattered across the counter. I remember one October where I tried to make a massive batch of treats for a neighborhood bash, but I spent way too long chilling dough in the fridge.
By the time I got around to the oven, the kids were already asleep, and I was staring at a mountain of cold dough.
That's why I love these Halloween Chocolate Cookies. They don't require a long wait or fancy equipment, just a few decadent ingredients and a little bit of creativity. You get that striking, mahogany finish that looks professional but feels like something you just whipped up while wearing your favorite oversized sweater.
Whether you are hosting a big bash or just want a little midnight snack, these treats hit the spot. They have a rich, indulgent flavor that balances the sweetness of the candy toppings without being overwhelming.
The Texture Trick
- The Dark Hue: Black cocoa powder gives the dough a midnight color. This high contrast look makes the orange and purple candies stand out.
- The Brown Sugar: Using a high ratio of brown sugar keeps the center fudgy. It prevents the cookies from becoming dry or cakey.
| Approach | Texture | Bake Time | Best For |
|---|---|---|---|
| Creamed Butter | Chewy & Thick | 10 mins | Classic fudgy bite |
| Melted Butter | Thinner & Crispy | 8 mins | Quick, lacey edges |
Recipe Specs
These cookies are designed for maximum impact. Because they don't need chilling, you can go from craving to eating in about 20 minutes. The rich cocoa flavor is balanced by the salt, ensuring they taste like a high end bakery treat rather than just a sugar bomb.
Gathering Your Essentials
Black cocoa is the secret to achieving that eerie, gothic look. While you can substitute it with standard Dutch-process cocoa, the cookies will turn out a classic brown rather than a striking, midnight black.
Why These Ingredients Work
| Component | Role | Substitution Notes |
|---|---|---|
| Black Cocoa | Intense hue & flavor | Regular cocoa: Lighter color, less earthy |
| Brown Sugar | Chewiness & moisture | White sugar: Crispier, flatter result |
| Baking Soda | Lift & spread | Baking powder: Puffer, cake-like texture |
Full Ingredient List
- 1/2 cup (115g) unsalted butter, softened Note: Softened butter incorporates air more effectively during creaming
- 3/4 cup (150g) packed brown sugar Note: Provides a deep molasses flavor and chewy bite
- 1 large egg Note: Acts as a binder and adds richness to the dough
- 1 tsp (5ml) vanilla extract
- 1 cup (125g) all purpose flour
- 1/3 cup (30g) black cocoa powder Note: Delivers the signature obsidian appearance
- 1/2 tsp (3g) baking soda
- 1/4 tsp (1.5g) salt
- 1/2 cup (90g) orange and purple M&Ms or Halloween themed chocolate chips
- 1 tbsp (10g) colorful Halloween sprinkles
- 12-16 candy eyeballs
Equipment Needed
A few basic tools make the process much smoother, though any standard home kitchen will do. I find a stand mixer like a KitchenAid is best for creaming, but a hand mixer works perfectly too.
- Baking sheet (heavy duty)
- Parchment paper
- Mixing bowls (medium and large)
- Sifter or fine mesh strainer
- Rubber spatula
- Cookie scoop or rounded tablespoon
Bringing It Together
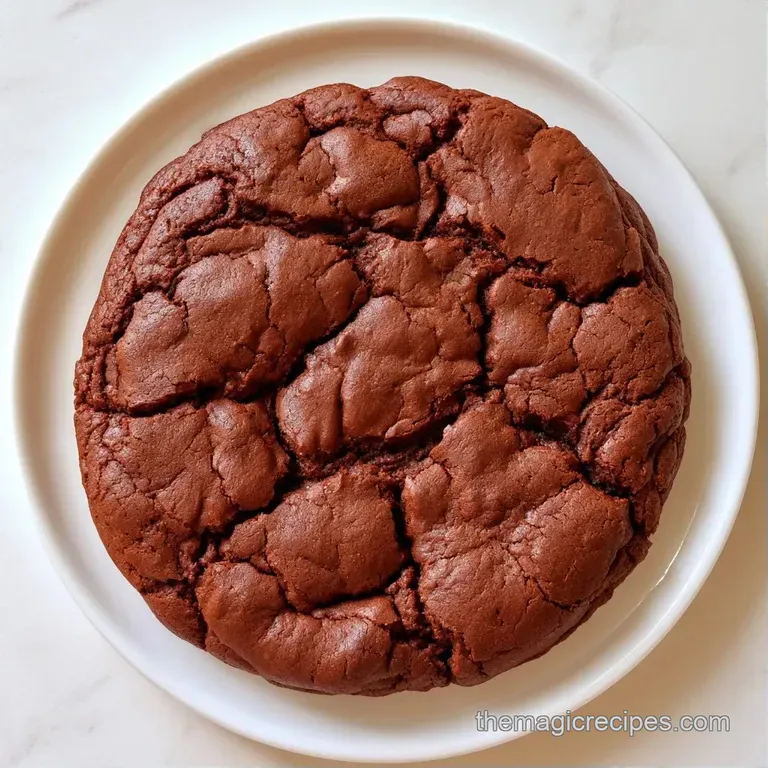
- Preheat your oven to 350°F (175°C) and prepare a baking sheet with parchment paper.
- Whip together the softened butter and brown sugar until the mixture is smooth and creamy.
- Mix in the egg and vanilla extract until fully combined.
- Sift the flour, black cocoa powder, baking soda, and salt into the wet ingredients. Using low speed, stir just until the flour streaks vanish. Note: Overmixing creates tough cookies
- Gently fold in the Halloween candies and sprinkles with a spatula.
- Place rounded tablespoons of dough on the tray, spacing them 2 inches apart.
- Bake for 9-11 minutes until the edges are set but the centers remain slightly soft.
- As soon as they come out of the oven, press candy eyeballs into the tops while the cookies are still hot.
Pro Tips & Pitfalls
One thing I've noticed is that cocoa powder varies by brand. Some are more absorbent than others, which can affect how much your Halloween Chocolate Cookies spread. If the dough feels like a stiff paste, you can add a teaspoon of milk.
Fixing Flat Cookies
If your cookies spread too much, your butter might have been too warm. This happens often in summer or if you microwave the butter too long.
Dealing with Dull Colors
Sometimes the candies can sink or the colors look muted. This is usually because the dough was too thin or the oven temperature was too low.
Preventing Dry Centers
Overbaking is the enemy here. Because the dough is so dark, you can't rely on "golden brown" as a cue.
| Problem | Fix |
|---|---|
| Cookies too flat | Chill dough balls for 5 mins before baking |
| Bleeding candy colors | Add candies during the last fold, don't overmix |
| Dry or crumbly texture | Pull from oven 1 minute earlier |
| Goal | What to change |
|---|---|
| Fudgier center | Increase brown sugar by 2 tbsp |
| More crunch | Use white sugar instead of brown |
| Darker color | Add 1 extra tsp of black cocoa |
Make It Your Own
These Halloween Chocolate Cookies are easy to customize to suit your preferences. For a richer profile, stir a small amount of espresso powder into the dry ingredients. This won't give them a coffee flavor, but it will intensify the richness of the chocolate.
If you prefer a sharp contrast, white chocolate chips provide a striking visual against the dark dough. To complete a spooky dessert spread, pair these with some Witch Finger Cookies to offer a diverse range of looks and textures.
Substitute the M&Ms with crushed candy corn or pumpkin-shaped chocolates for a different twist. Since some candies melt more quickly than others, stir them in at the very last moment of mixing.
Keeping It Fresh
Proper storage ensures these cookies remain soft for a long time. Simply place them in a container with a slice of white bread; this keeps them tender and chewy for several days.
Room Temperature: Keep in a sealed container for 4 days. Freezer: Wrap individual cookies in parchment and freeze for up to 2 months.
For those seeking more variety, these pair beautifully with Peanut Butter Blossom Cookies for a well-rounded dessert spread.
Zero Waste Tip: If you have leftover cocoa powder or a few stray M&Ms, stir them into your morning oatmeal or a small batch of brownies. Don't let those festive colors go to waste.
Presentation Tips
For a professional, artisan presentation, avoid simply piling these on a plate. Instead, set them out on a slate platter or a dark wooden board to accentuate the midnight hue of the dough.
You can also create a playful "monster" scene by arranging the cookies in a ring and filling the center with extra candy eyeballs and sprinkles. It’s always a hit with children and looks fantastic in photographs.
If you're serving these at a gathering, try stacking them into a pyramid. The vivid neon candies against the dark chocolate create a striking tower that will draw everyone's eye. Just be sure the cookies are completely cooled before you start stacking, or the candy eyeballs might slip off.
Recipe FAQs
How to prevent cookies from overspreading?
Scoop rounded tablespoons of dough and space them 2 inches apart on the baking sheet.
Tip: Chill the dough for 30 minutes before baking if your kitchen is very warm.
Is it true that black cocoa makes the cookies taste burnt?
This one's false: Black cocoa provides a deep, dark color and a rich, Oreo-like flavor without any burnt taste.
Tip: Sift it with the flour to avoid dark clumps in the dough.
Why are my cookie centers too soft?
Bake for 9-11 minutes until the edges are set but the centers remain slightly soft.
Tip: Let them cool on the parchment paper for 5 minutes to allow the structure to firm up.
Can I substitute the brown sugar for white sugar?
Using white sugar will result in a crispier, less fudgy cookie texture.
Tip: If you want a decorative finish, see how to make powdered sugar for a quick dust of white on top.
When is the best time to add the candy eyes?
Press the eyeballs into the tops immediately after removing the cookies from the oven.
Tip: Work quickly while they are still hot so the candy adheres to the surface.
What makes these cookies have a midnight color?
The addition of black cocoa powder creates the striking, high-contrast dark hue.
Tip: Use a spatula to gently fold in the sprinkles so you do not overmix the batter.
Halloween Chocolate Cookies Party-Ready