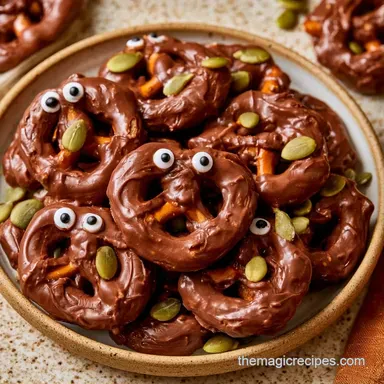
Halloween Pretzel Bites in 15 Minutes
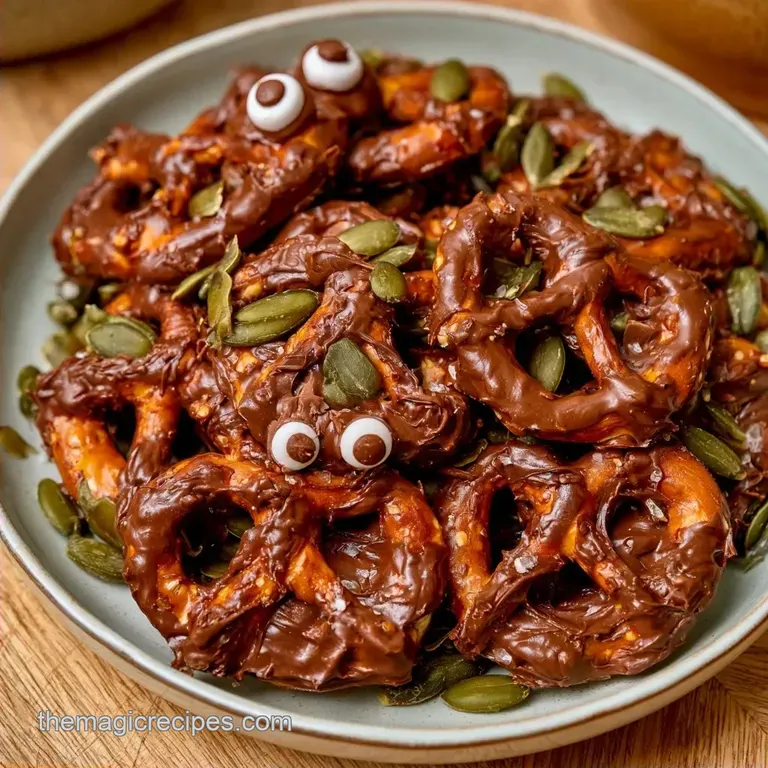
- Time: 10 min active + 15 min setting
- Flavor/Texture Hook: Shattering crunch and glossy chocolate
- Perfect for: Last minute Halloween treats
Making Easy Halloween Pretzel Bites
Why is the combination of salt and sugar so irresistible? It’s a biological instinct, and it's exactly what makes these snacks a hit. I first whipped these up during a frantic October party when I had no time for actual baking. I simply combined some chocolate and pretzels, and they were gone in ten minutes.
This treat is effortless to put together. It all comes down to the assembly and the chocolate's timing. We're aiming for a vibe that's slightly spooky but still looks like it was sourced from a professional boutique bakery.
These Pretzel Bites are perfect for preparing while you socialize with friends. The result is a rich contrast of textures that ensures guests keep coming back for "just one more."
Why These Treats Work
Salt Contrast: Coarse salt on the pretzels offsets the intensity of the 70% dark chocolate, which keeps the sweetness in check.
Fat Stability: Stirring in a small amount of coconut oil stops the chocolate from splintering when bitten. It also ensures a smoother, glossier appearance.
Textural Layers: You'll experience the crisp snap of the pretzel, the velvetiness of the chocolate, and the gentle chew of pumpkin seeds. For a heartier treat, this Soft Pretzel Recipe is a great choice for a breadier base.
| Method | Time | Texture | Best For |
|---|---|---|---|
| Microwave | 5 mins | Glossy/Smooth | Speed and convenience |
| Double Boiler | 15 mins | Matte/Stable | Large batches/Precision |
Tools for the Job
The equipment list is minimal. A microwave safe glass bowl is a must, since plastic can warp or trap odors. Use a rubber spatula to scrape the corners and prevent any chocolate clumps from burning.
Don't forget the parchment paper. Without it, the chocolate will stick to the pan, leaving you to scrape it off for an hour. A large baking sheet will provide ample room to space the pieces out.
The Ingredient Breakdown
| Component | Purpose | Substitute Notes |
|---|---|---|
| Dark Chocolate | Rich base | Milk chocolate: Sweeter and softer |
| Mini Pretzels | Salty crunch | Pretzel sticks: Changes the shape |
| Coconut Oil | Texture/Gloss | Butter: Adds a dairy flavor |
| Pumpkin Seeds | Nutty accent | Sunflower seeds: Similar crunch |
Essential Recipe Details
I've found that using a 70% cocoa chocolate gives the most sophisticated taste. It isn't too sweet, which lets the salt of the pretzel shine.
Precision Checkpoints:
- Chocolate temp: Should feel warm but not hot to the touch.
- Setting time: 10 minutes in the fridge for a hard set.
- Portion size: 1 teaspoon of chocolate per pretzel.
Step by step Assembly
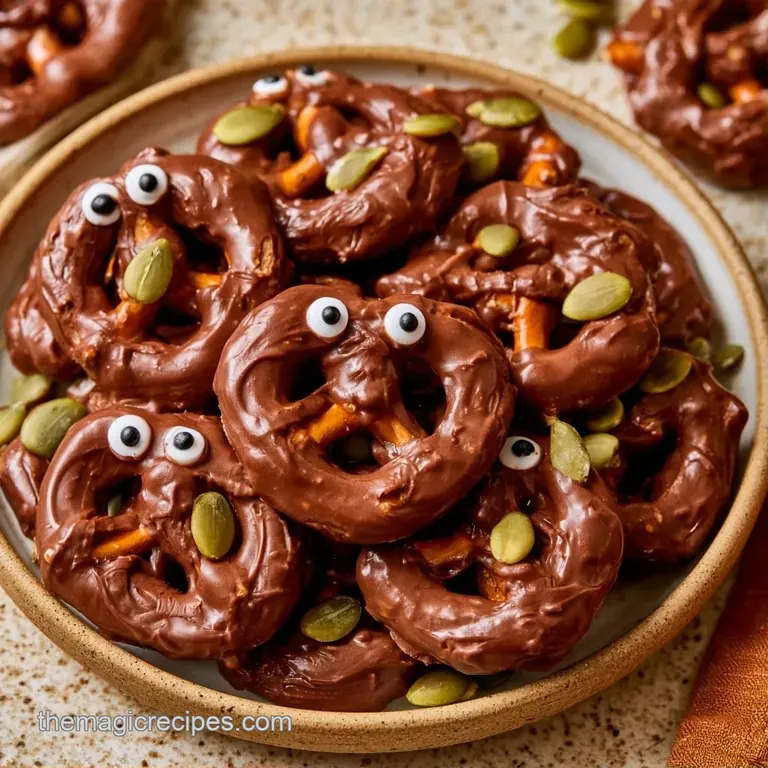
Preparing the Workspace
Cover a large baking tray with parchment paper. Space the mini pretzel twists out in a single layer, leaving about 2 cm between each piece. Note: This keeps them from fusing together.
Melting the Chocolate
Place 1 cup dark chocolate chips and 1 tbsp coconut oil into a glass bowl. Heat in the microwave in 30 second intervals, stirring well with a spatula after every burst. Stop once the blend is glossy and smooth.
Assembling the Bites
Dollop 1 teaspoon of melted chocolate onto the center of each pretzel. Use the back of the spoon to nudge it slightly toward the edges.
Adding the Accents
Quickly press one candy eye and a few toasted pumpkin seeds into the liquid chocolate. Note: The seeds will slide off if the chocolate begins to harden.
Setting the Treats
Let the Pretzel Bites rest at room temperature for 30 minutes. If you are short on time, chill the tray in the fridge for 10 minutes until the chocolate is firm to the touch.
Handling Common Issues
The biggest headache with chocolate is when it seizes. This happens if a tiny bit of water gets into the bowl. The chocolate suddenly turns into a grainy, thick paste that won't flow. Keep your tools bone dry.
Another issue is over heating. If you microwave too long without stirring, the chocolate burns. You'll see it start to clump or smell slightly scorched. If this happens, you usually have to start over.
Fixing Seized Chocolate
If the chocolate is just a little thick, a tiny bit of warm coconut oil can sometimes loosen it. But if it's grainy, it's a lost cause.
Dealing with Bloom
White streaks on the chocolate (bloom) happen when it's stored in a place with fluctuating temperatures. It's safe to eat, but it looks less professional.
| Problem | Fix |
|---|---|
| Grainy Chocolate | Ensure all tools are dry; start over if seized |
| Chocolate won't set | Move to fridge for 10 minutes |
| Seeds sliding off | Apply seeds while chocolate is still wet |
Adjusting Your Batch Size
If you're making a small batch (half), just halve everything. Be careful with the coconut oil; use a scant half tablespoon so the chocolate doesn't become too runny.
For a party sized batch (3x or 4x), work in stages. Melting too much chocolate in one bowl often leads to uneven heating. Melt two separate batches to keep the quality consistent.
| Goal | What to change |
|---|---|
| More Crunch | Add more pumpkin seeds |
| Sweeter Taste | Use 50% cocoa chocolate |
| Faster Set | Use the freezer for 5 mins |
Keeping Them Fresh
Store these in a cool, dry spot. When kept in an airtight container, they stay crisp for approximately 7 days. If your kitchen is particularly warm, the refrigerator is best for preventing the chocolate from softening.
For longer storage, keep them frozen for 2 months. Use parchment paper between layers to keep them from sticking together. When you're ready to enjoy them, let them thaw at room temperature for 15 minutes.
To prevent waste, pour any leftover melted chocolate into a small silicone mold for a personal treat. Rather than discarding the extra pumpkin seeds, sprinkle them over a salad.
Fun Flavor Tweaks
You can easily turn these into different Halloween Pretzel Ideas. Try swapping the pumpkin seeds for crushed candy corn or mini marshmallows. If you want something more colorful, use white chocolate dyed with food coloring.
For a more savory sweet version, sprinkle a pinch of smoked paprika on top of the chocolate before it sets. It adds a subtle heat that works great with the dark cocoa. These pair well with other Treats with Candy Corn recipe for a full dessert spread.
For the Spooky Accents
Use a toothpick to drizzle orange colored white chocolate over the top of the Pretzel Bites. This creates a "web" effect that looks great on a platter.
Veganizing the Batch
Use dairy-free dark chocolate chips and ensure your coconut oil is refined. This version stays just as decadent.
Platter and Serving Ideas
Present these on a slate platter or a dark wooden board, as the dark chocolate creates a striking contrast. I suggest scattering a few whole pumpkin seeds and placing some orange napkins around the tray for extra flair.
Since they are finger foods and don't require a fork, they make a wonderful addition to any Halloween party menu. Simply place them in a bowl for guests to enjoy.
Because these treats are quite decadent, serve them with sliced apples or grapes. The acidity of the fresh fruit helps cleanse the palate between the salty and chocolatey flavors. These Easy Halloween Pretzel Bites are a perfect, last minute addition to your spooky spread.
Recipe FAQs
How to set the chocolate quickly?
Place the bites in the refrigerator for 10 minutes. This firms up the dark chocolate and coconut oil mixture much faster than room temperature.
Is it true these treats require baking in the oven?
Not true. These are assembly only treats that only require melting chocolate in the microwave.
What's the best way to avoid scorching the chocolate?
Microwave in 30-second intervals and stir vigorously between each burst. This ensures the chocolate melts evenly without overheating.
Which party snacks pair well with these sweet bites?
Serve these alongside a savory smoked queso dip for a balanced flavor profile. A mix of salty and sweet works best for Halloween crowds.
Halloween Pretzel Bites